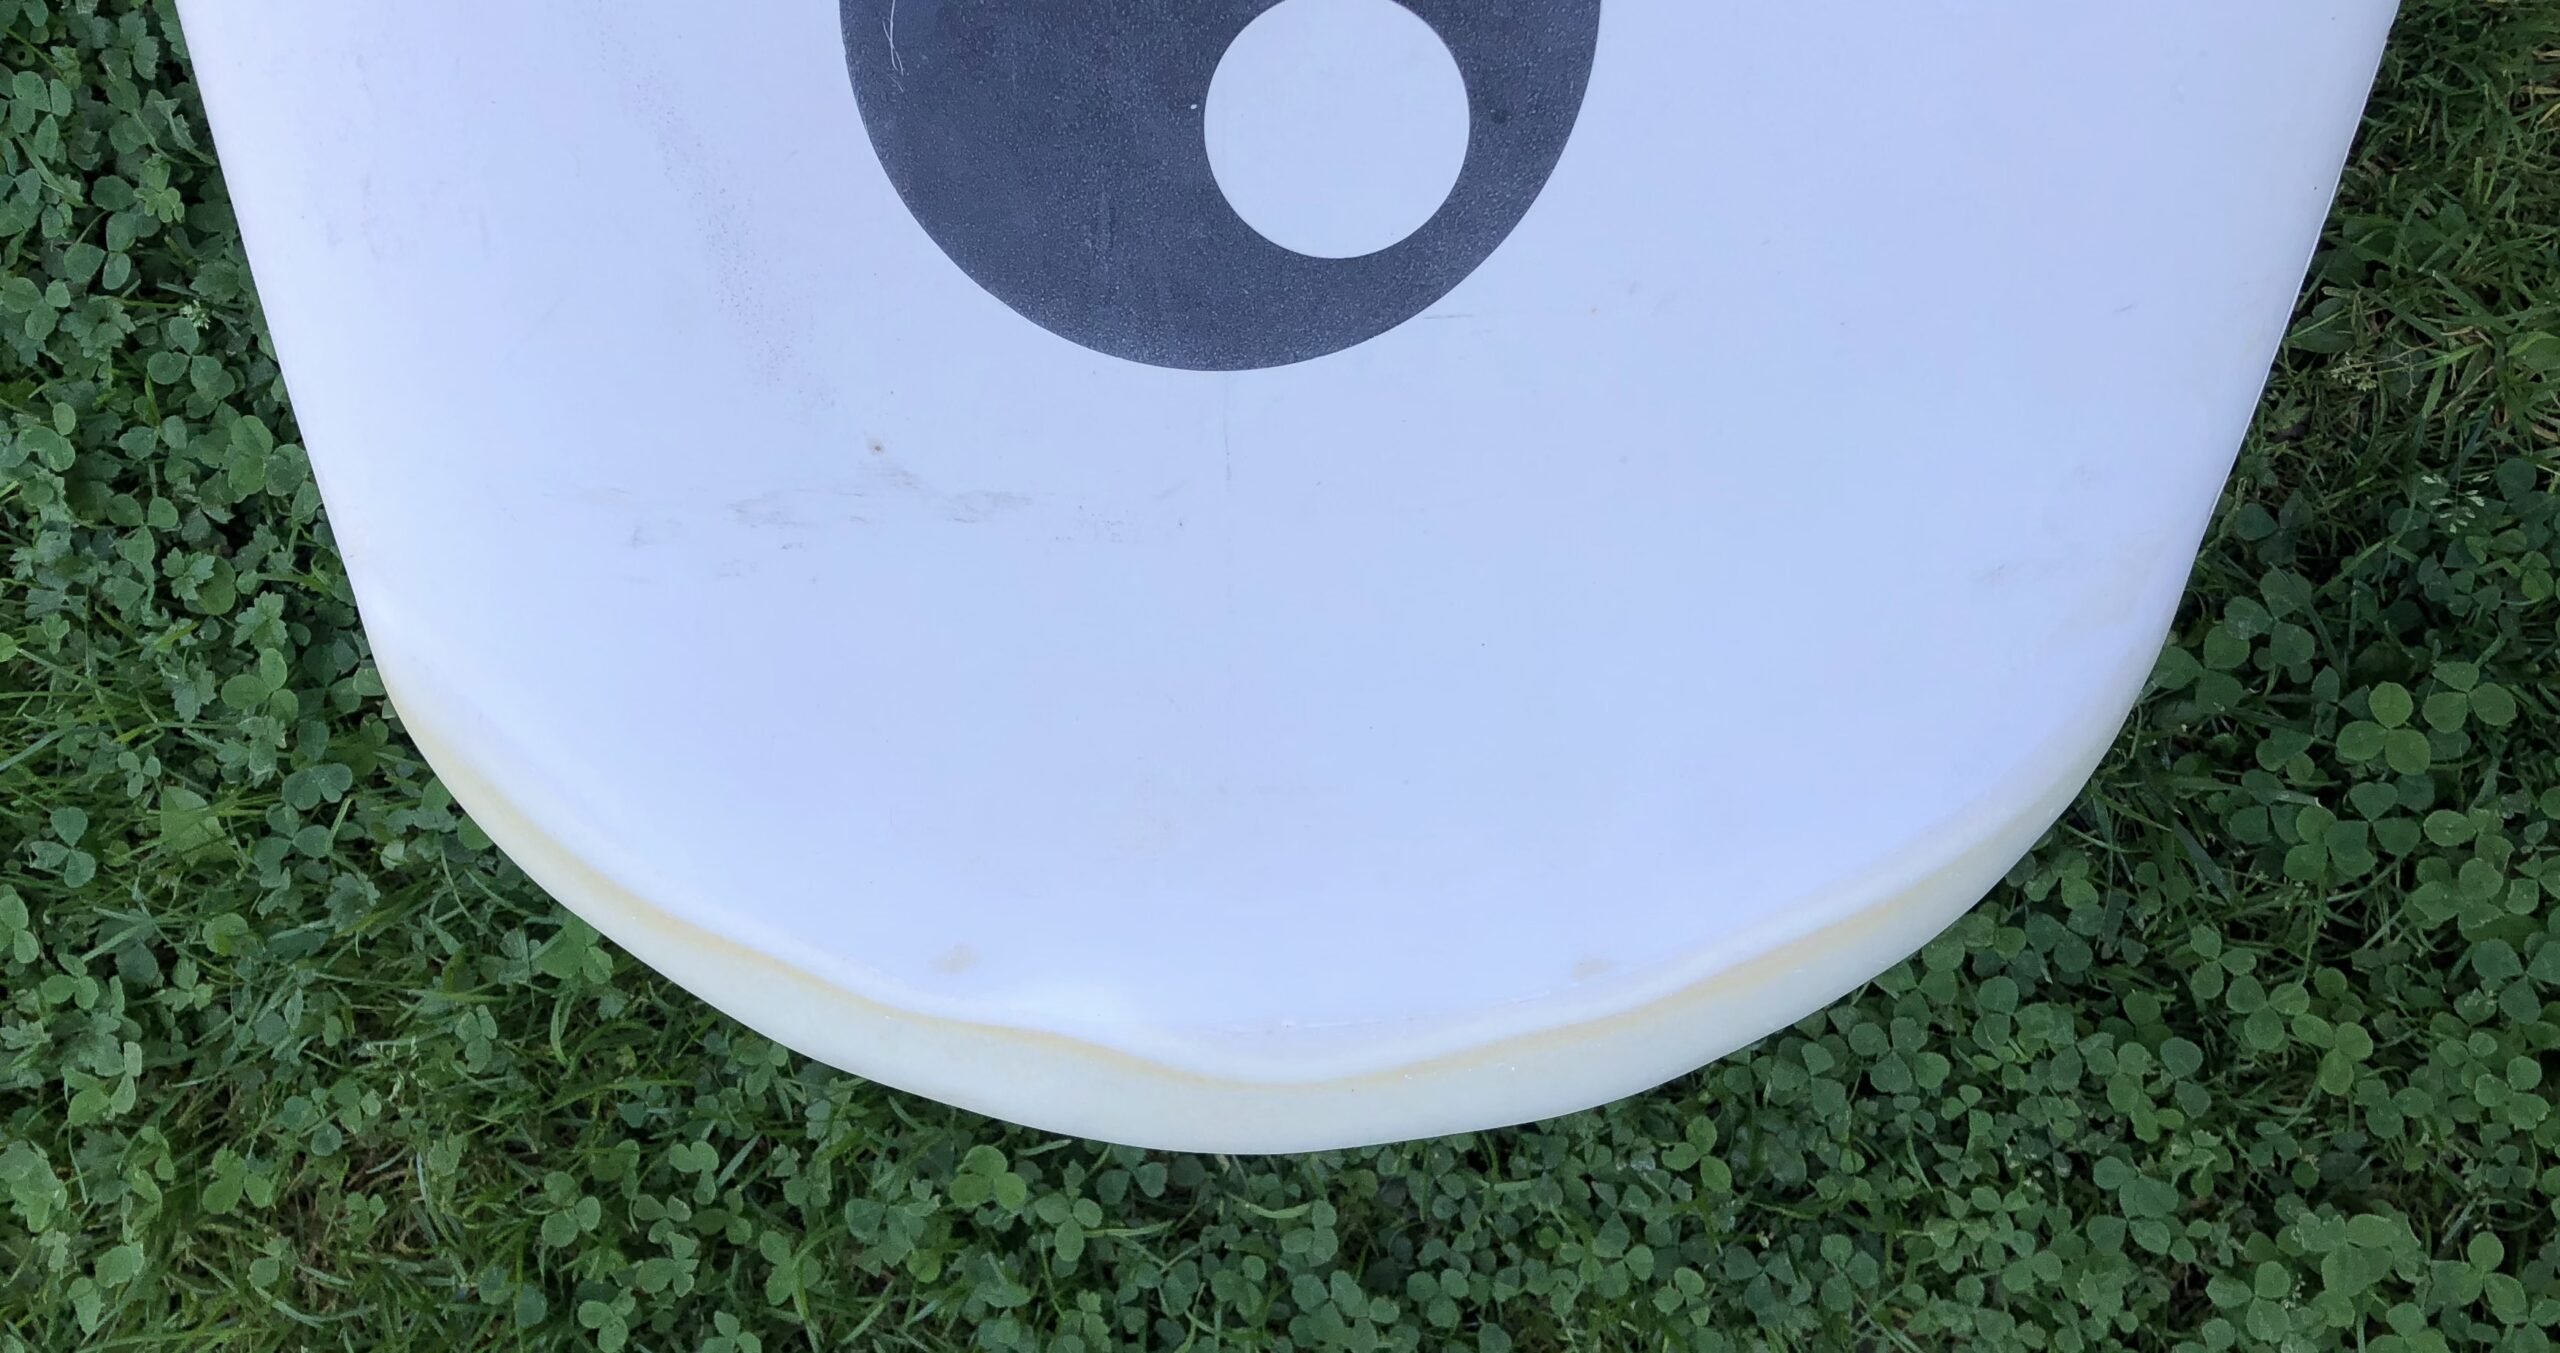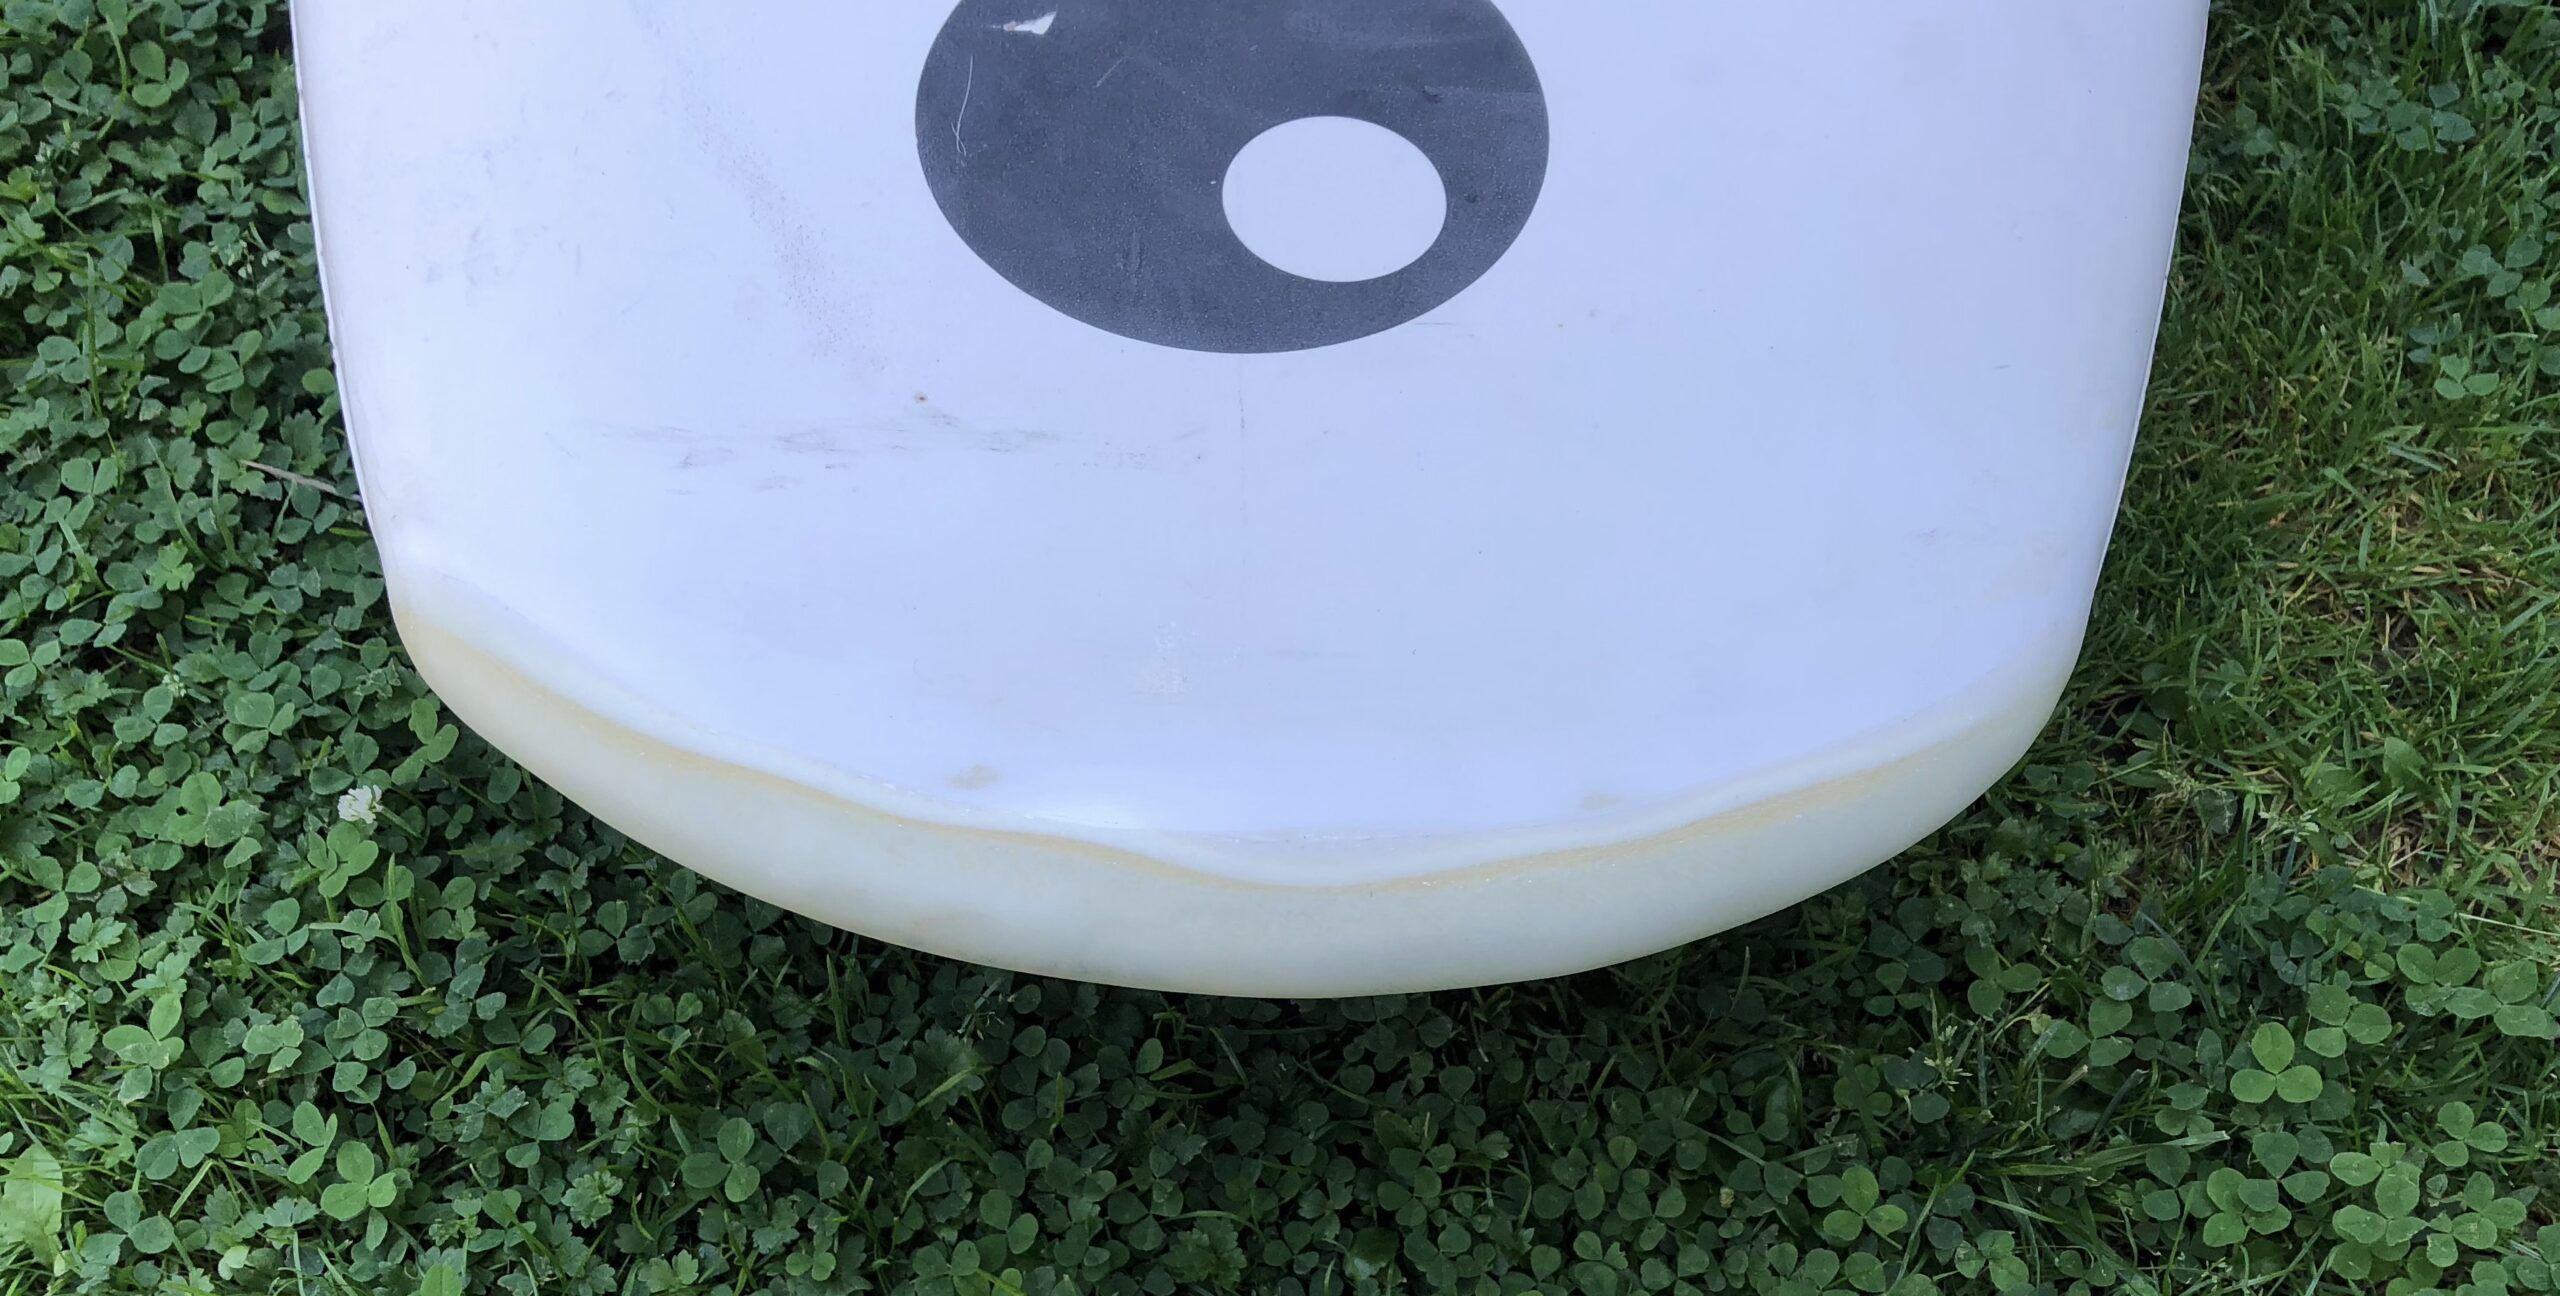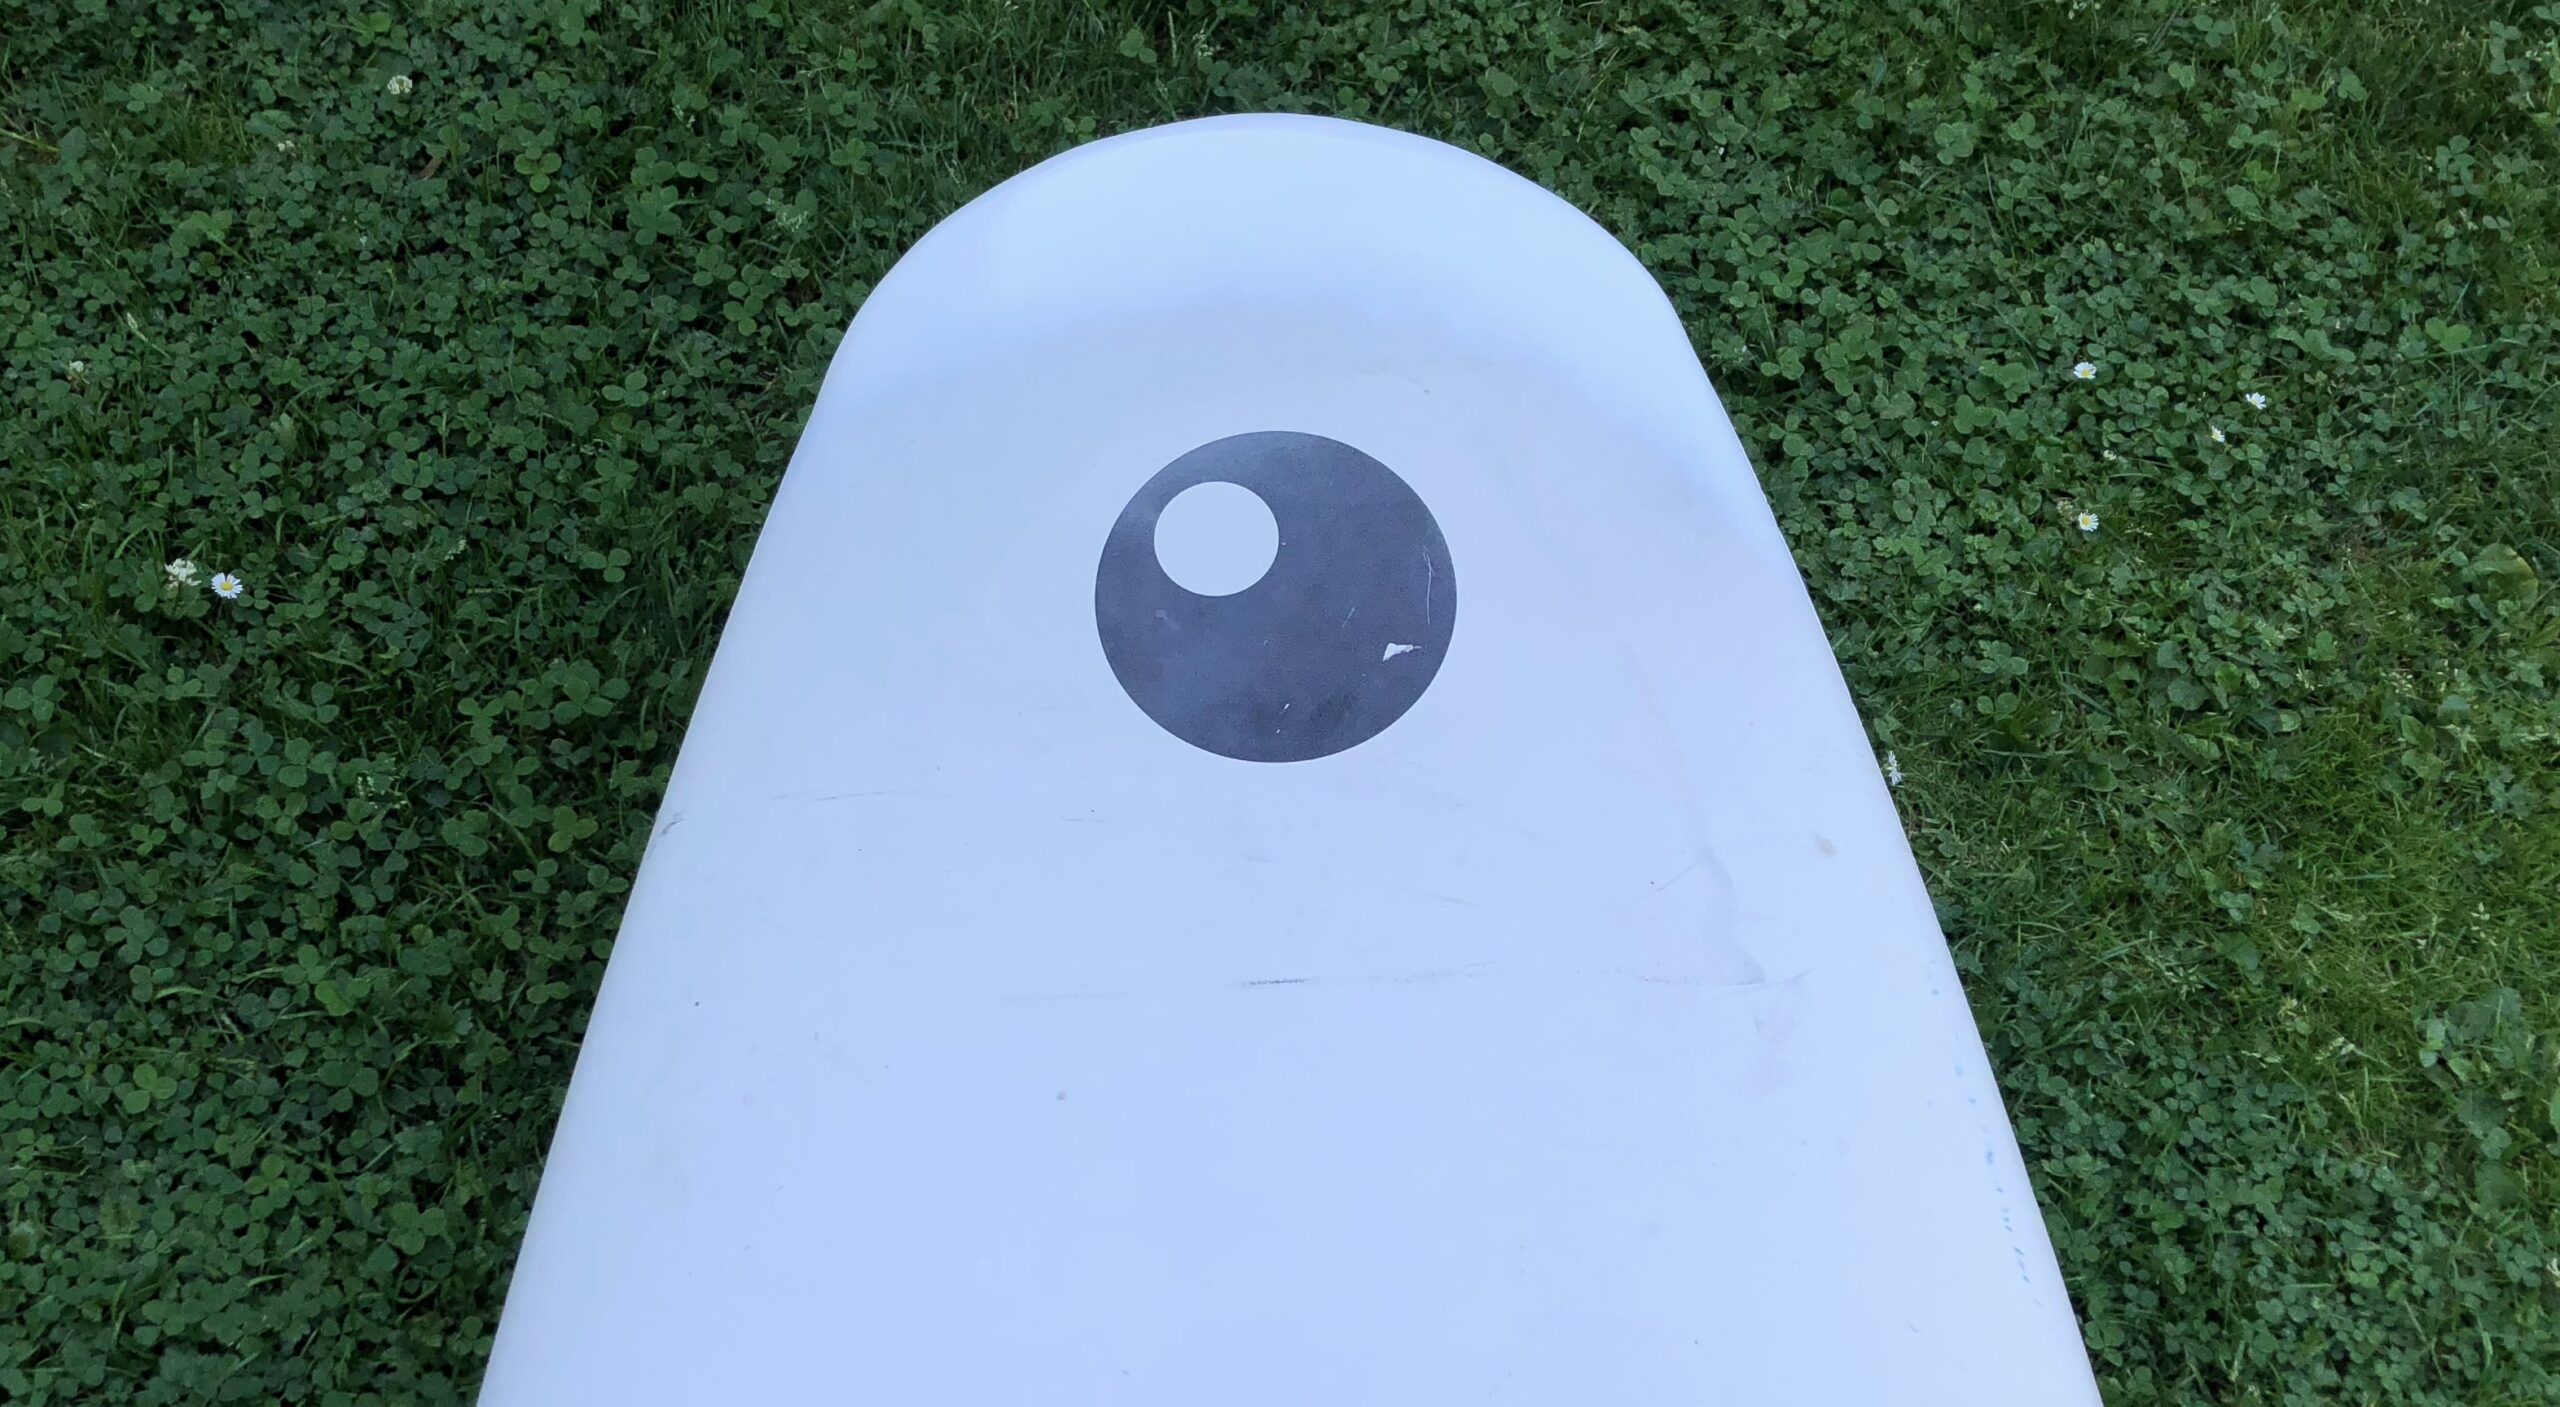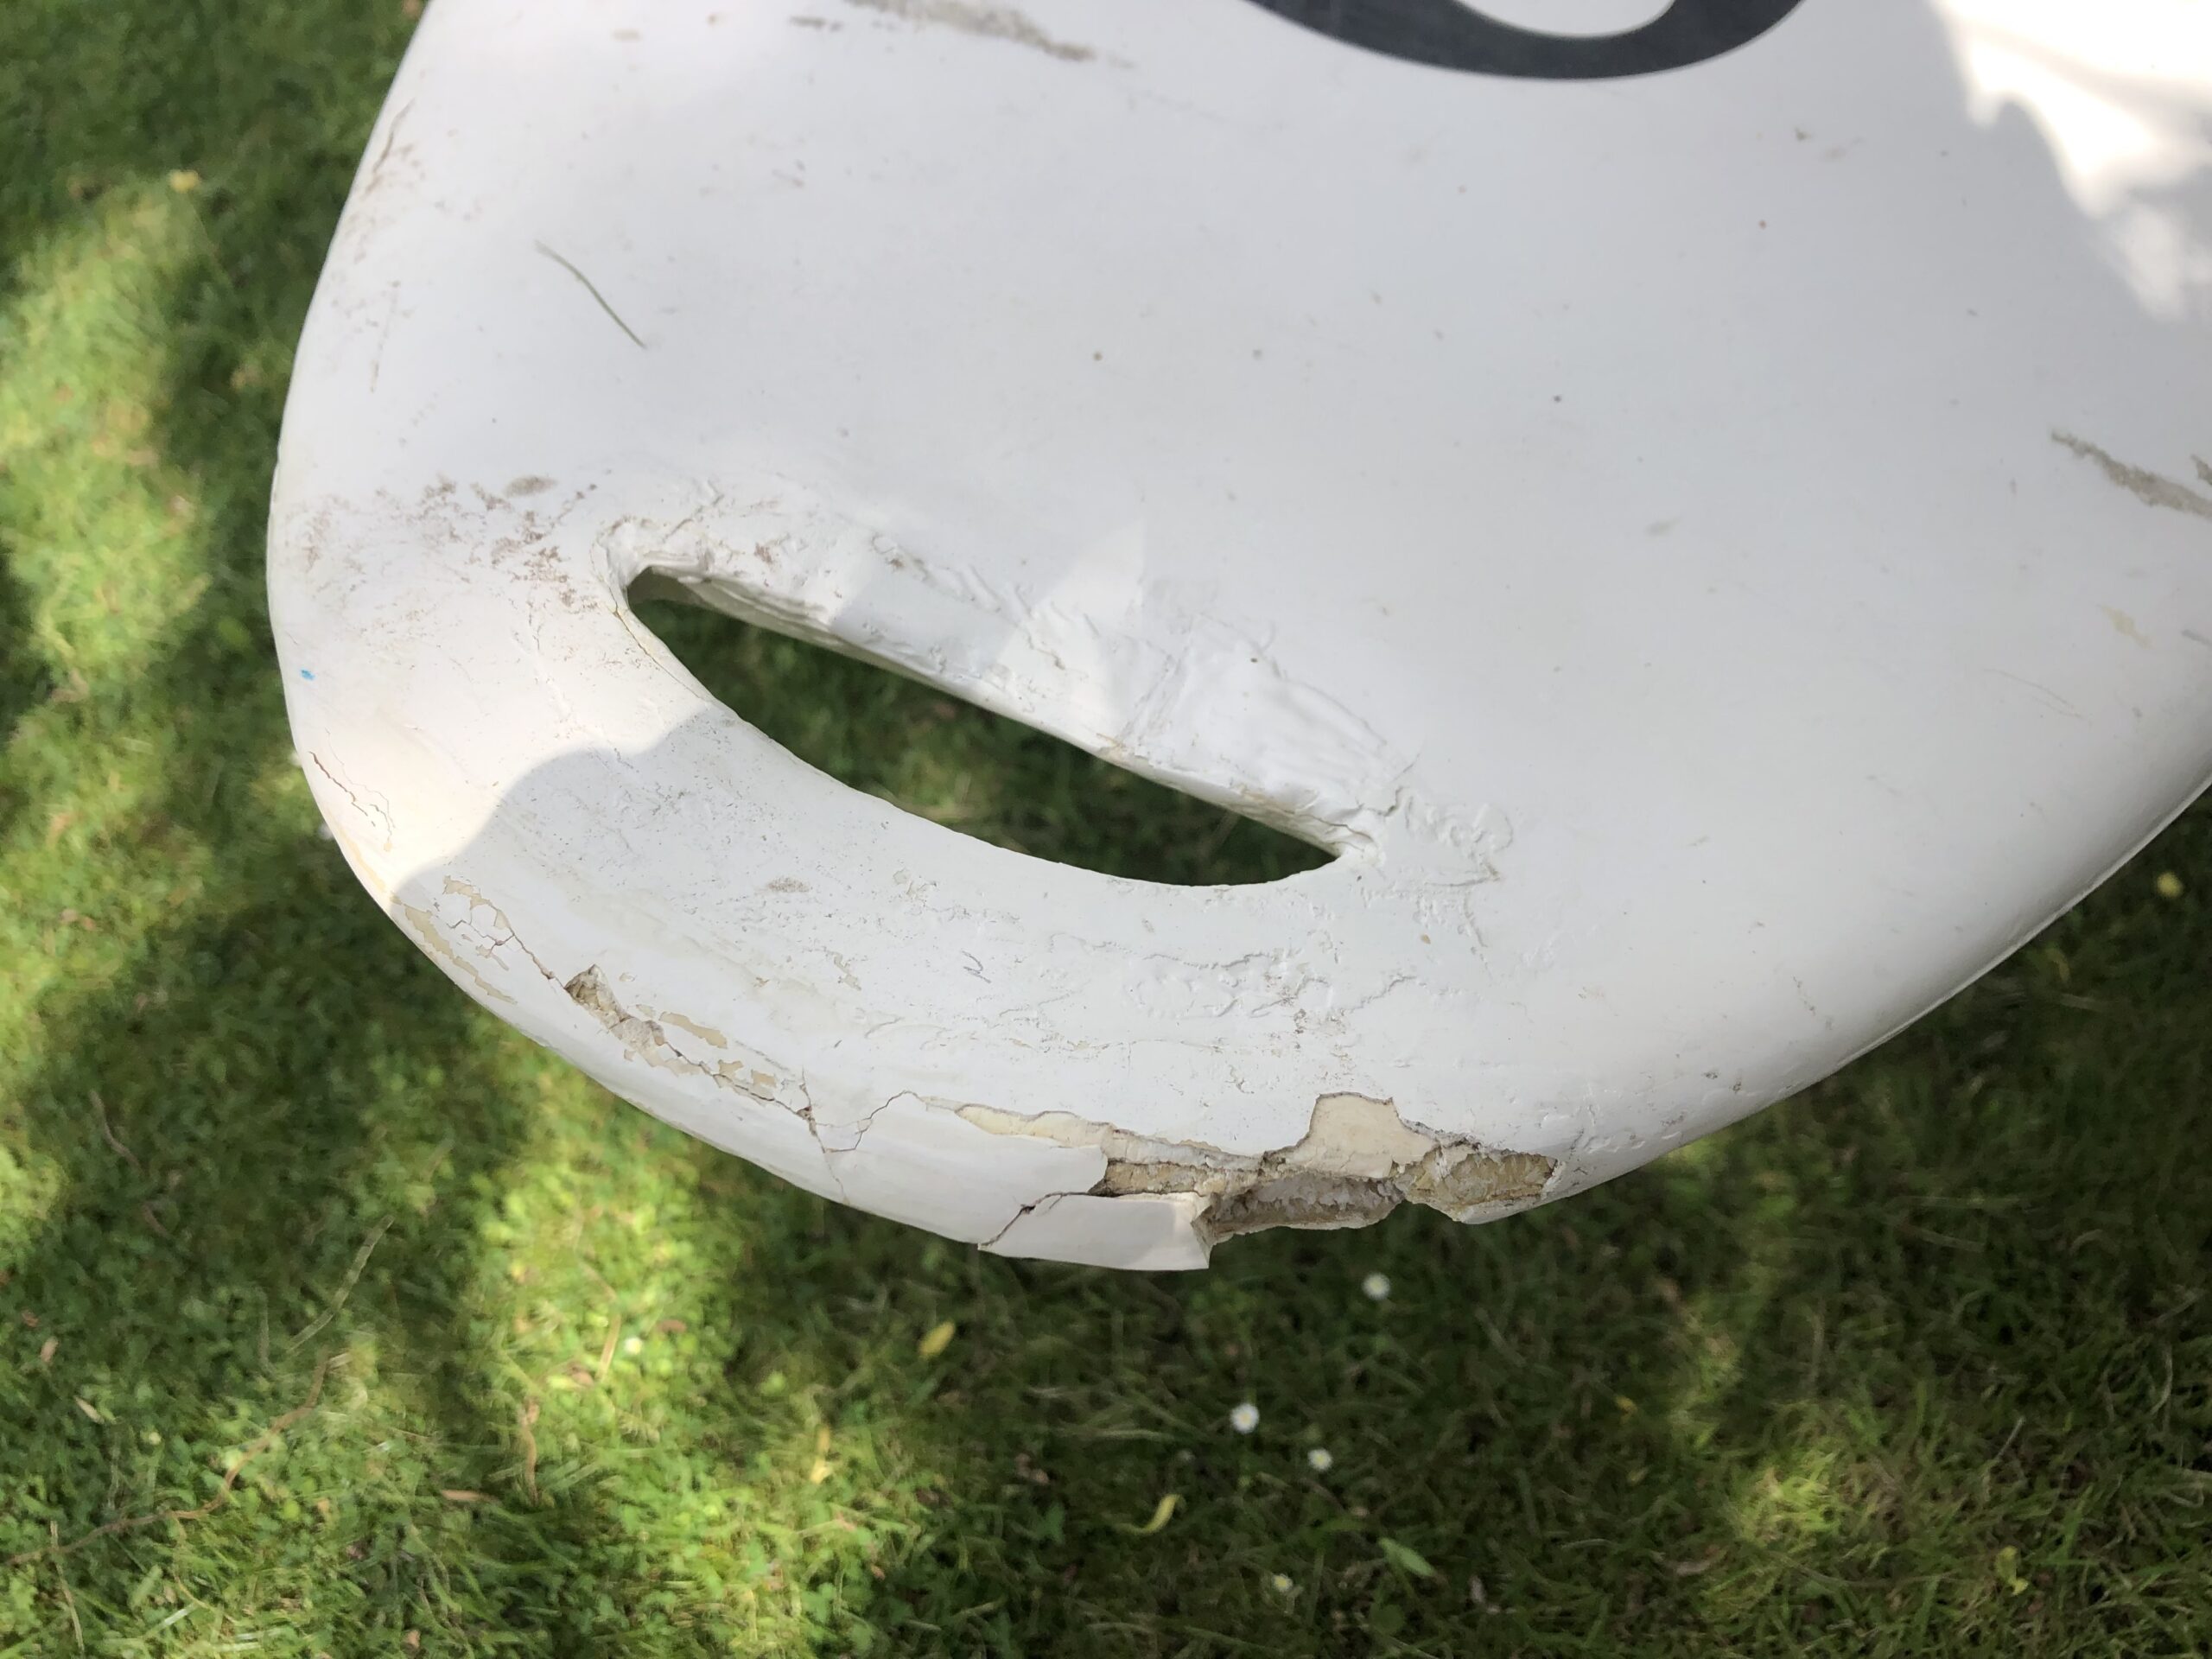
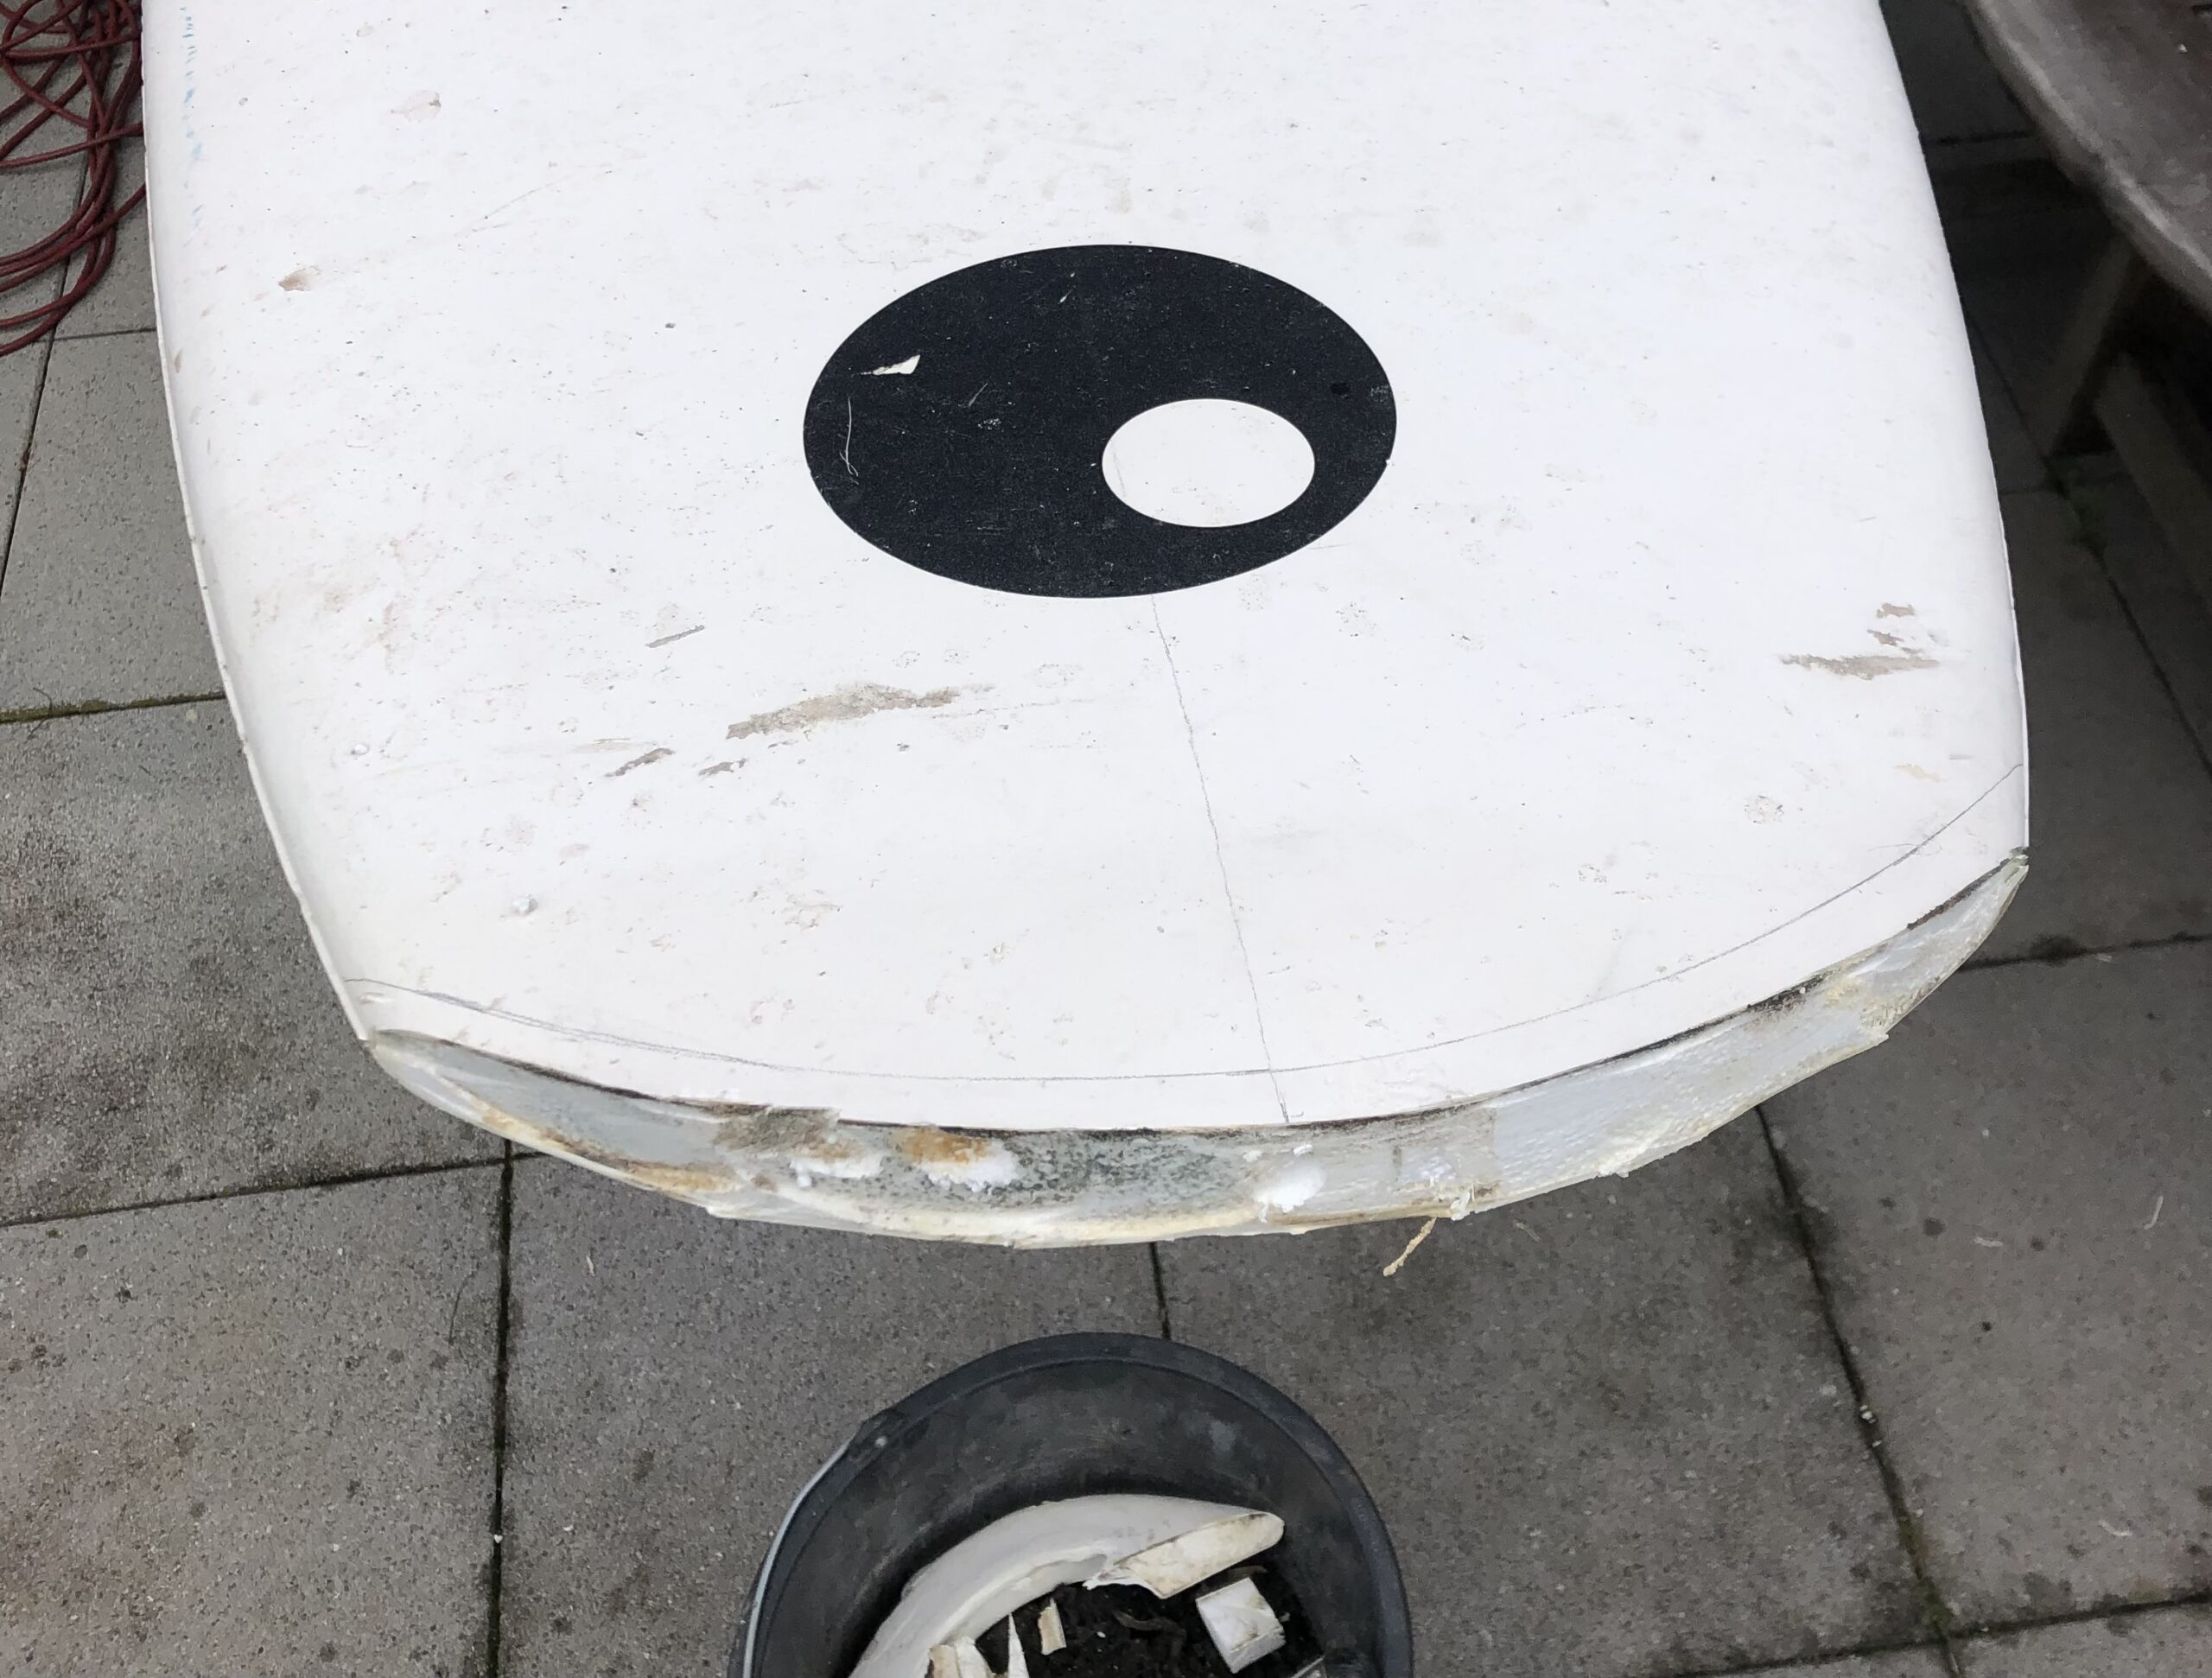
A small damage to the nose of a windsurfing board can happen quickly. It doesn’t matter if it was caused by a catapult or a careless encounter with a pier at the end of the session. But what can you do if the nose of the windsurf board also contains a handle and is completely destroyed? Since the core of the board was also cracked in that area and the handle for towing and carrying was unnecessary, I decided to make a stubby out of the board.
Draw
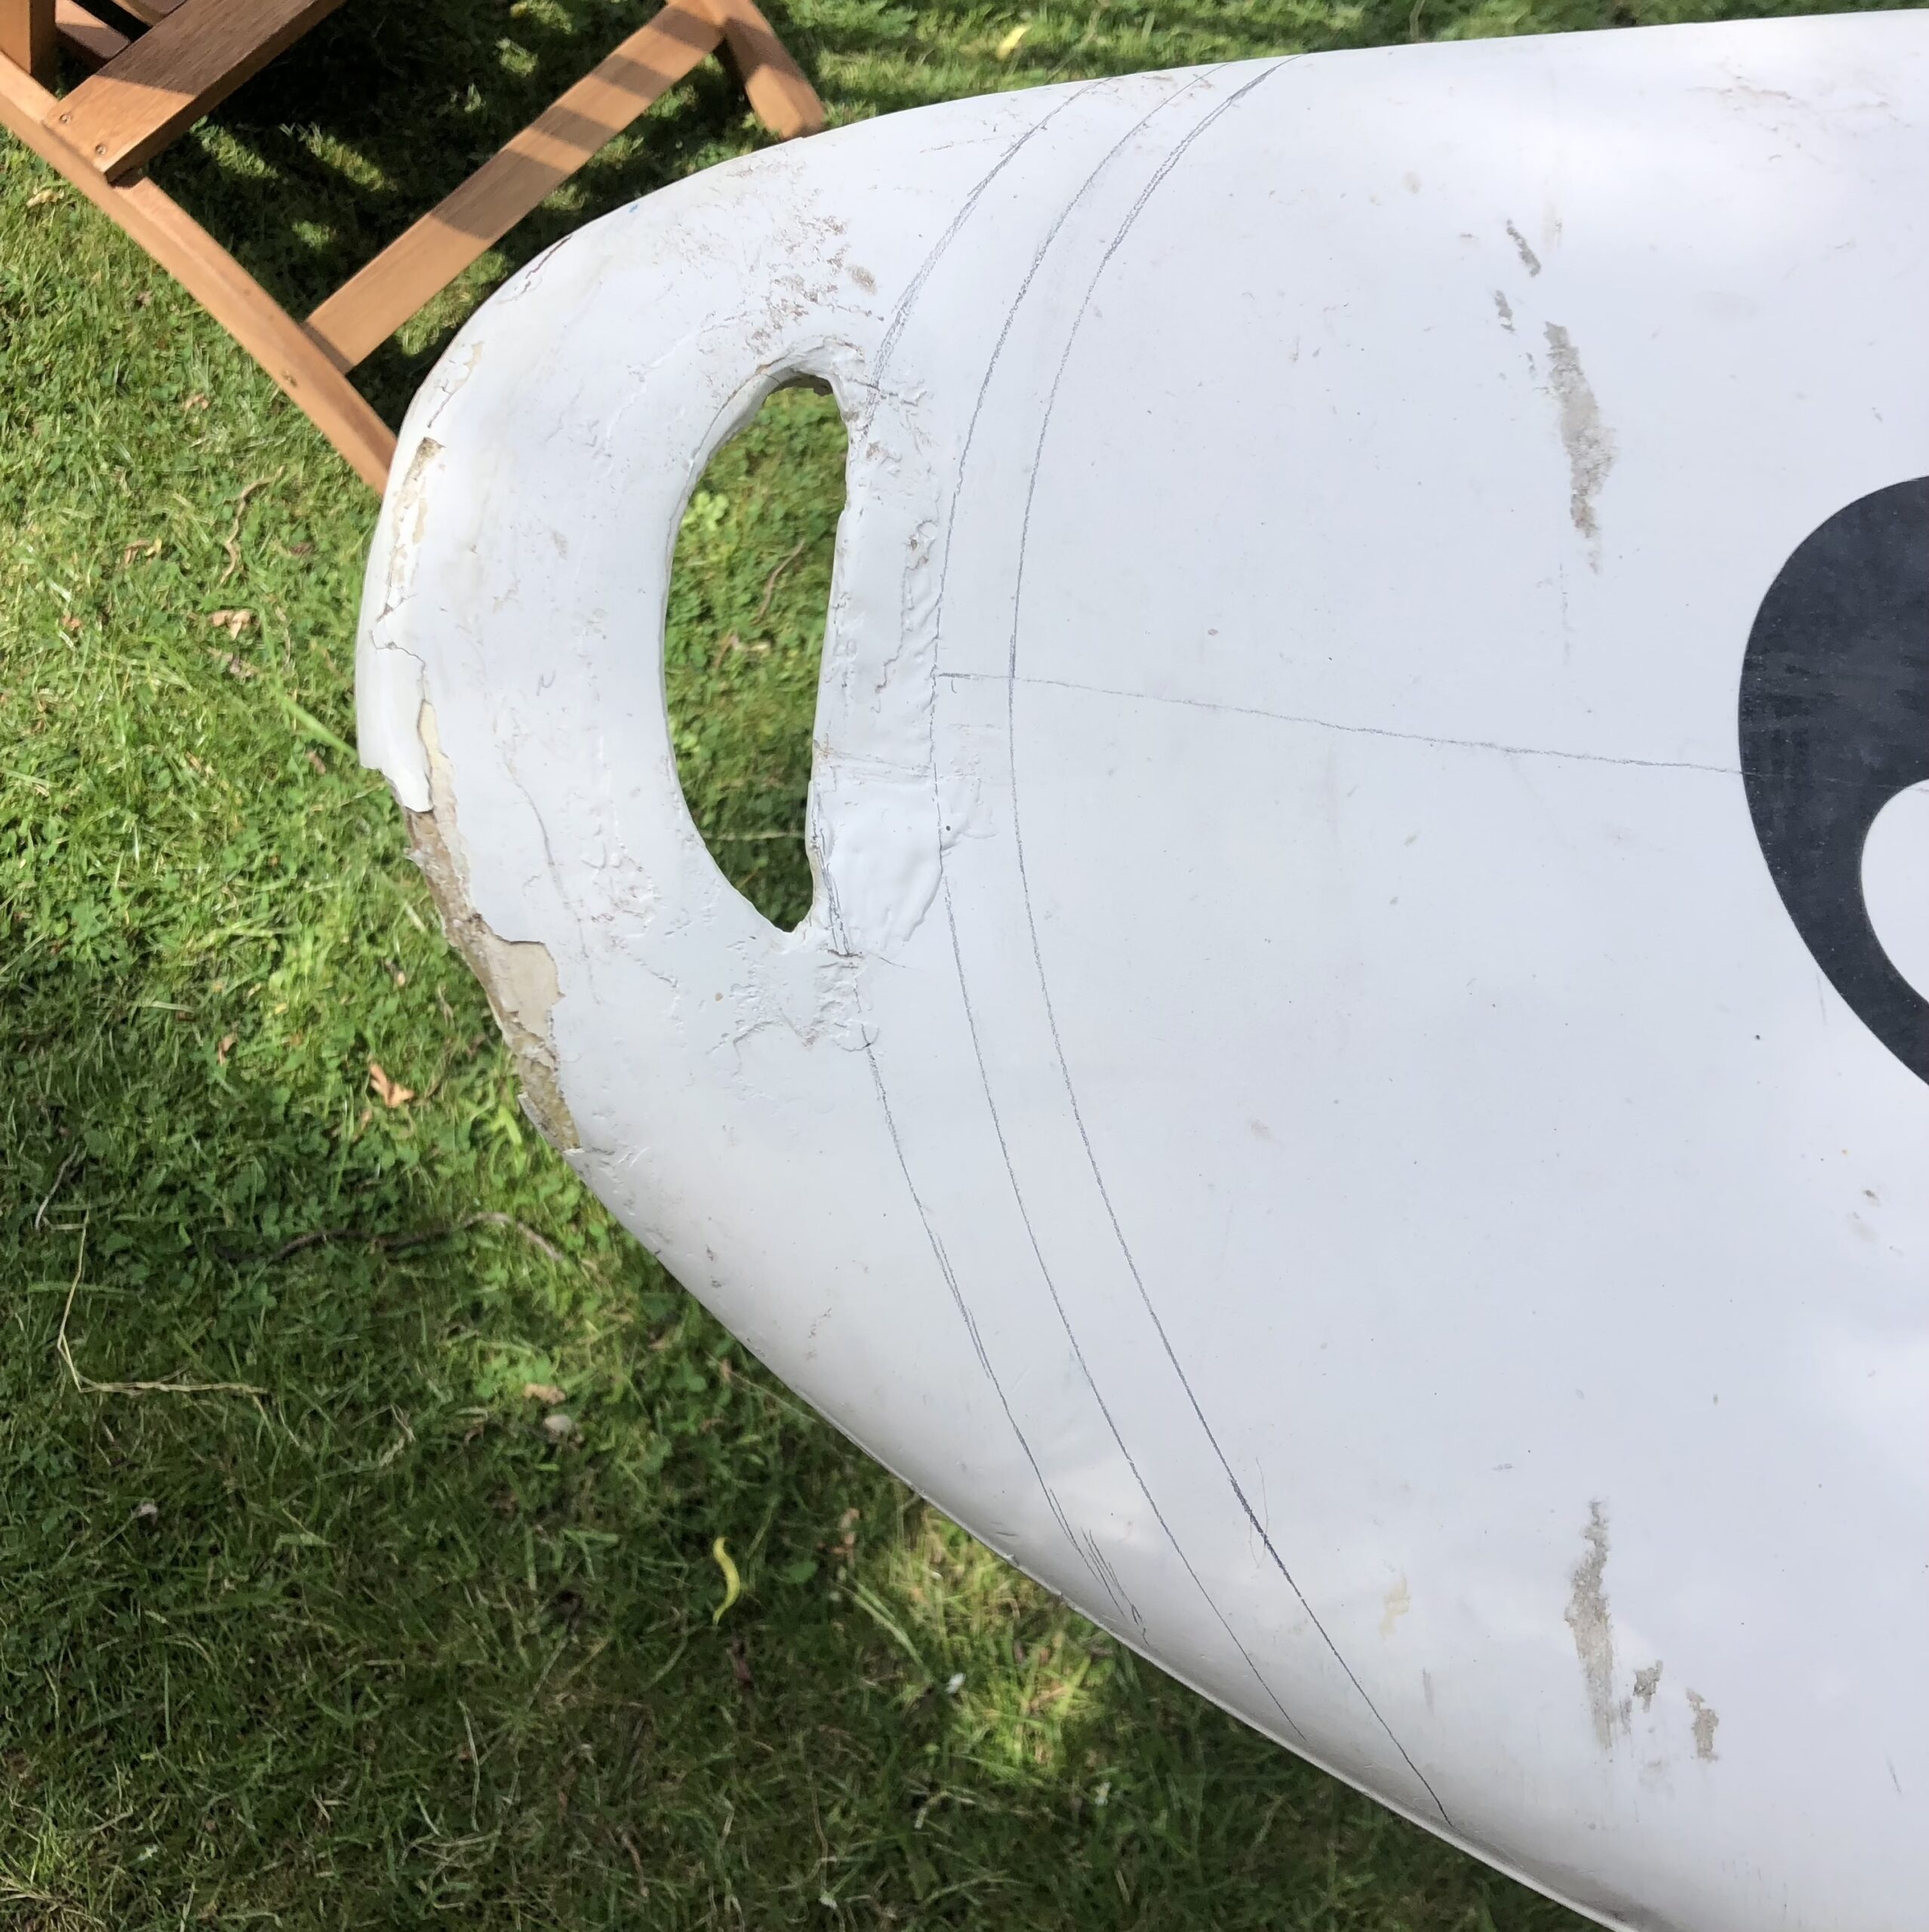
To do this, first draw the longitudinal axis between the nose and tail on the board. A short line in the area of the nose is sufficient. Then the new shape of the nose is sketched. For this purpose, a pen can be knotted in a piece of rope, which is held with the other hand on the previously drawn longitudinal axis. This creates a rounded shape. It is recommended to sketch two lines with this technique at a distance of about 15 – 20 mm. One line will later serve as a cutting line, the other as an orientation during subsequent grinding.
Get rid of the nose
Now the damaged part is cut off along the outer line. This works excellently with a CFRP/GFRP saw blade for an oscillating multitool. In a pinch, you can also use an angle grinder and a thin stainless steel disk. When cutting, make sure that the angle to the surface is correct and leave a little too much of the core. If necessary, cut the core after cutting through the laminate or sandwich with a slim knife.
Shape it
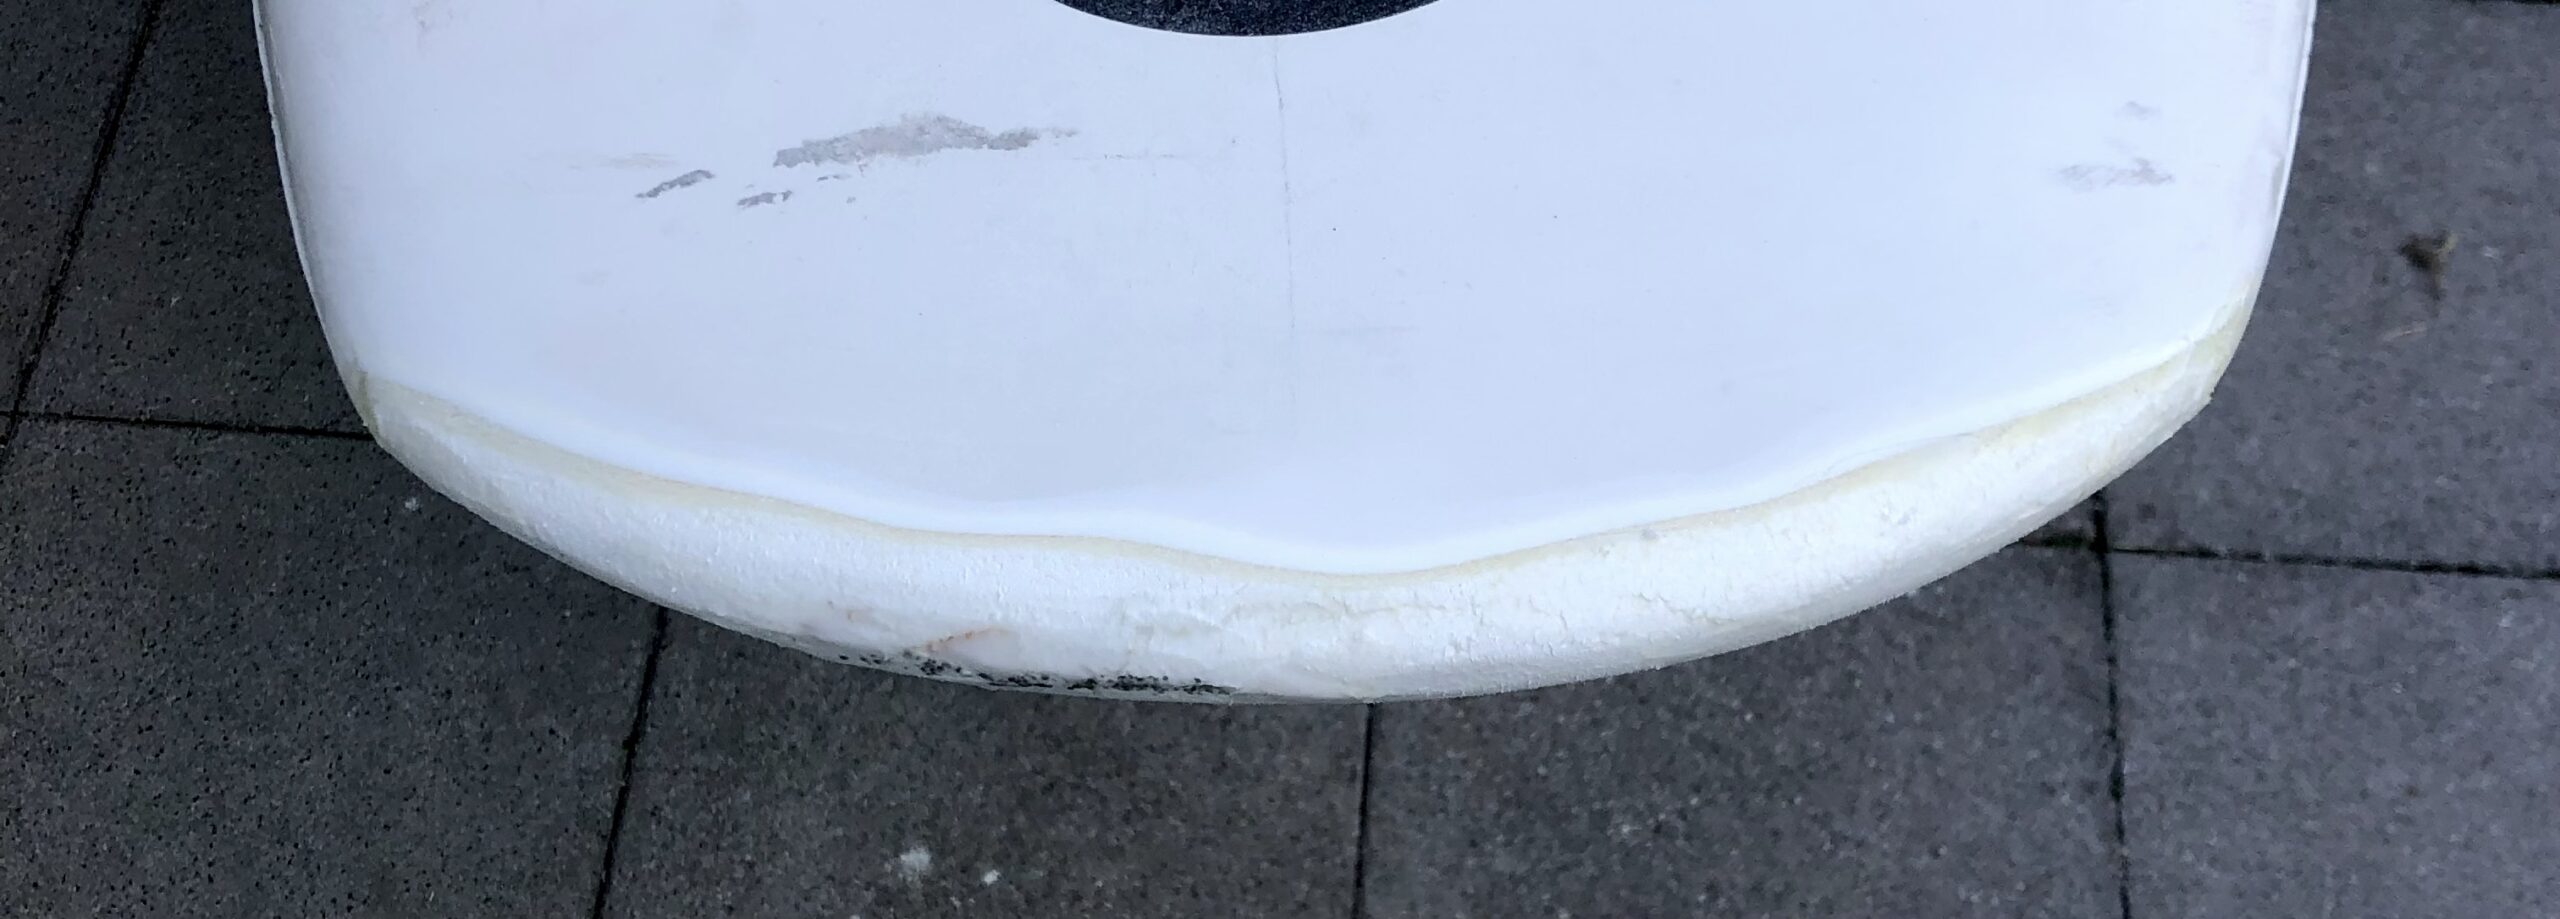
With 60-grit sandpaper on the hand sanding block, everything is now roughly brought into shape. First rework the cut, then round off the edges on the deck and underside of the board. Finally, use 120-grit sandpaper to sand a generous bevel into the remaining laminate.
Repair of defects in the core
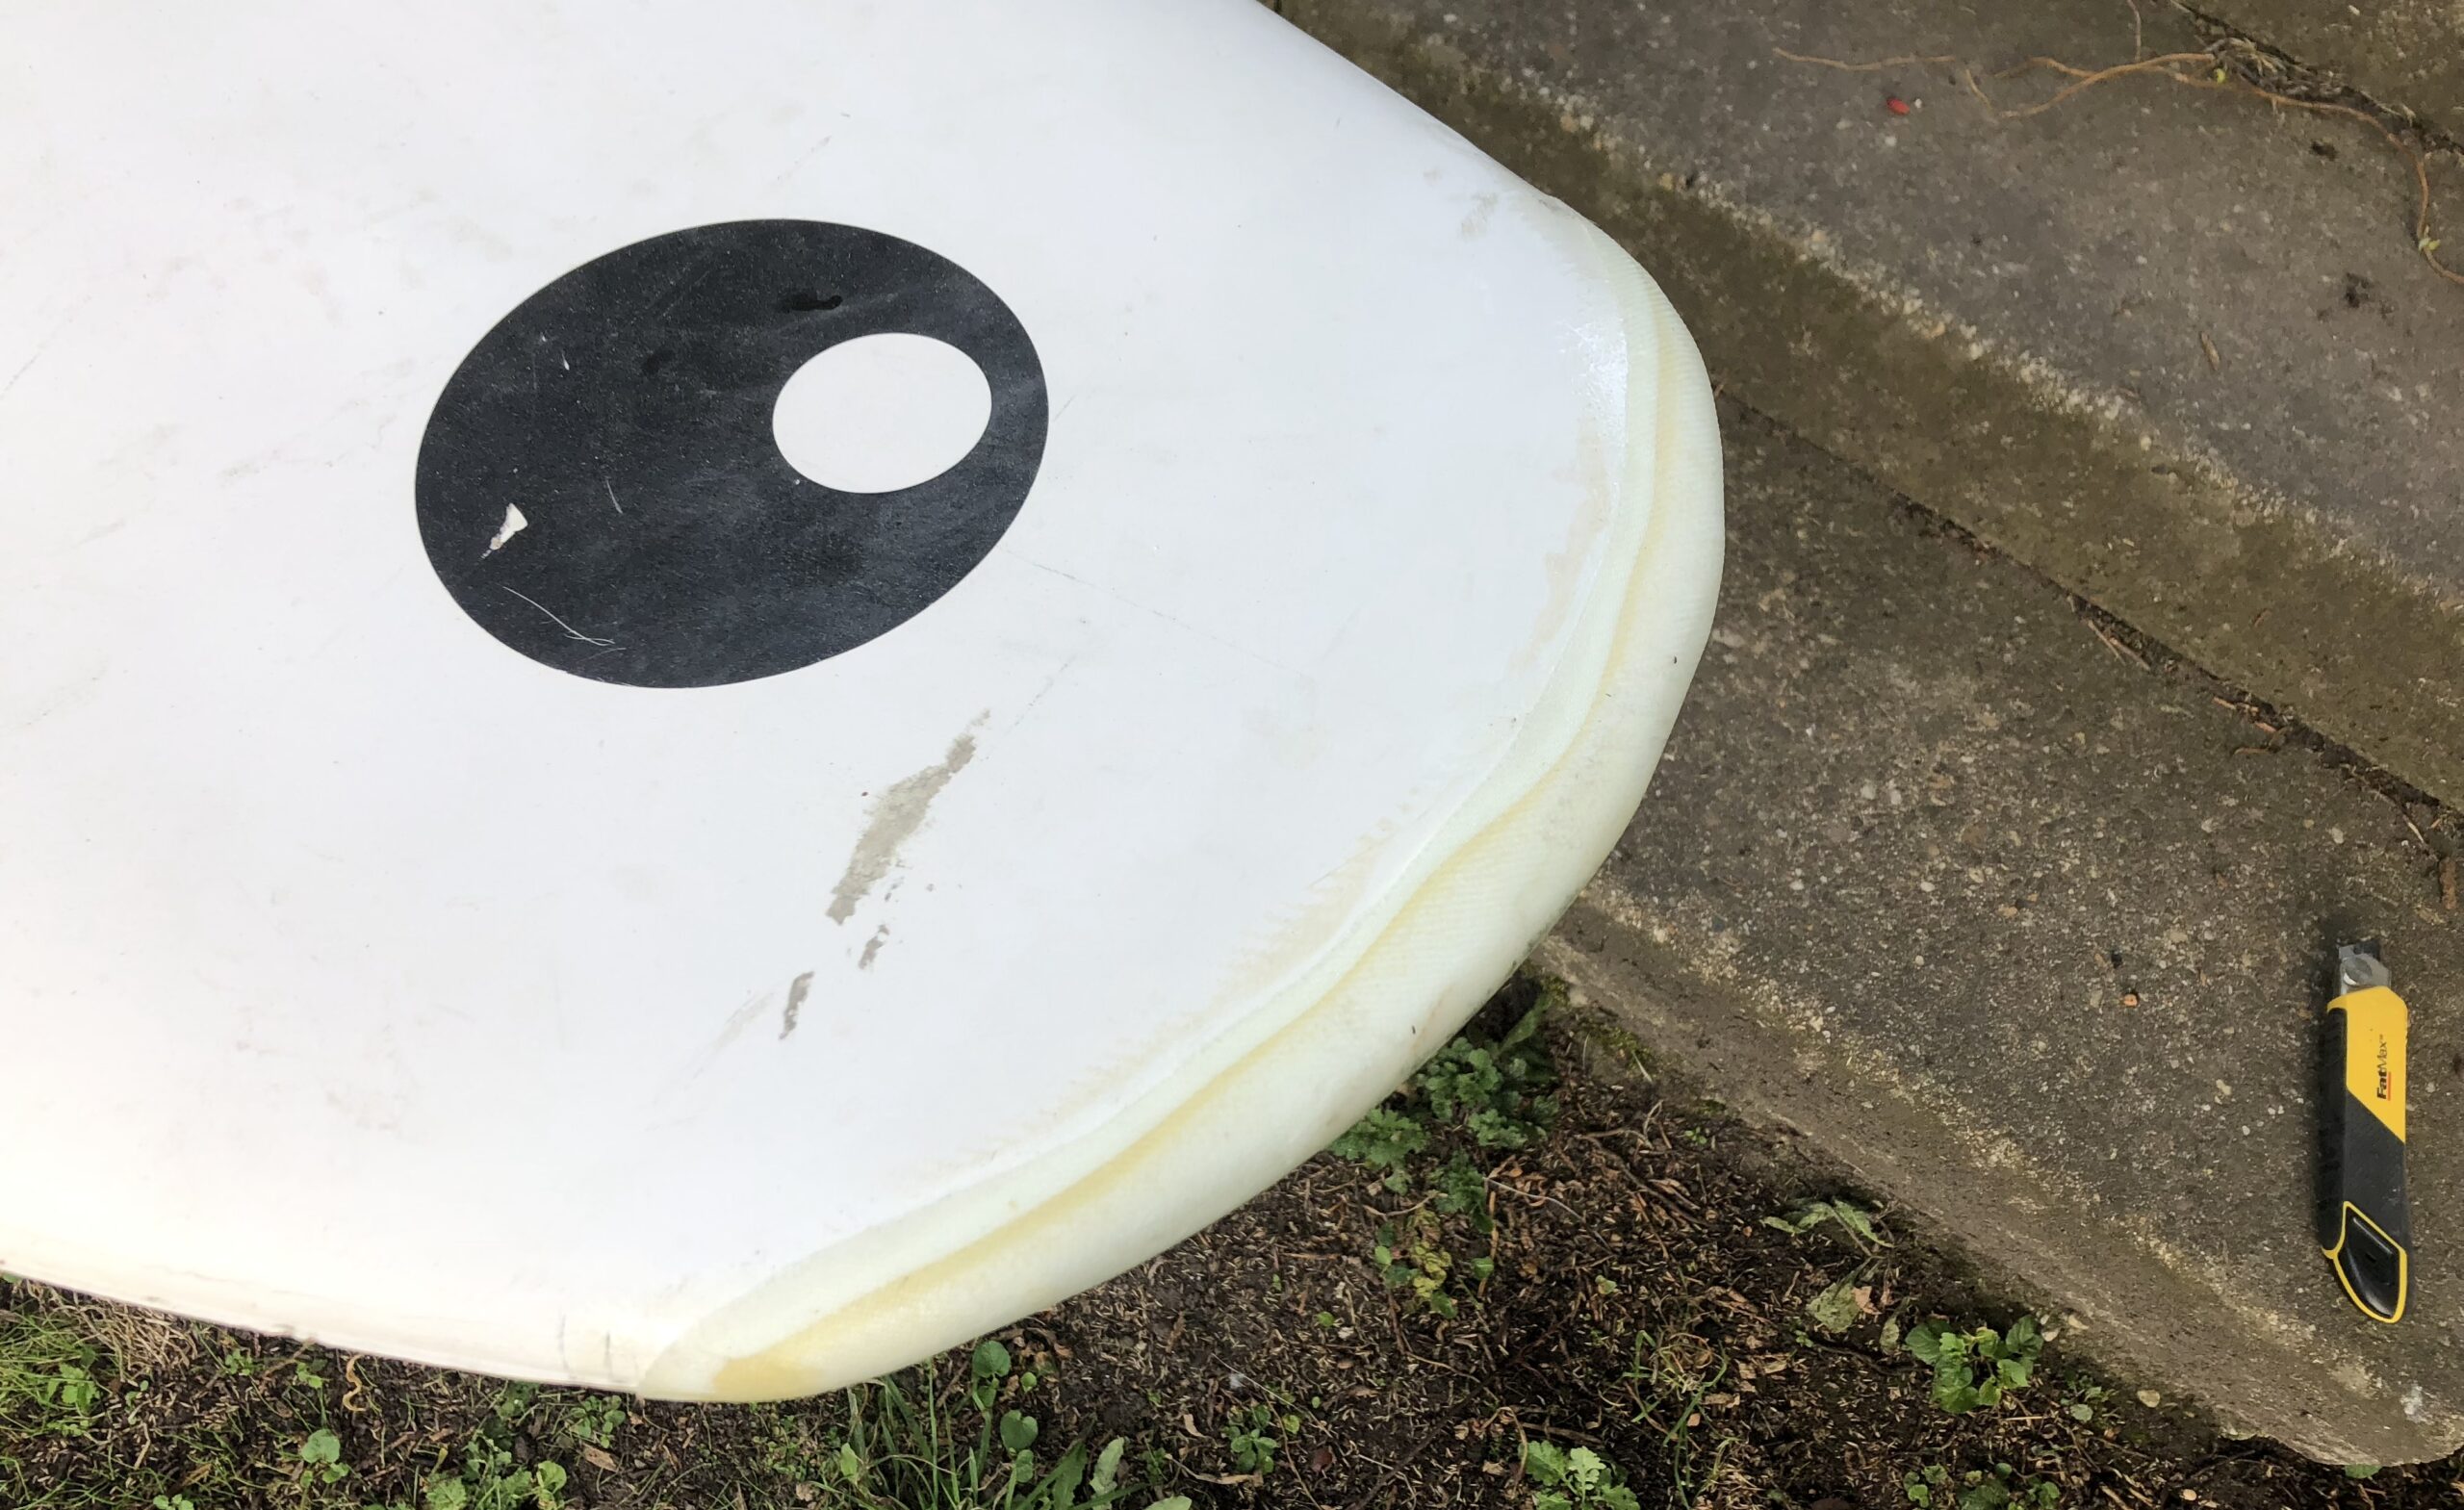
If the foam core has small breakouts or defects, as shown here to the left of the center, fill these before laminating. To do this, mix epoxy resin, sprinkle in hollow glass spheres and thicken slightly with thixotropic agent. This produces a putty that is ideally suited for the foam core and further processing. Fill this into the defects with a small overhang. Allow to cure and sand with 120 grit sandpaper.
Laminating the new nose
Depending on the board construction, laminate layer by layer of glass fabric or carbon fiber. Use twill fabric for better drapeability around the shape of the nose. I used layers of 250 g/m2, 163 g/m2 and 110 g/m2. Soak the mats cleanly and deflate properly with laminating brush or roller. Before the resin starts setting, wrap the mats tightly with stretch film.

Cut off excess length
After the resin has set, cut off the excess of the fiber mats with a sharp knife and remove carefully. Then fix tightly again with stretch film.
Rework
Allow to cure and remove the stretch films. Sand the transition from new to old laminate cleanly and evenly with 120-grit sandpaper. If you still don’t like the surface, you can now apply gelcoat or a spray filler to the entire repair area. Otherwise sand with 240, 400 and 800 grit sandpaper. Then apply epoxy primer and paint.