You can buy raw soap and individualize it by melting and adding other substances, or you can make the soap completely yourself. This article is dedicated to the fully homemade soap. This gives you real natural soap that contains only your own ingredients. The recipe yields about 970 g of soap, which can be perfectly molded in an empty beverage carton with 1 l volume.
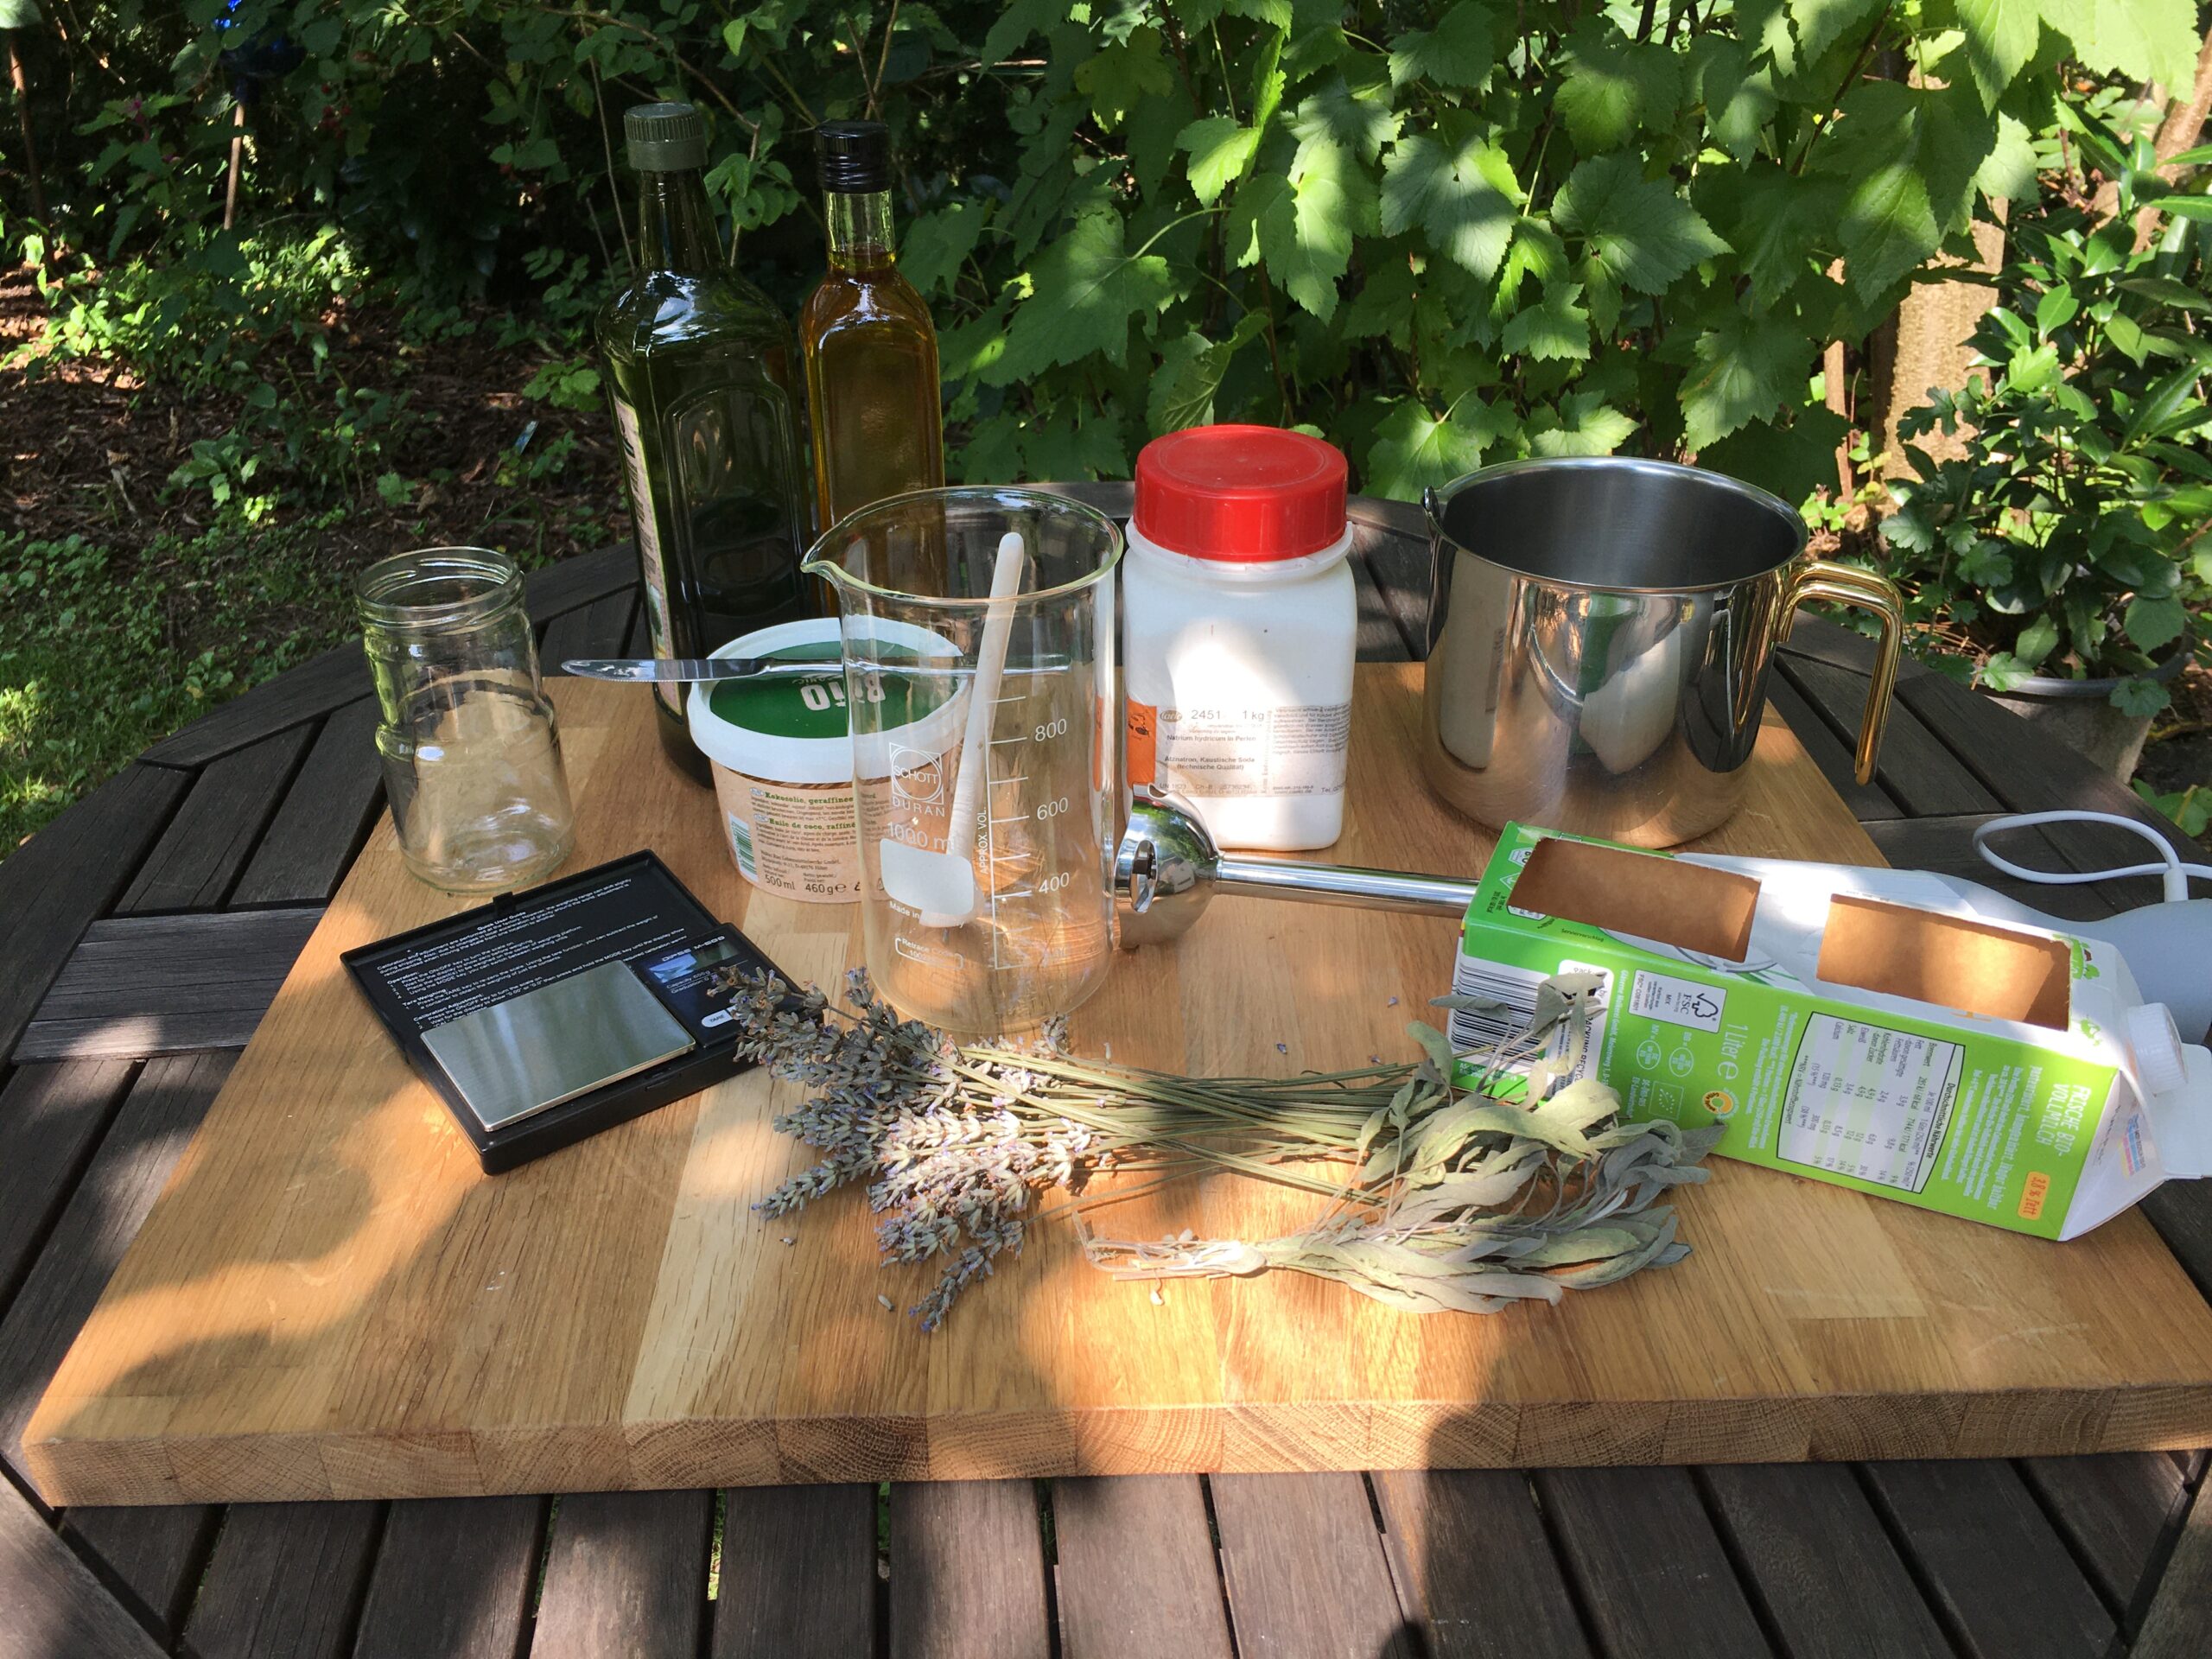
Ingredients and tools
- 200 g rapeseed oil
- 220 g olive oil
- 250 g coconut oil
- 200 g distilled water
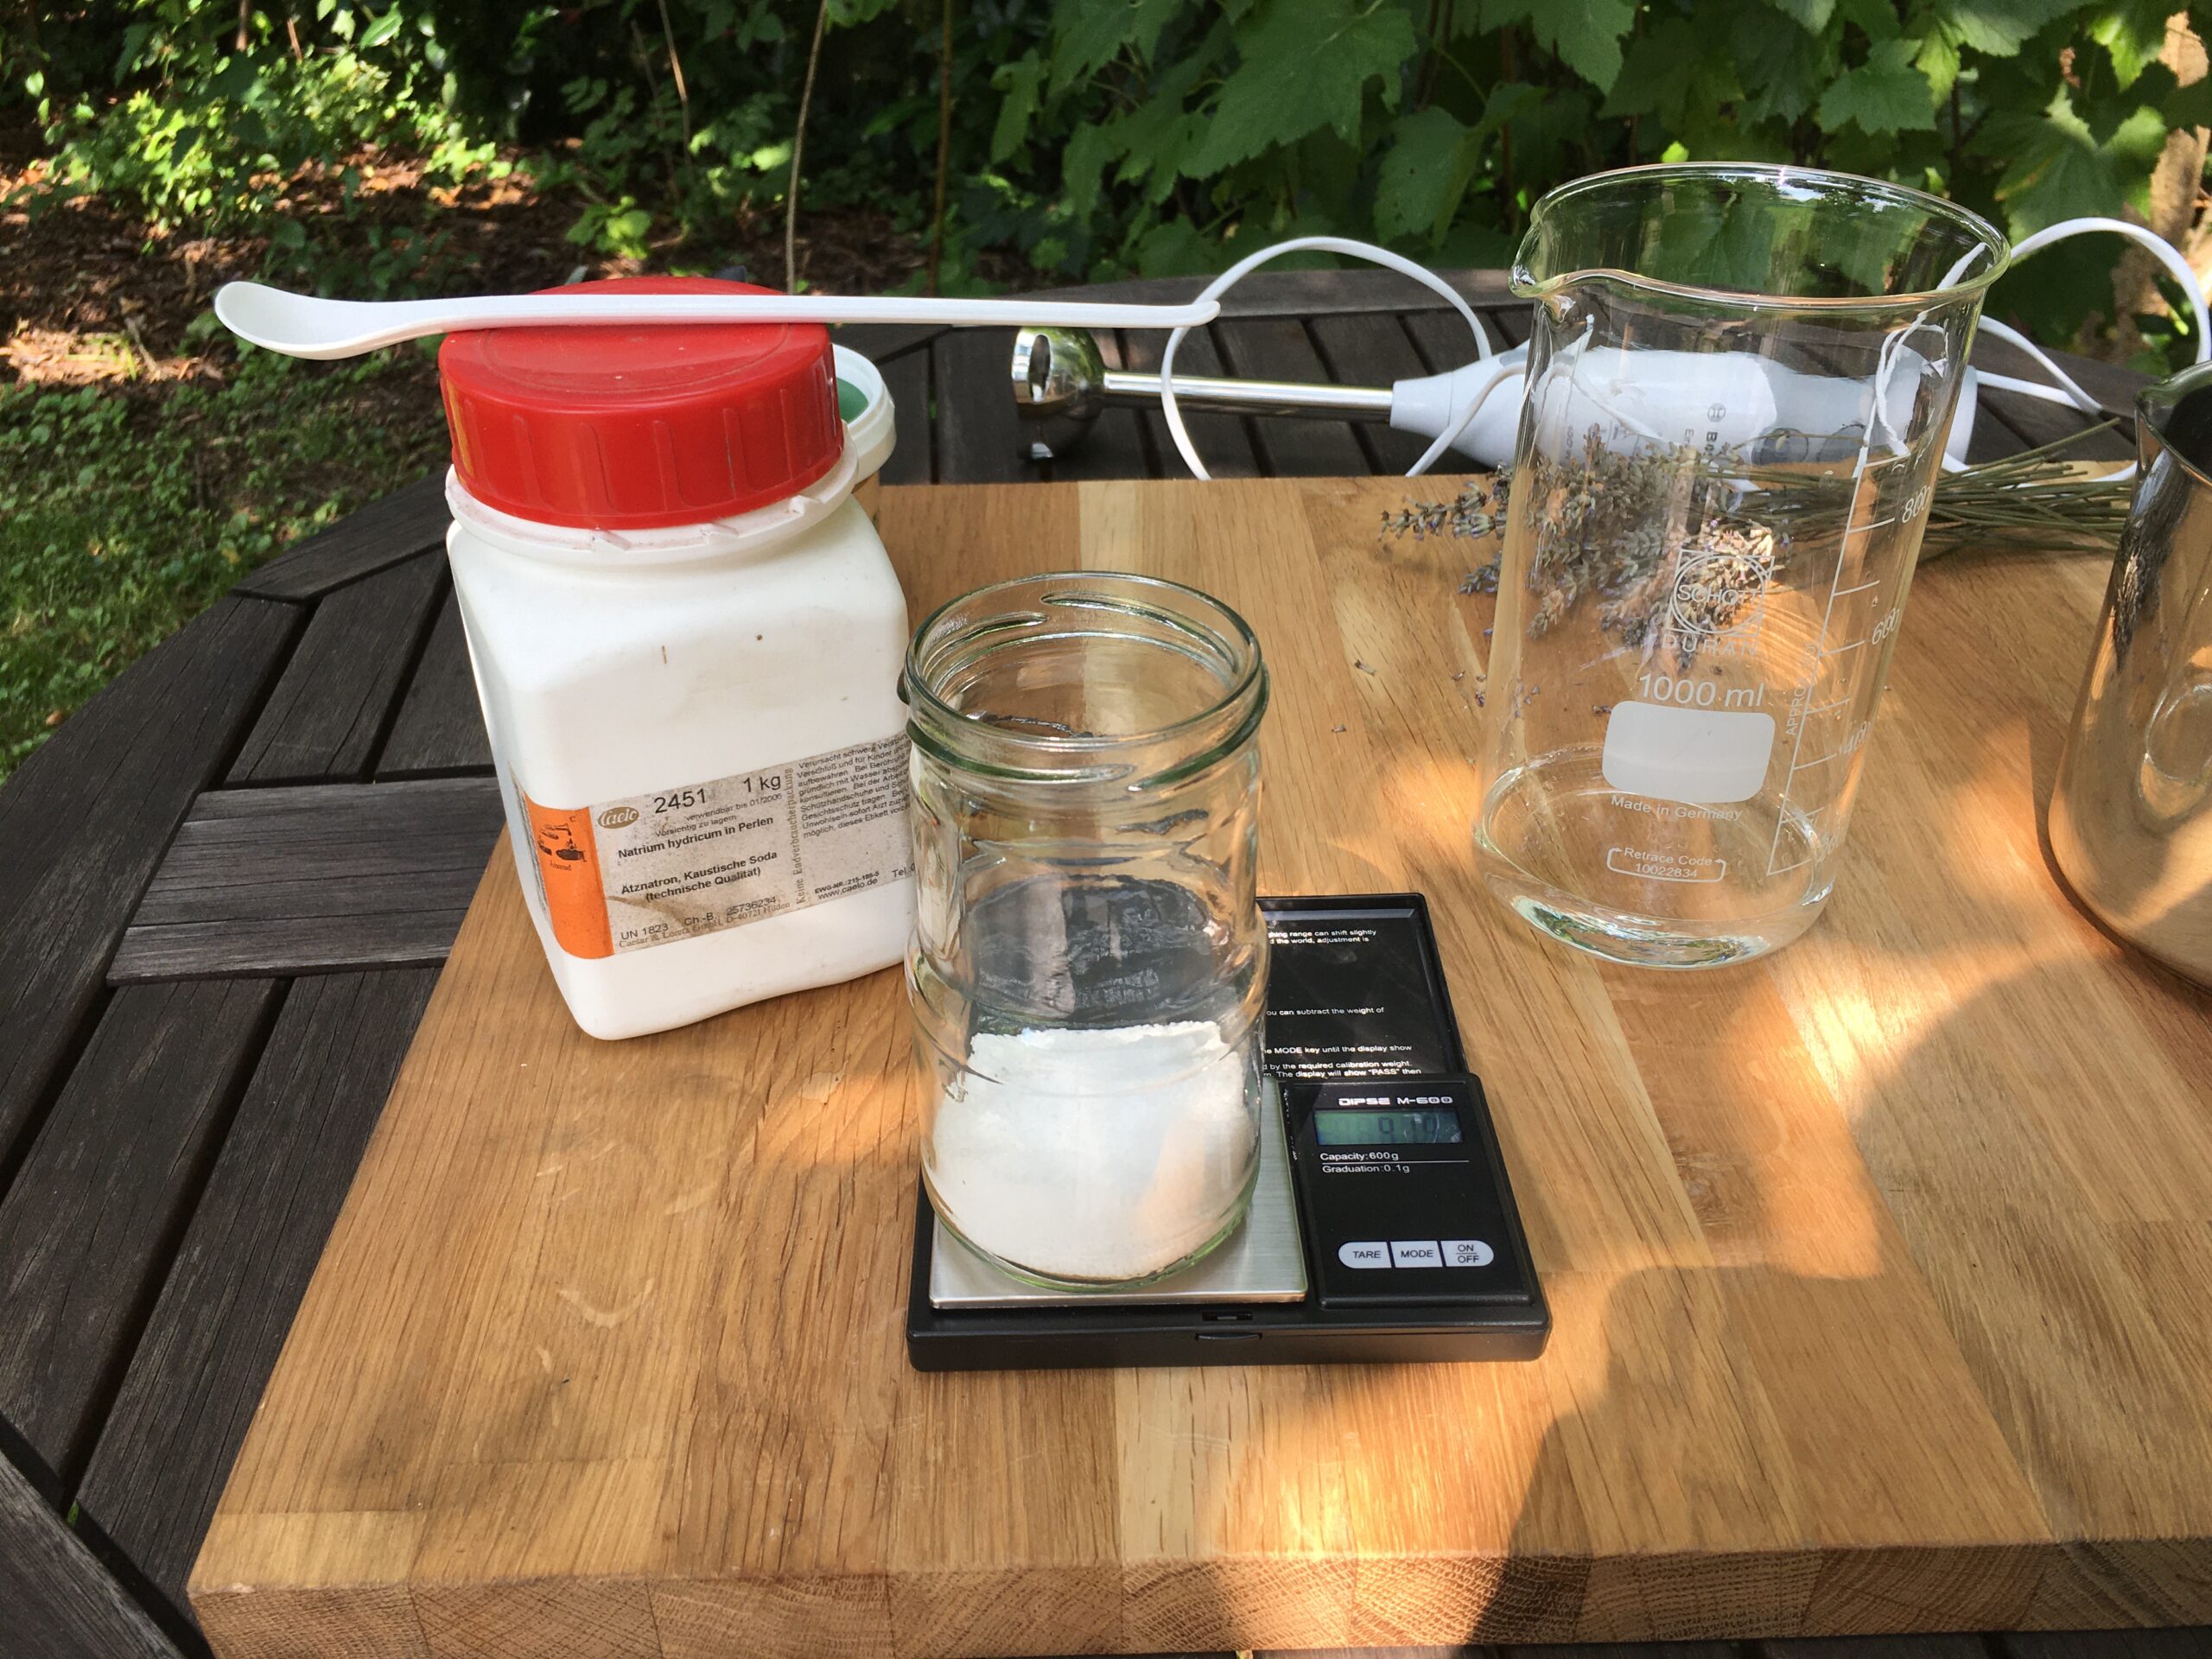
- 91.85 g sodium hydroxide
- 1 tsp salt
- 1 tsp honey
- Digital kitchen scale
- Precision scale with at least one decimal digit
- Hand blender
- Stainless steel pot
- Two beakers
- Rinsed beverage carton
- Optional: dried plant parts / essential oils for appearance and scent
- Safety glasses, chemical resistant gloves
Procedure
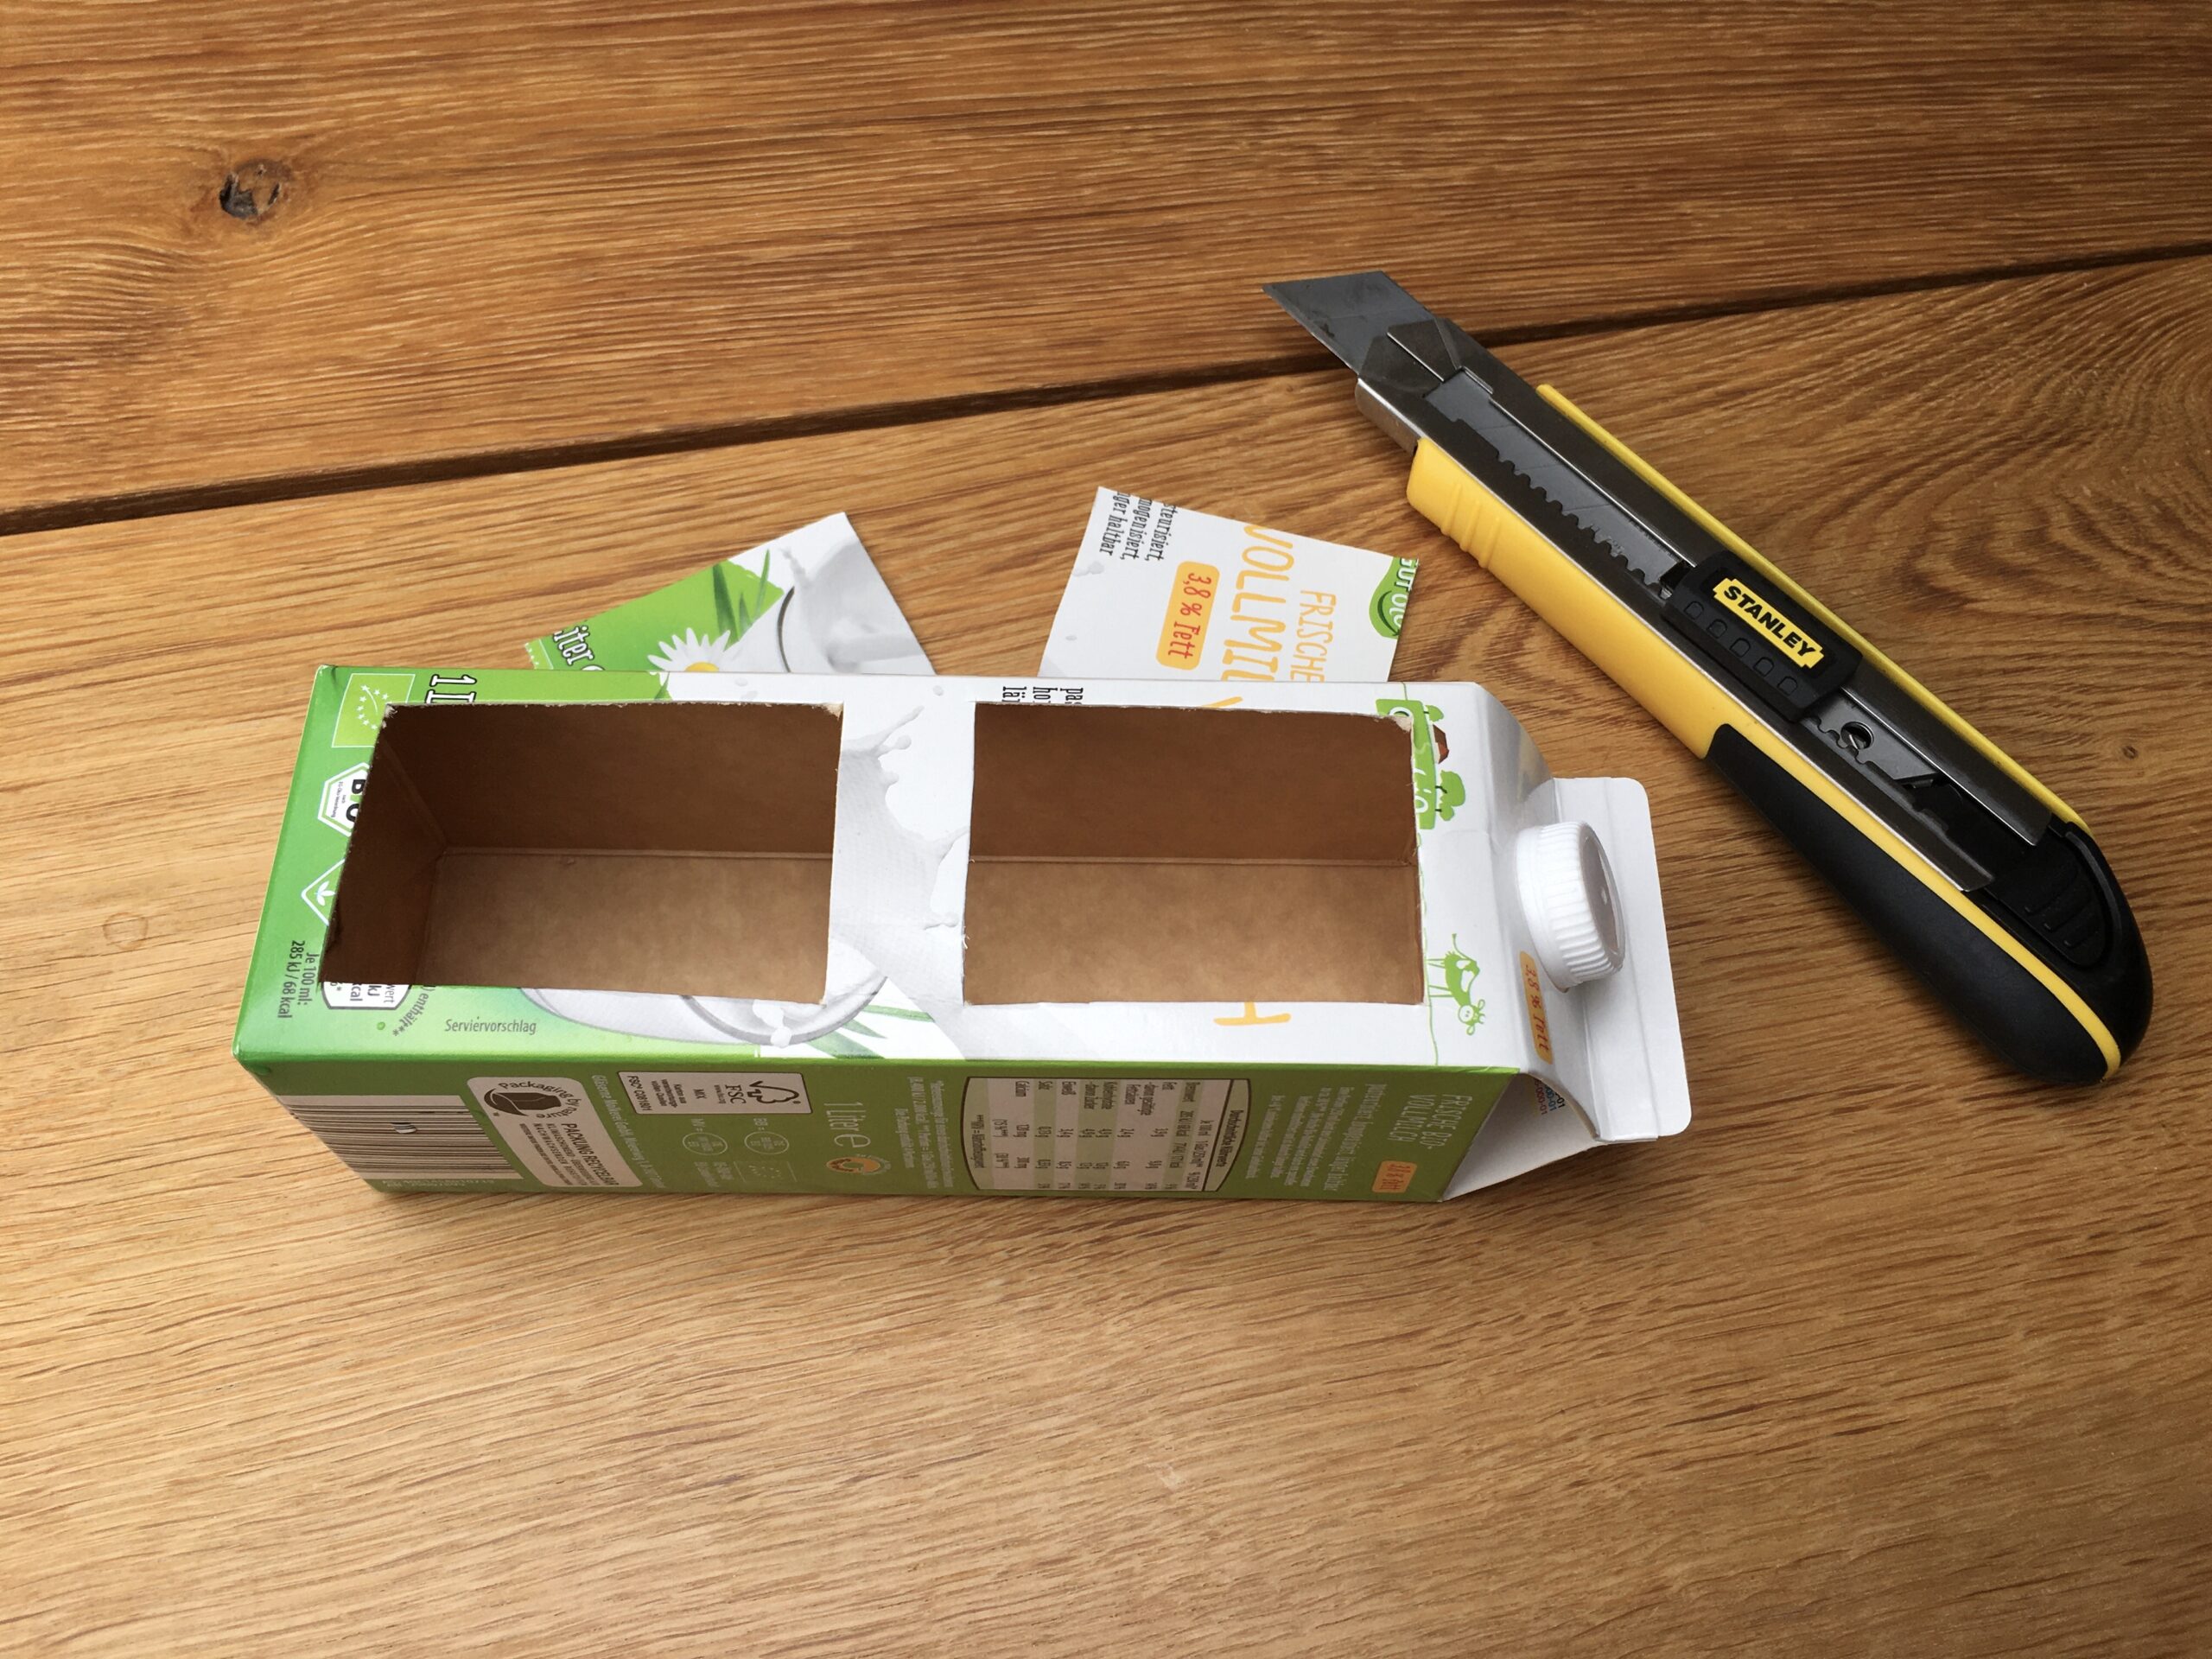
Mold preparation
Cut two openings for filling the liquid soap into the beverage carton. The bar in the middle ensures that the carton is not pressed apart after filling.
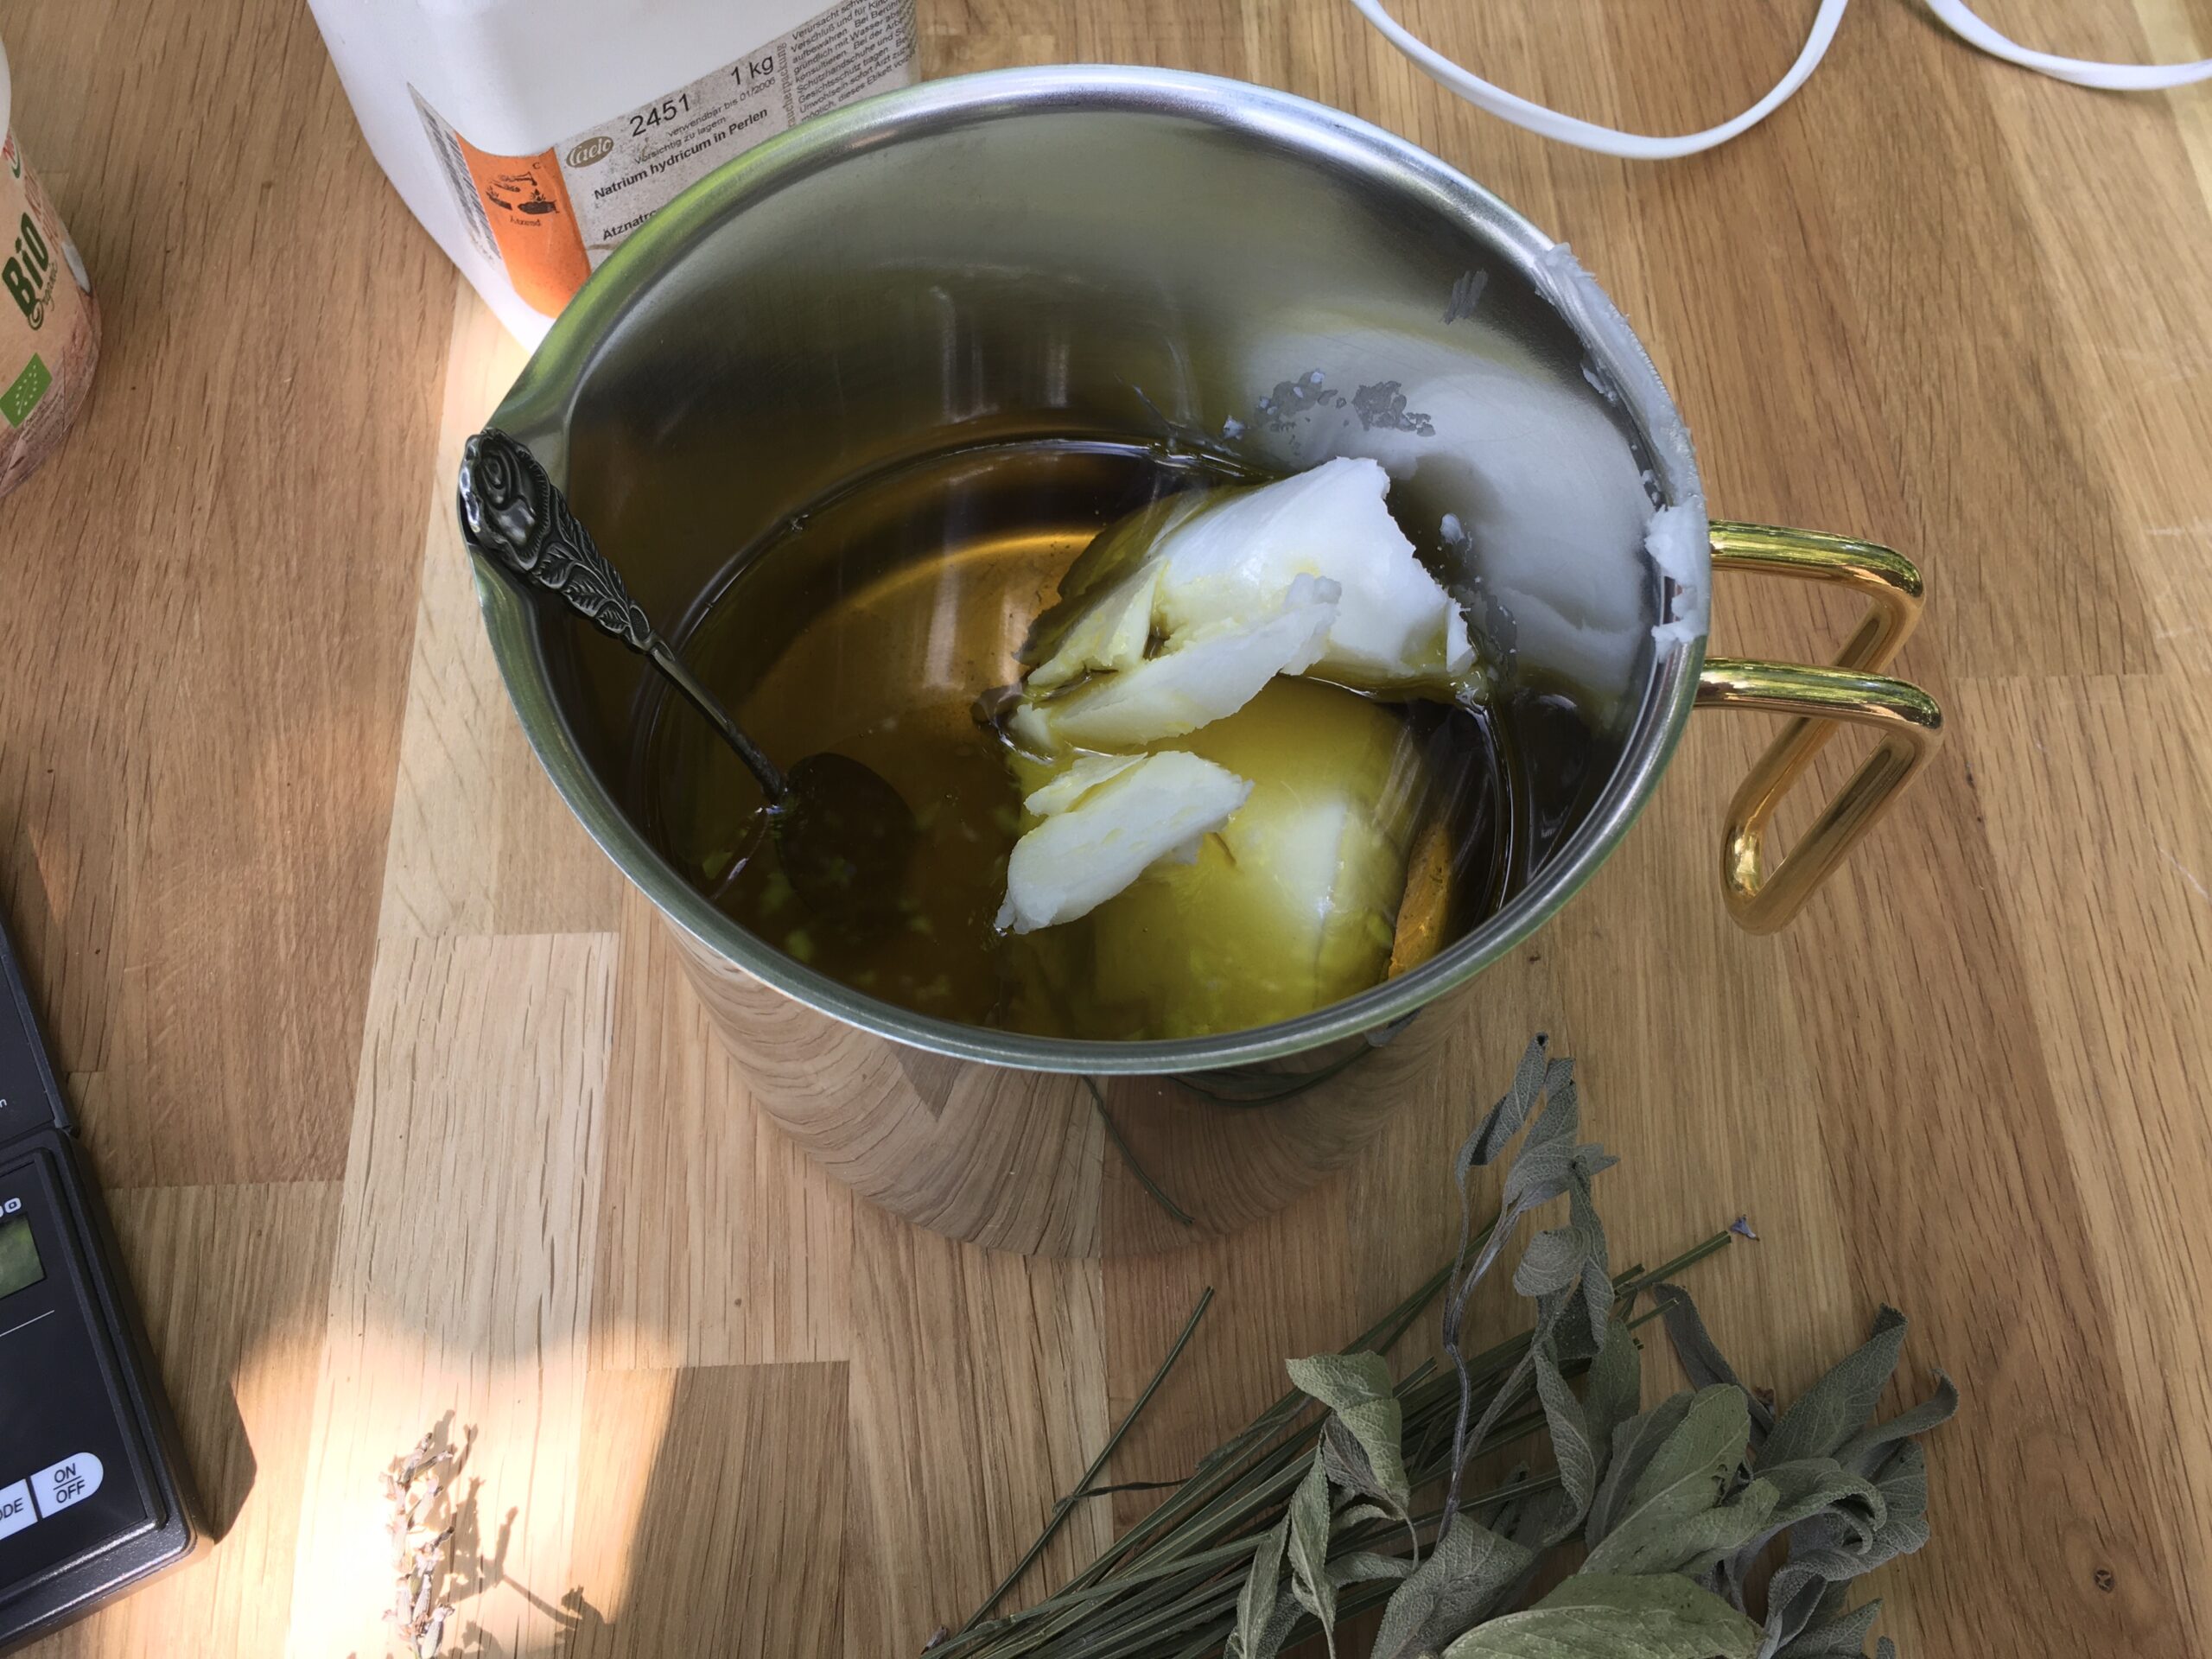
Weigh and melt oils & fat
Weigh canola oil, olive oil and coconut oil in a stainless steel pot to the nearest gram. In no case use a container made of aluminum, this would be corroded in the further process. Then heat the mixture of oils and fat just enough to melt the fat. Let it cool down to about lukewarm and add salt and honey.
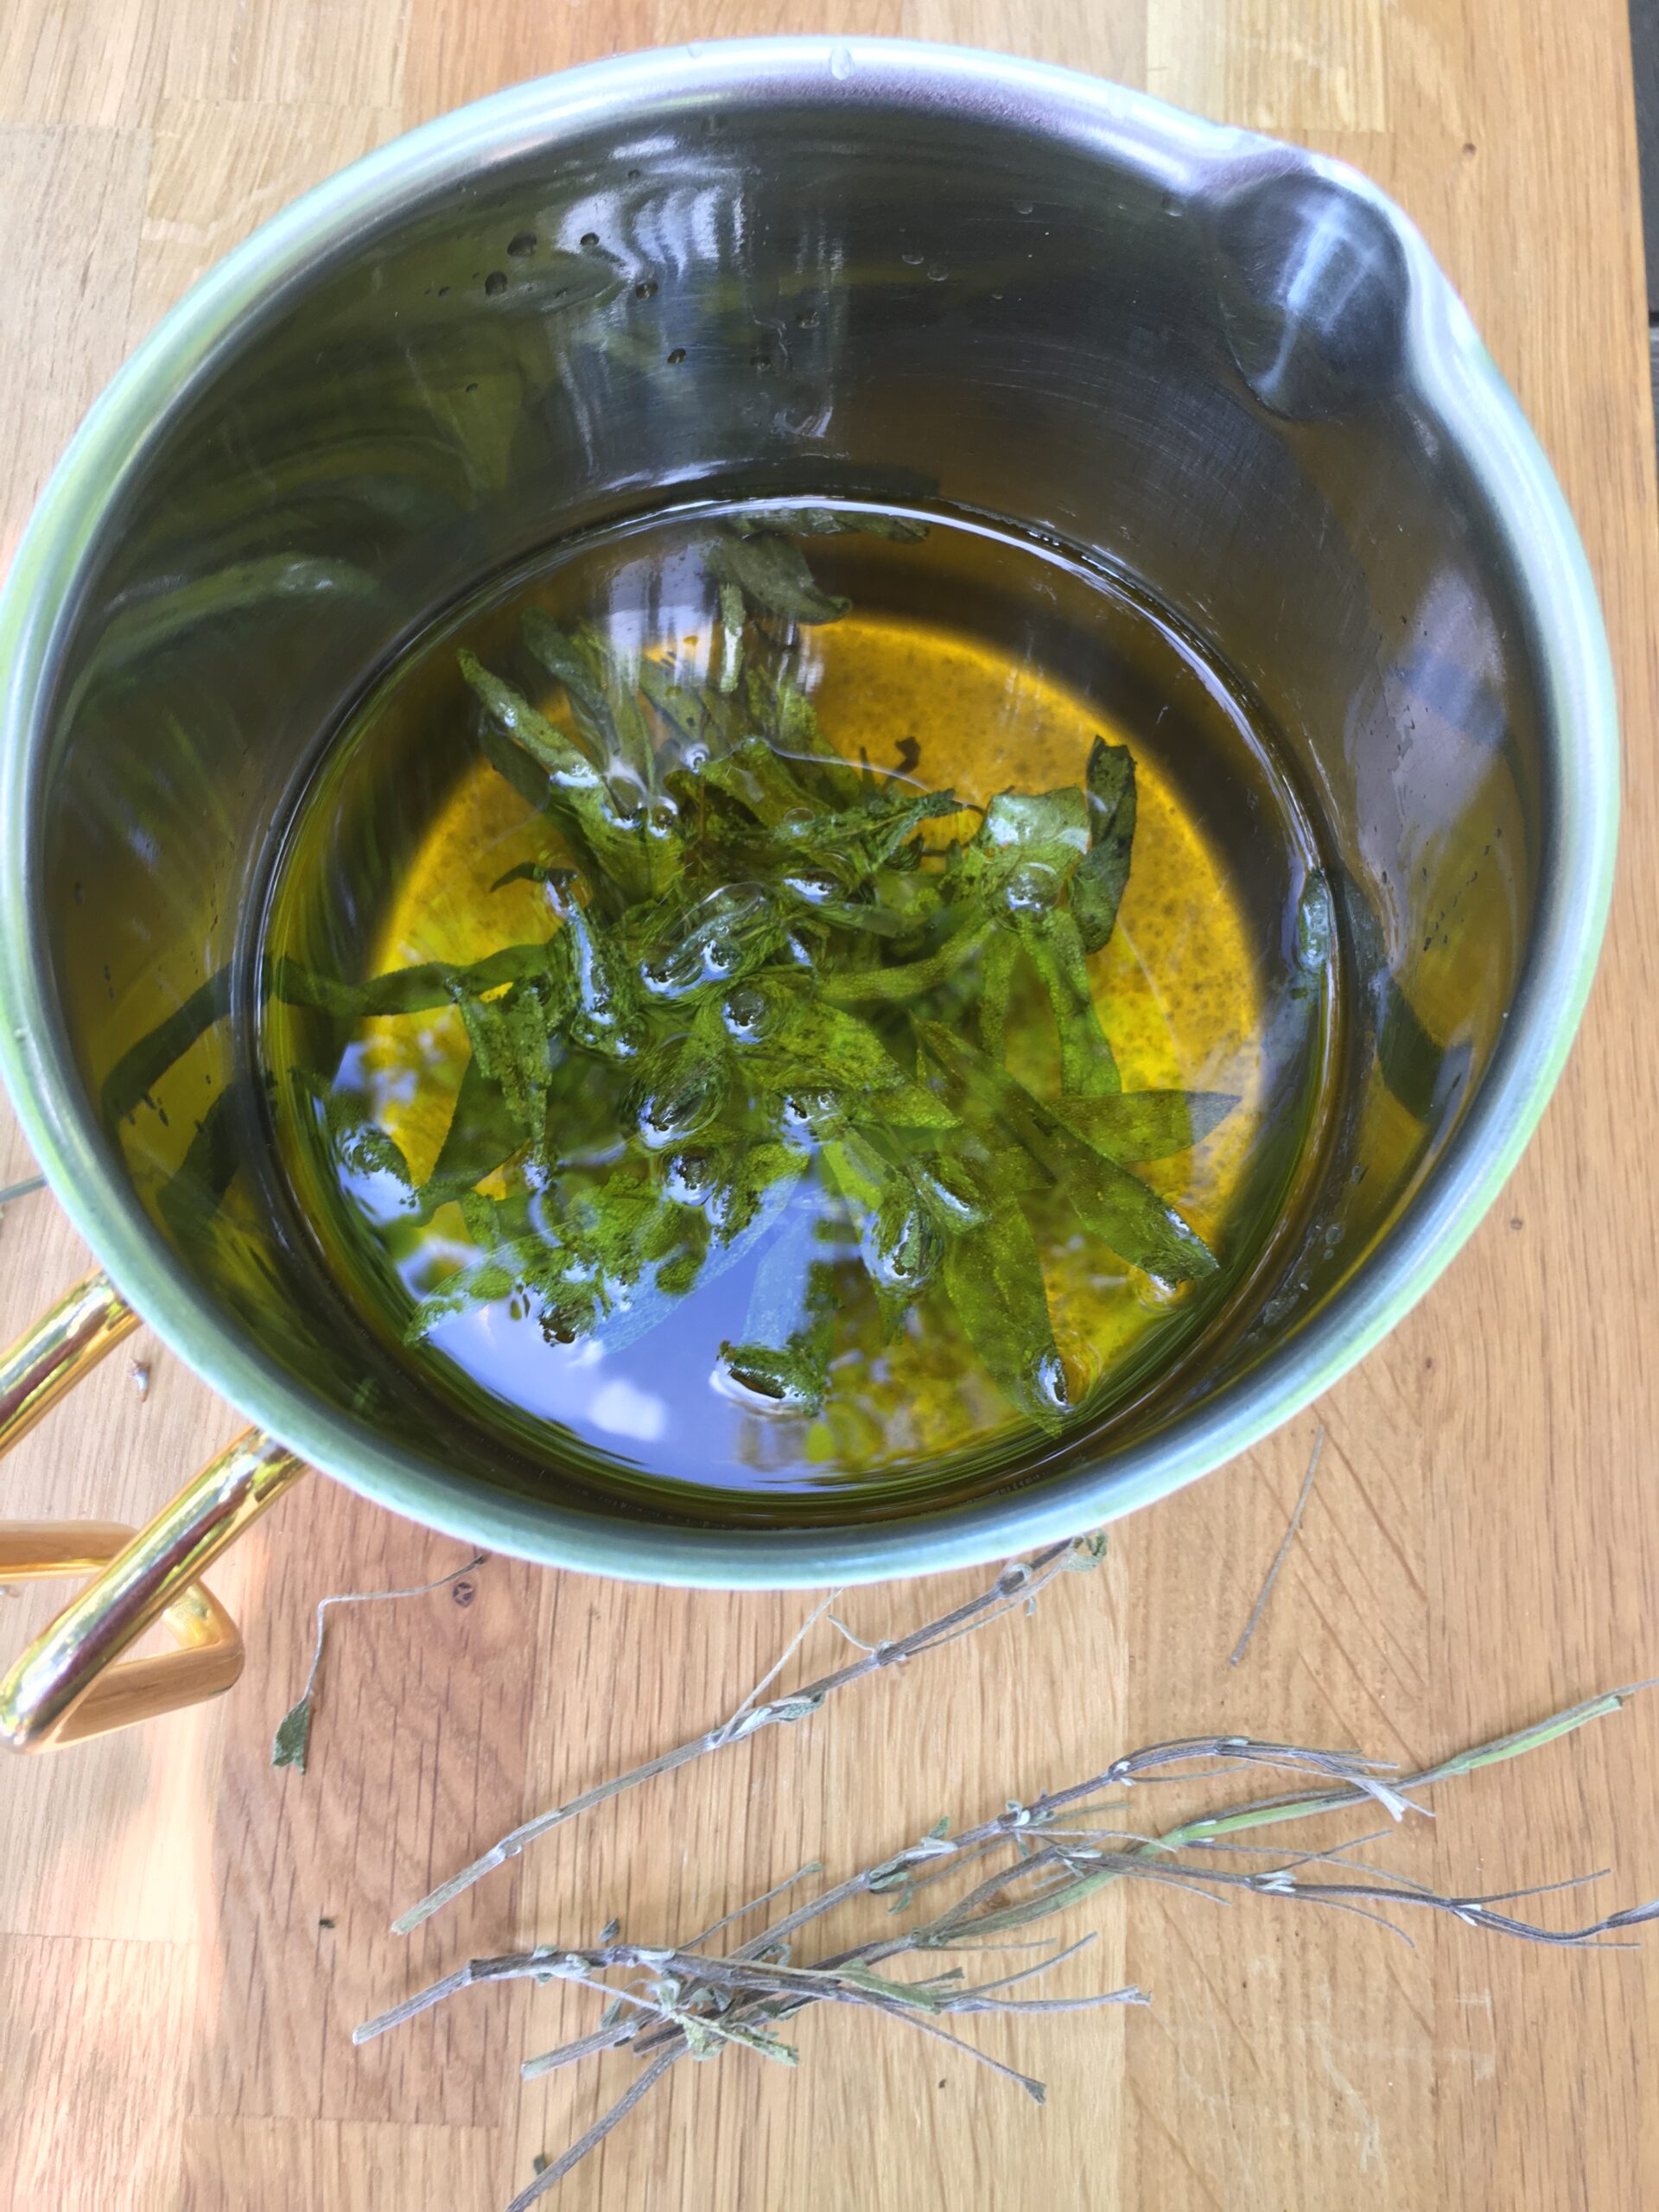
Optional: individualize soap with organic substances
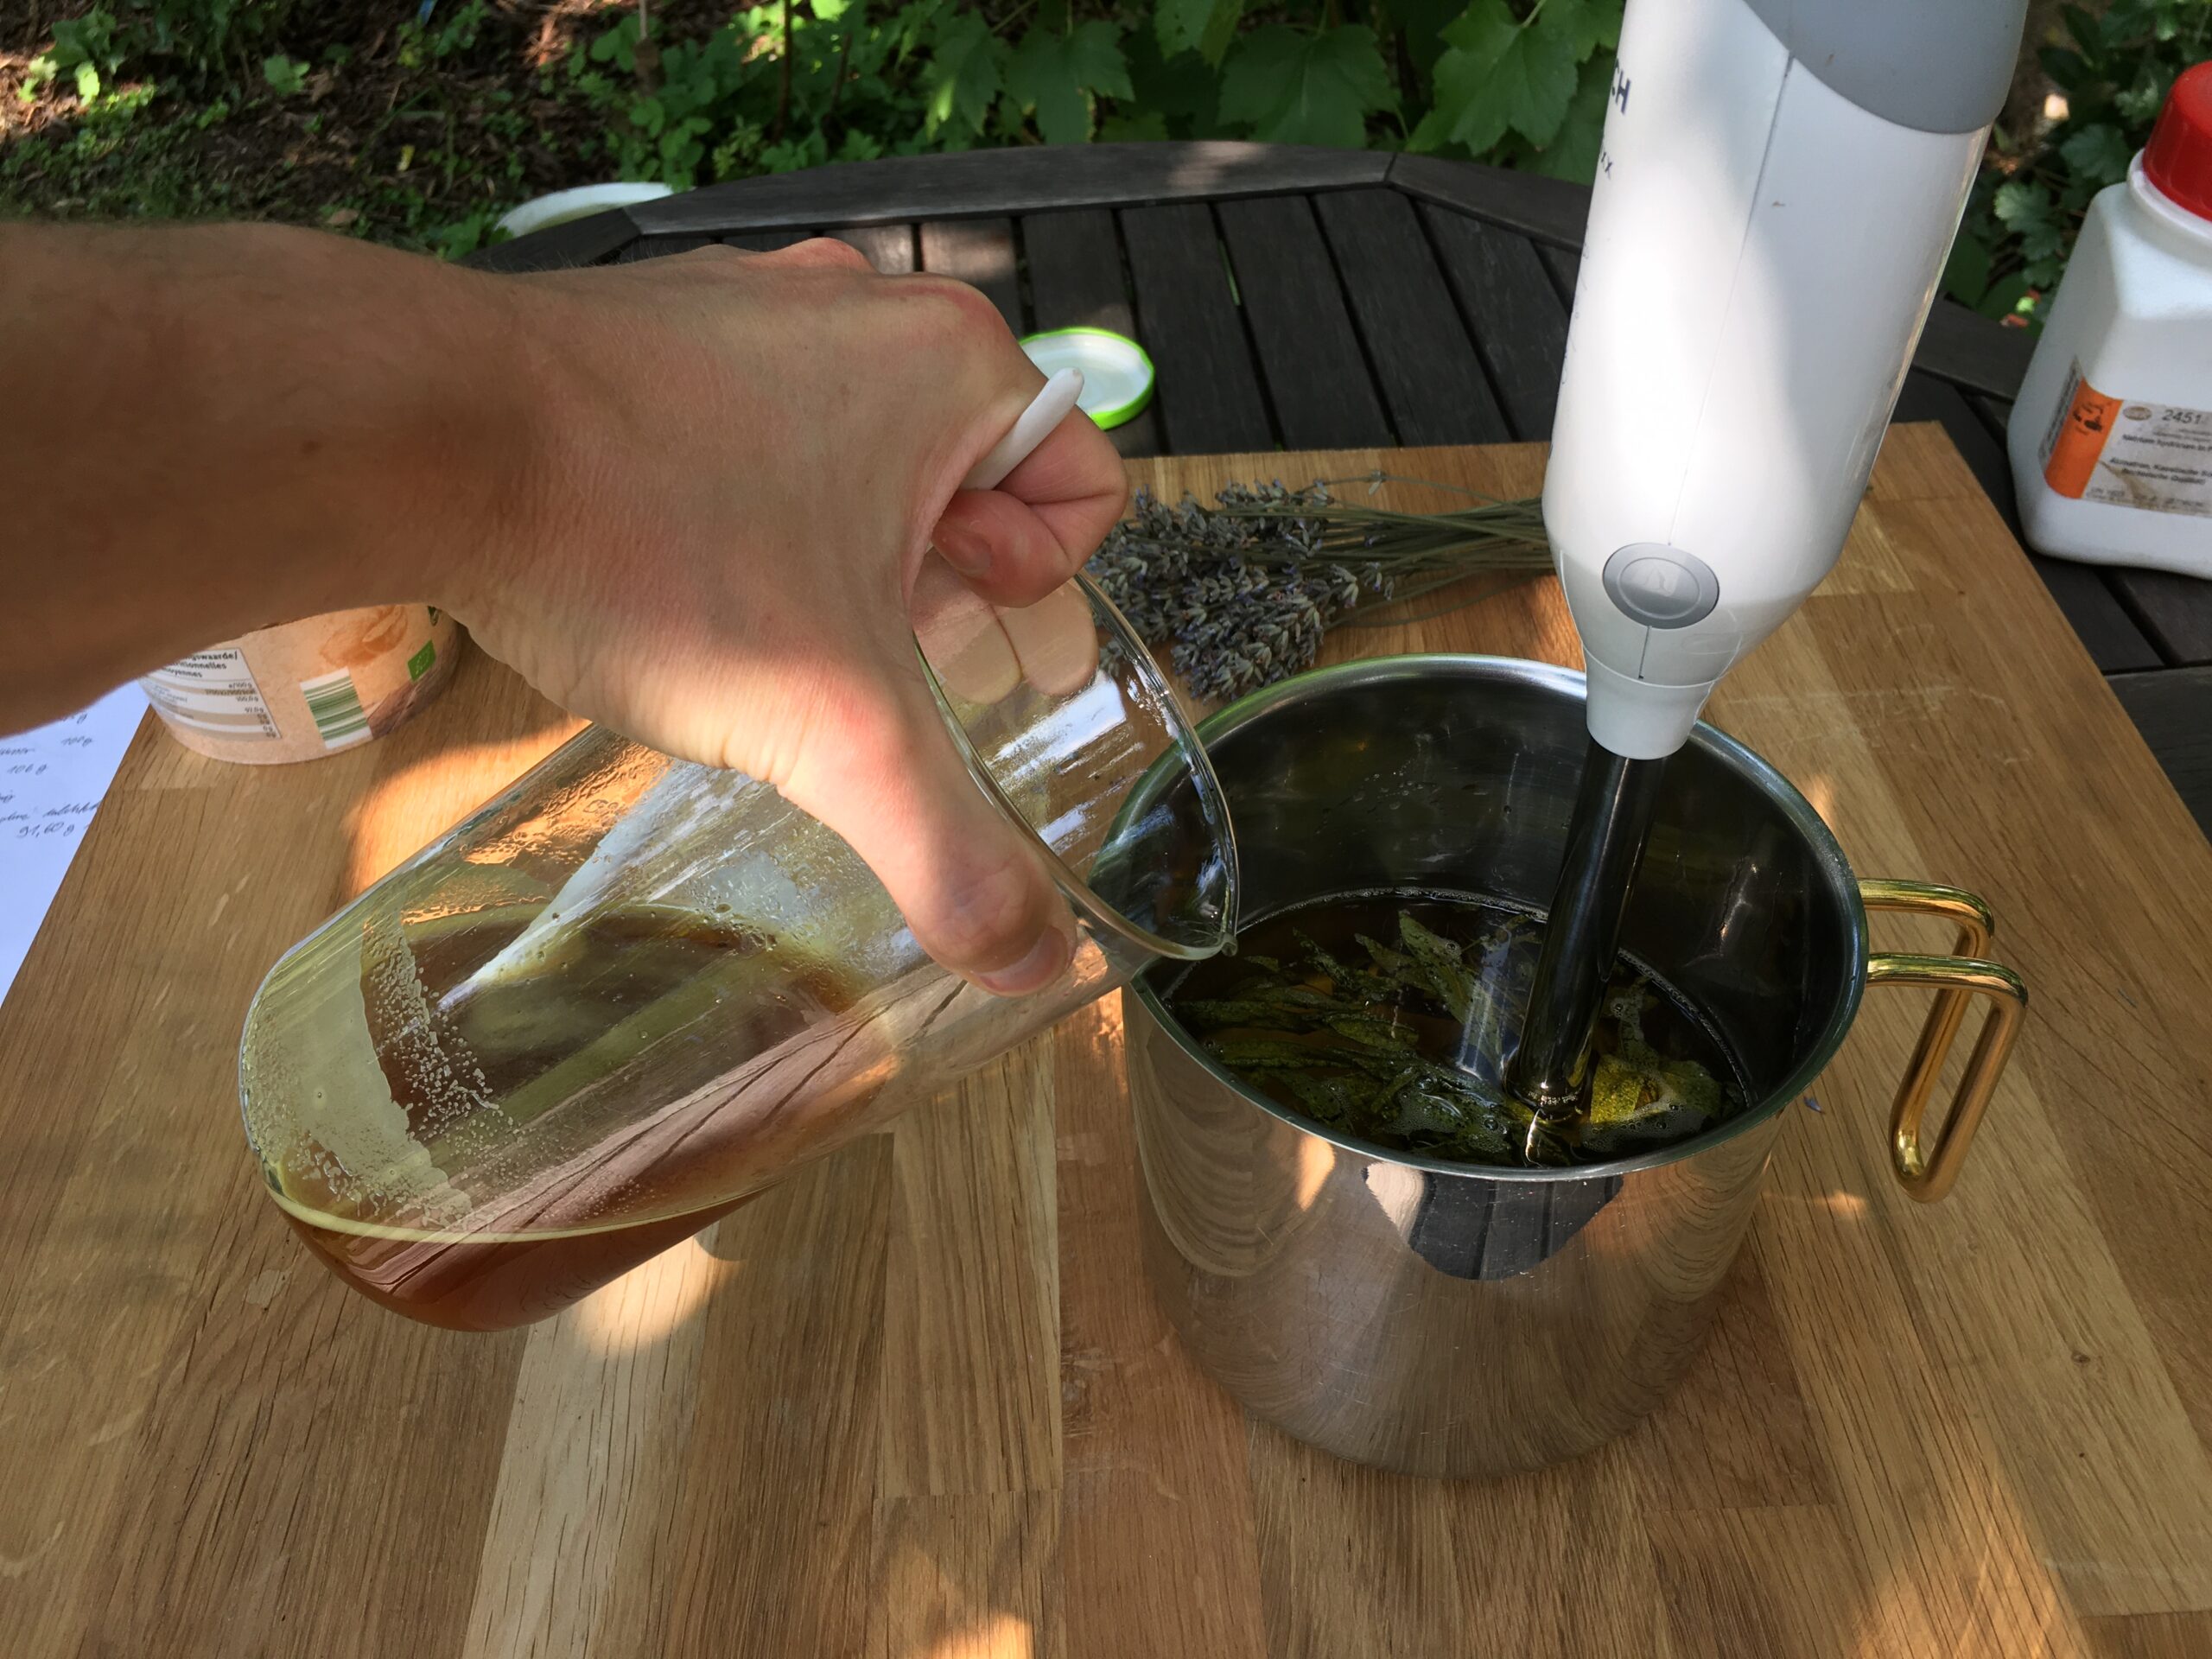
At this point, dried organic substances such as flowers, leaves or seeds can be added to the mixture. With fresh flowers or leaves, there is a risk of mold when the soap dries and matures later. In this case, I used about a handful of dried sage leaves. Since the soap paste is later pureed with a hand blender, the leaves can be added in whole. In the case of coloring substances or flowers, please note that many colors can change greatly due to the lye or during subsequent maturation.
Preparation of the lye
Weigh the distilled water in a heat-resistant glass and set aside (on the right in the picture). Optionally, you can replace all or a portion of the water with colorizing juices or milk. Since I want to make a sage soap with darker coloring, I replaced half of the distilled water with beet juice. This becomes brownish in the later reaction.
From now on, be sure to wear safety goggles and gloves. If possible, work outside or at least in a ventilated area.
Weigh the sodium hydroxide (NaOH) in the second glass (in the center of the scale). Please work especially precisely and quickly here: The exact dosage is important so that a certain amount (here 9%) of the oil-fat mixture remains unsaponified in the finished soap and can thus care for the skin. If too little remains unsaponified, the soap is too harsh and serves at most as a cleaning agent. If too much remains unsaponified, the soap is greasy and will not set. You should work quickly because sodium hydroxide is hygroscopic. It therefore absorbs humidity from the environment, which can then falsify the measurement result on the scale. In the next step, while stirring constantly in the water, slowly and especially carefully allow the sodium hydroxide to pour into the water. Always add NaOH to the water, never the other way around!
NaOH reacts strongly when dissolved in the liquid and heats it up. Therefore, when adding it, make sure that the liquid does not begin to boil. Then stir until the sodium hydroxide is completely dissolved.
Making the soap glue
Allow the oil/grease mixture and the lye to cool to lukewarm.
When there are no undissolved residues of NaOH left, slowly add the lye to the oil-grease mixture while the hand blender is running.
Using the hand blender, blend the soap glue with constant movement. Initially, the mixture has about the viscosity of the original oils-fat mixture.
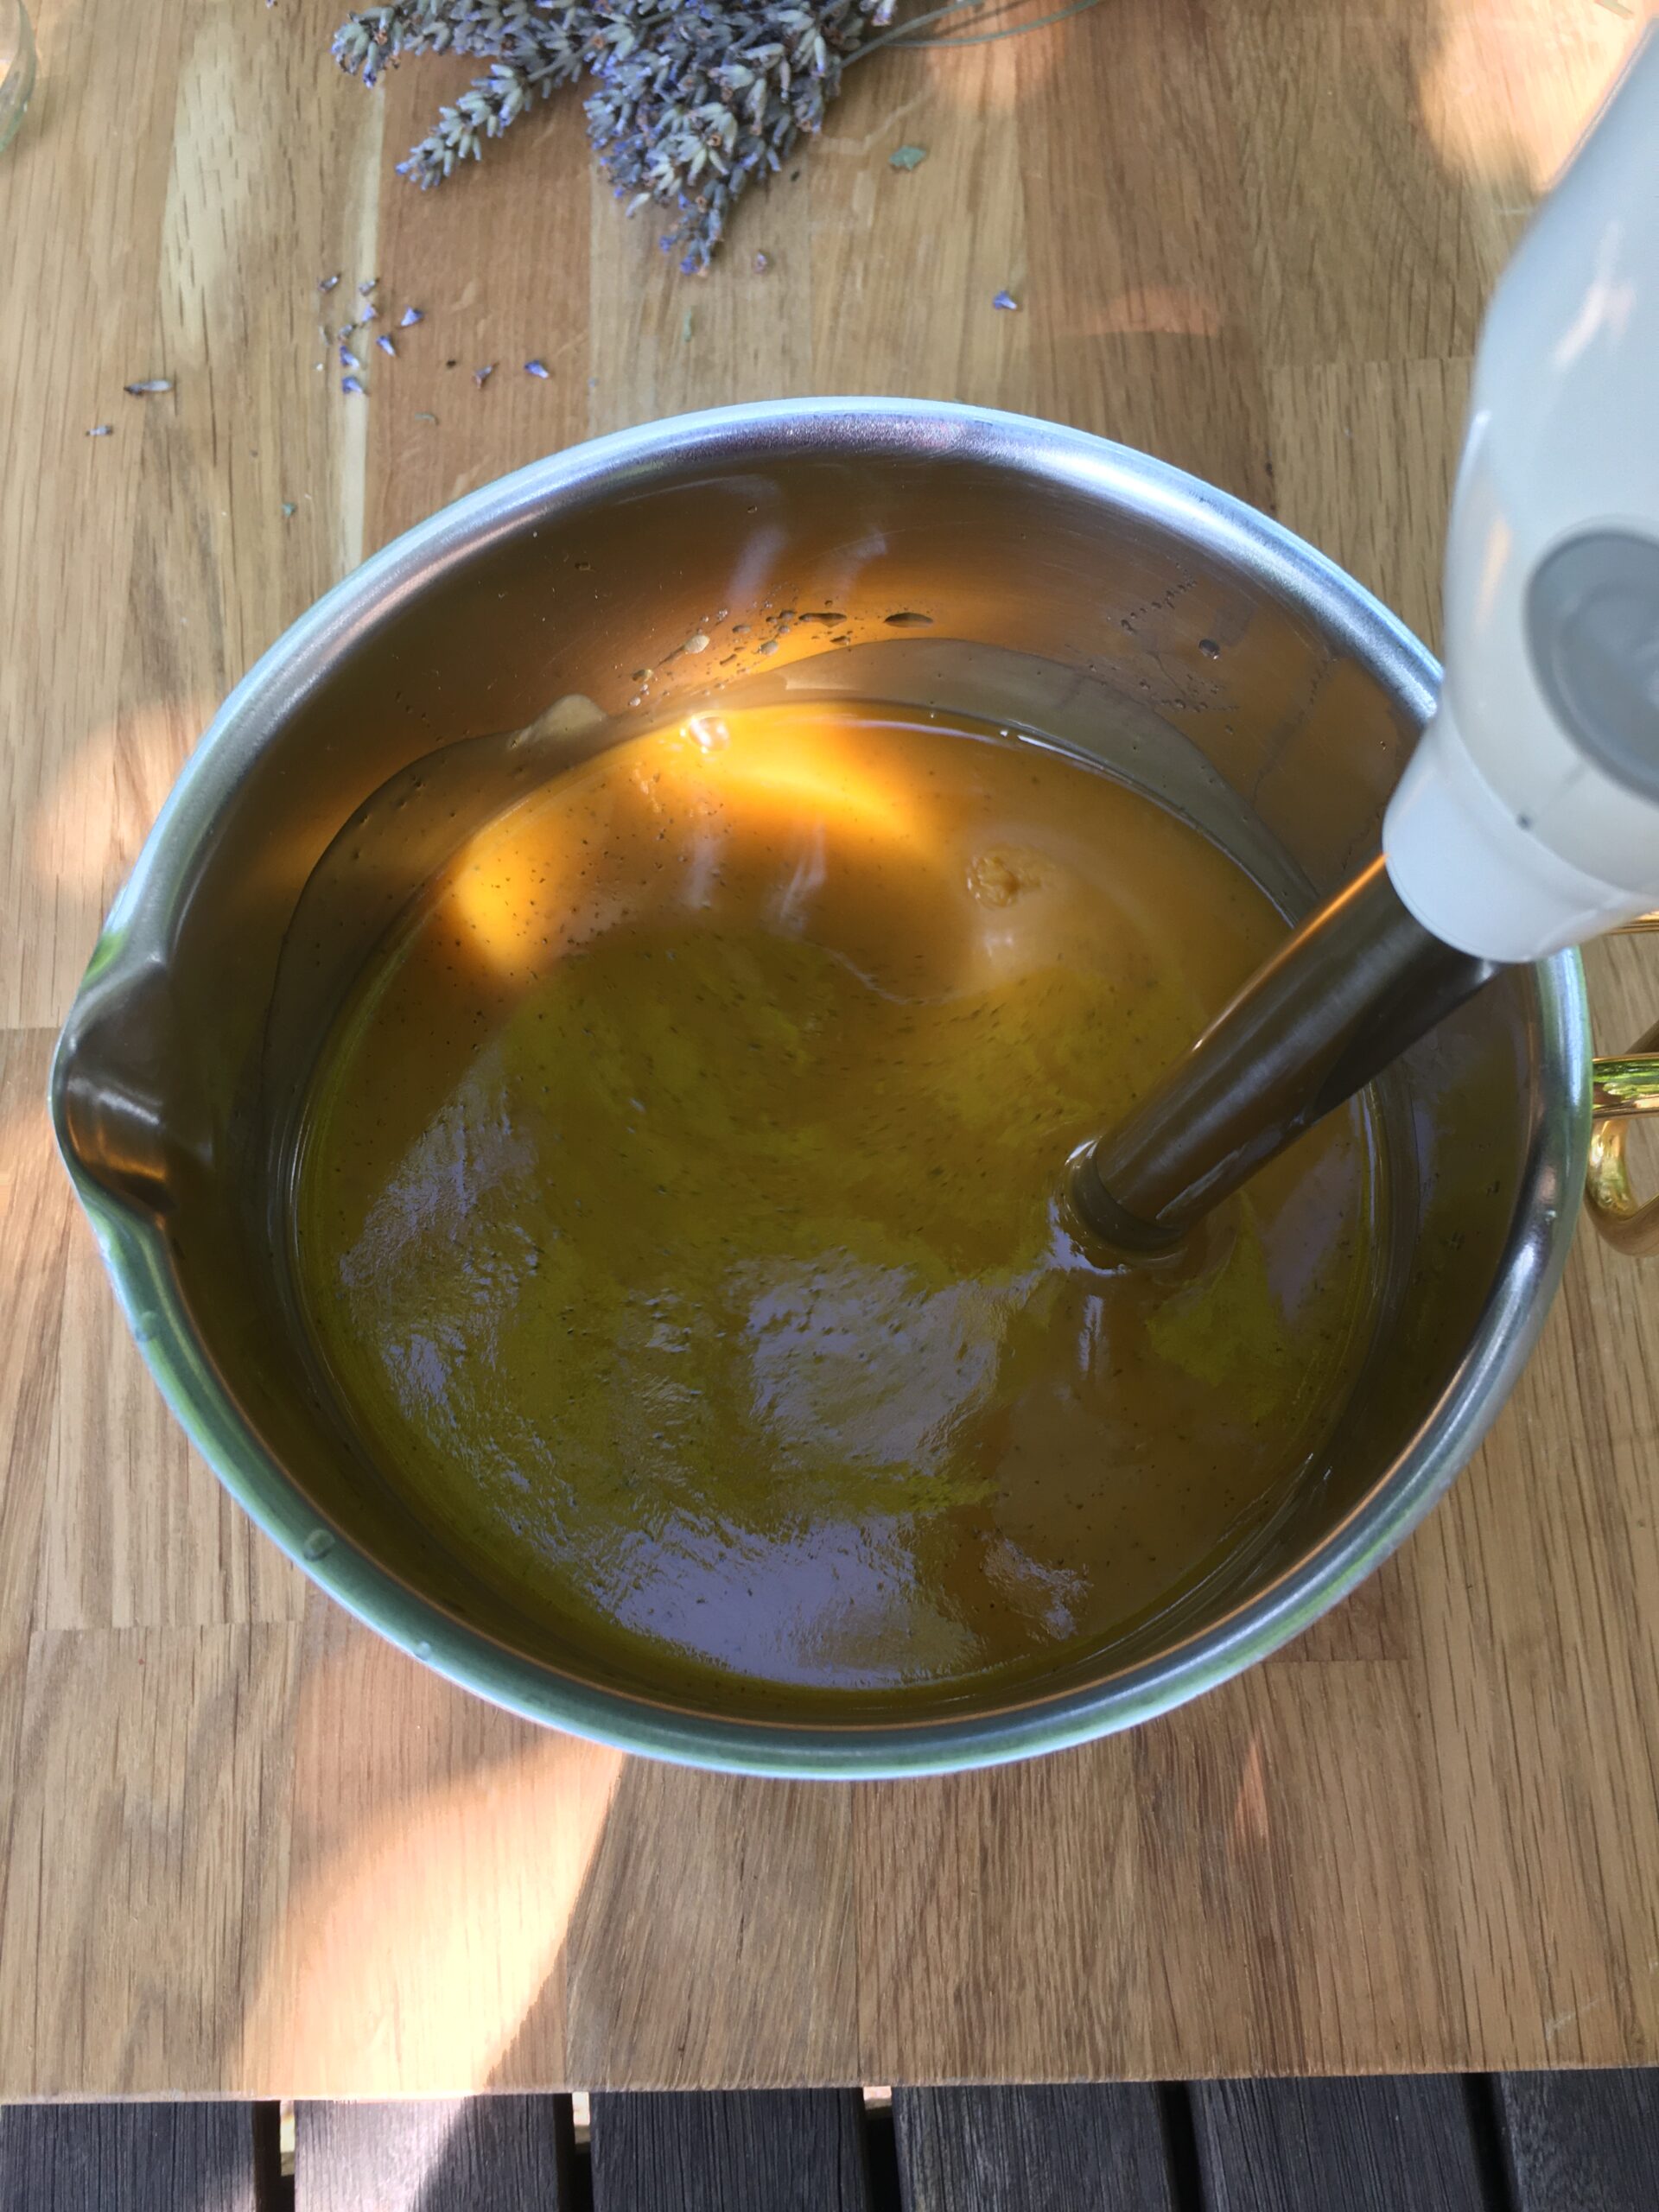
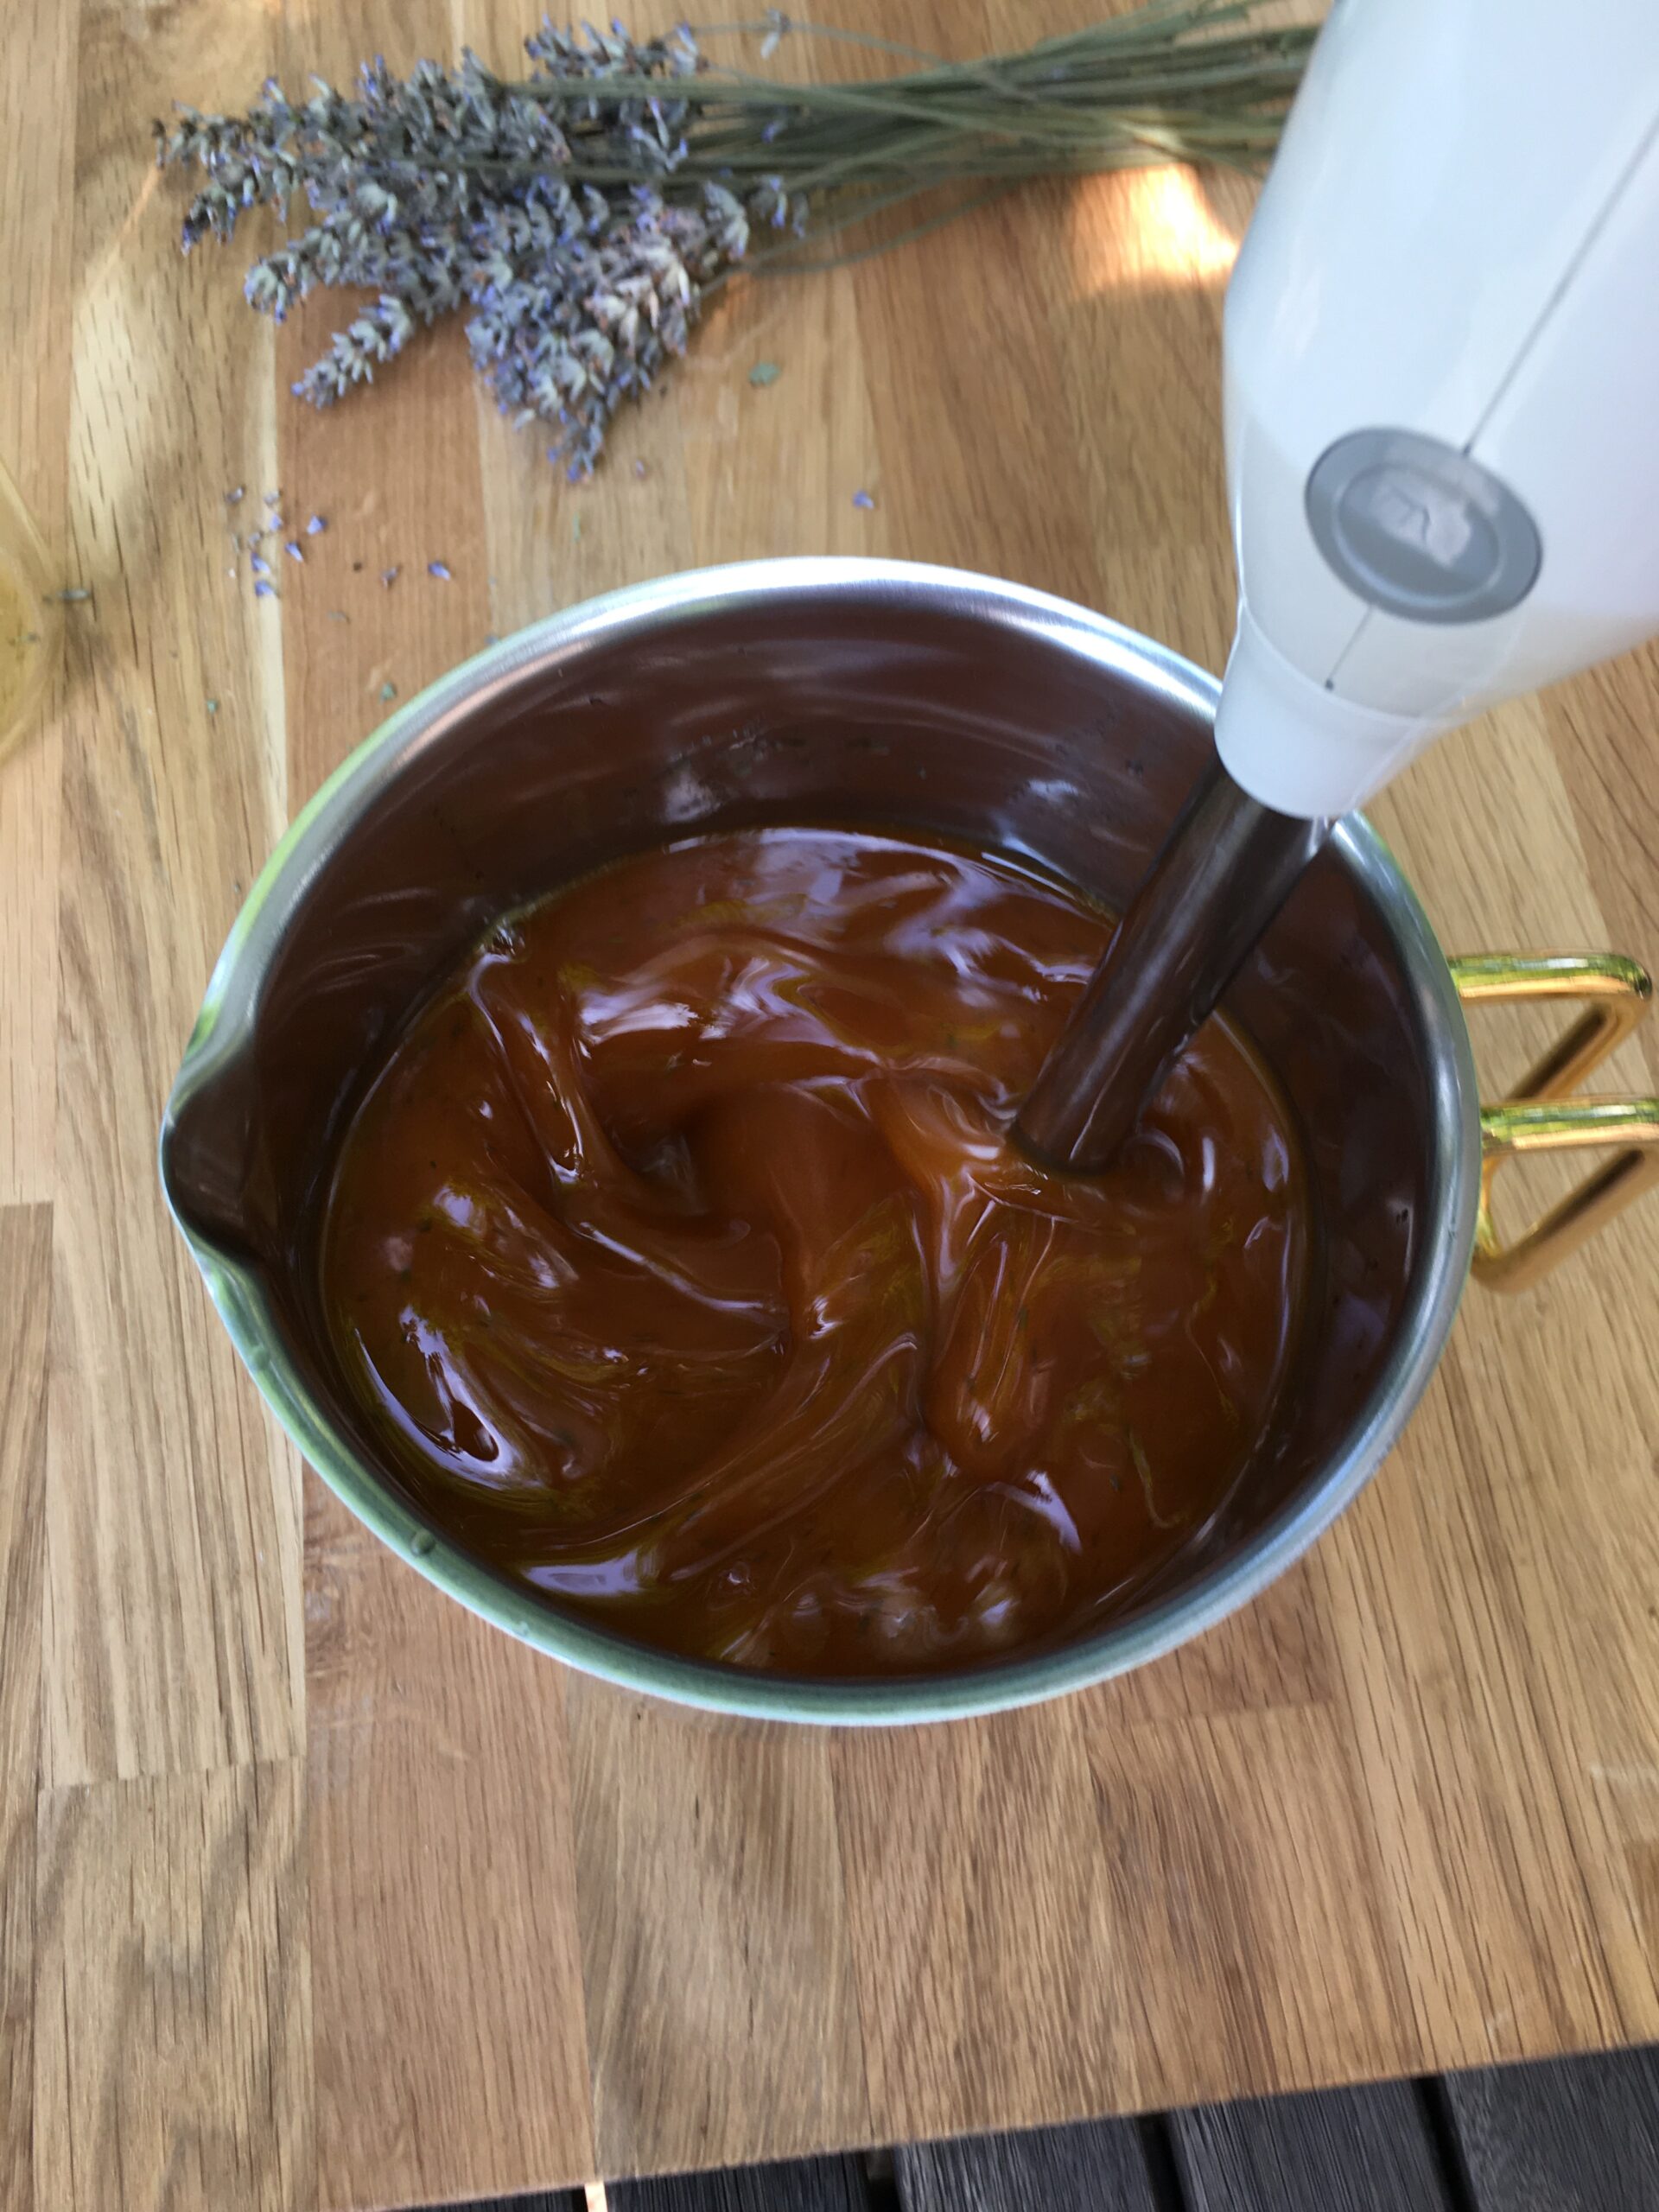
Pudding phase and optional fragrance
After 3 – 5 minutes of mixing, a significant change in consistency should be noticeable and visible. The soap glue now has a consistency like pudding or liquid applesauce.
Optionally, scented oils can now be added.
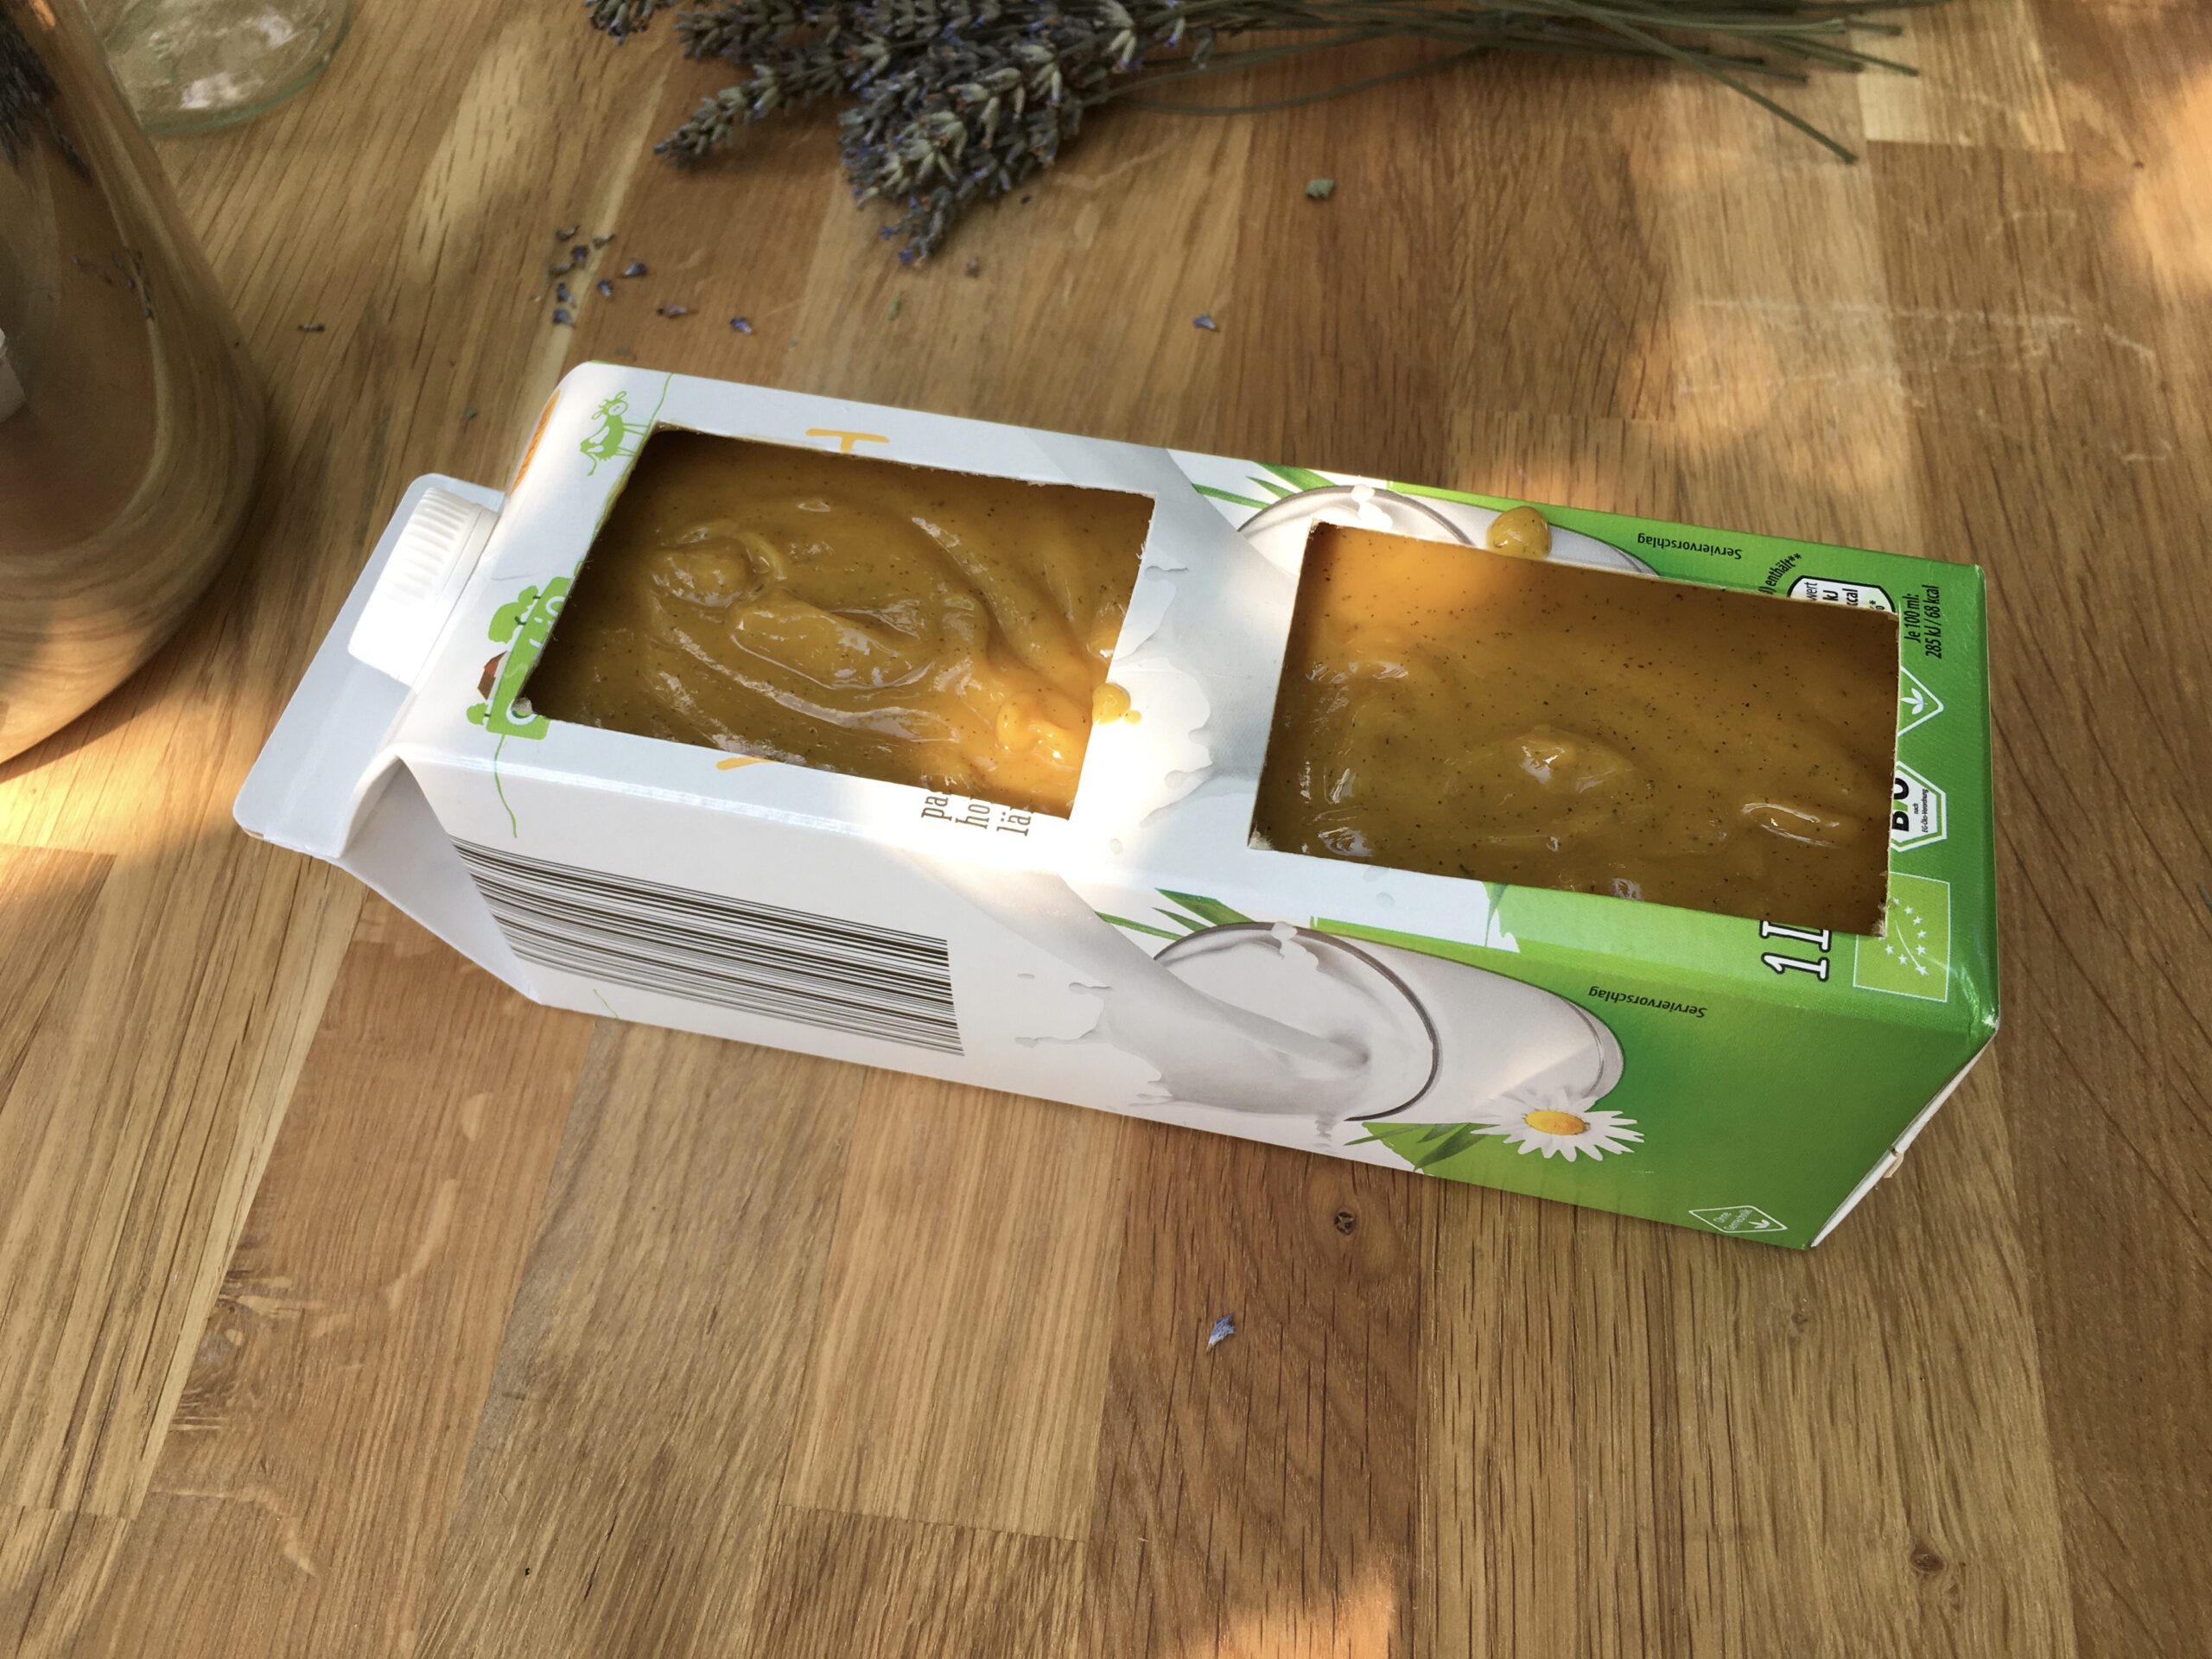
Put into the mold
The soap glue is then poured into the initially prepared mold. If scented oils were added in the previous step, the soap glue may heat up. Once the mold is only about body temperature, it is placed in a warm location with some insulation. A shipping box with bubble cushions and a heating room, for example, are suitable for this purpose.
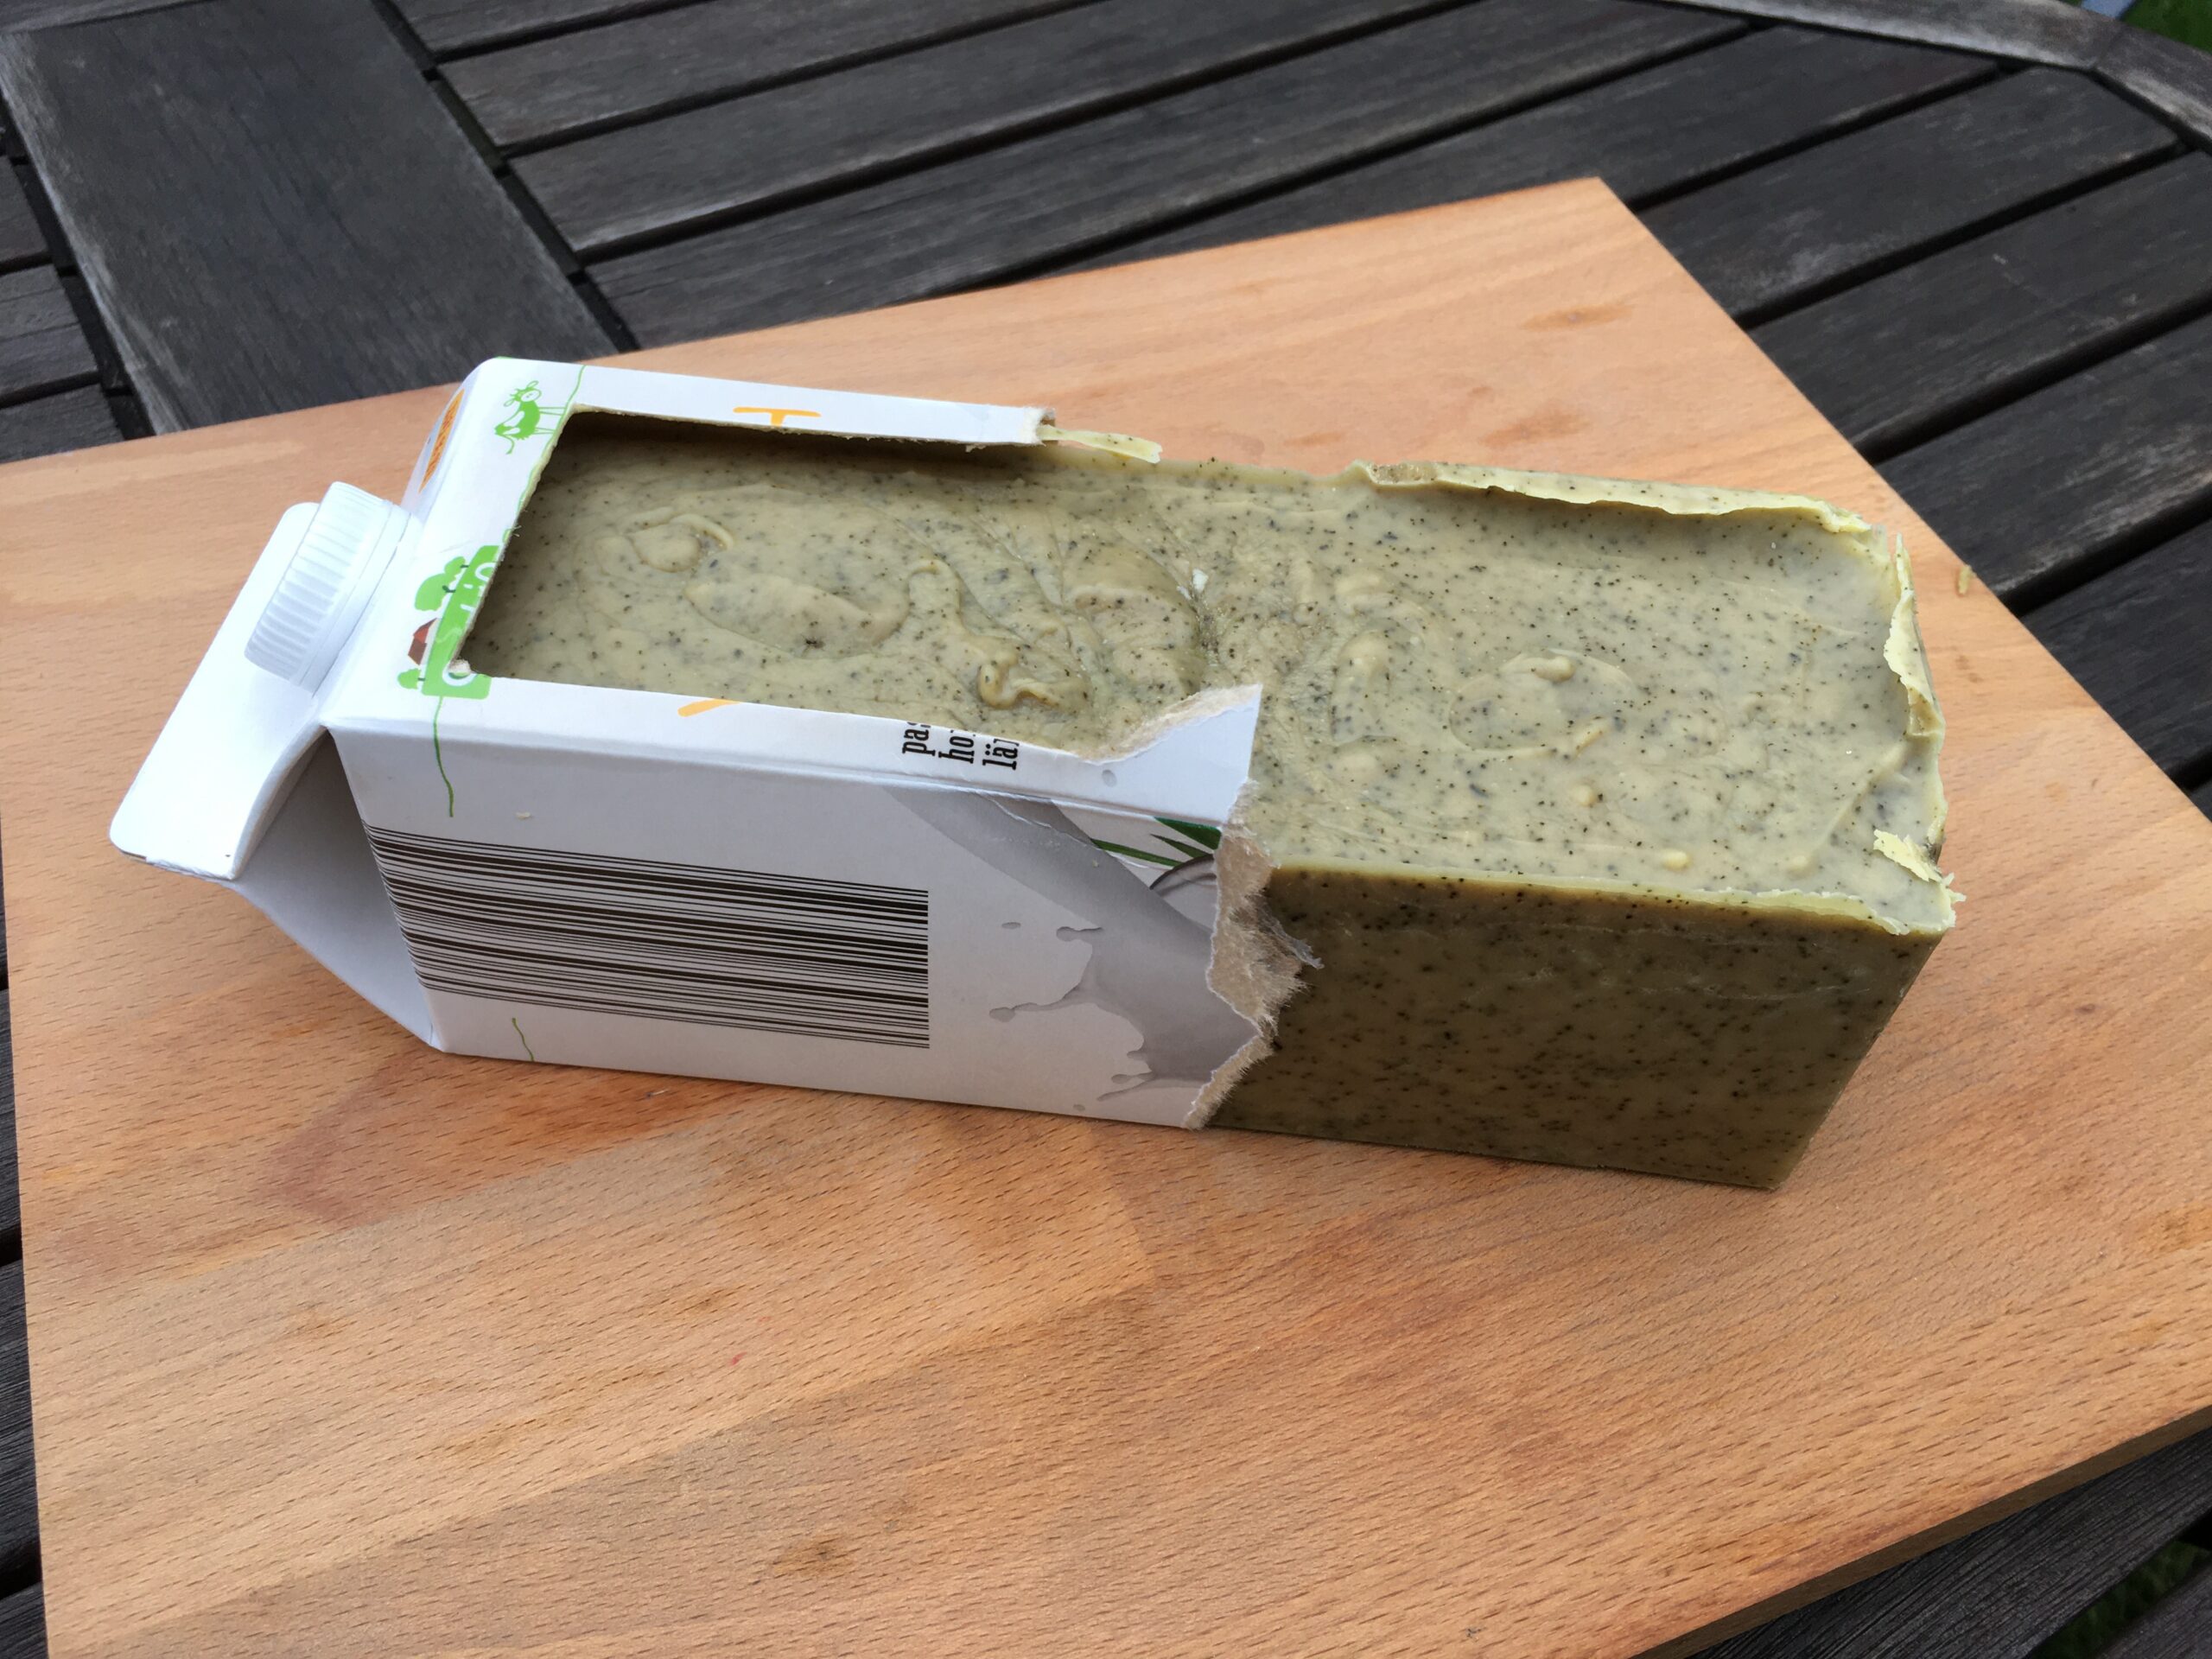
Remove soap from the mold
After 18 – 24 h, the soap should have solidified completely. It can now be removed from the mold. To do this, carefully tear off the beverage carton from the soap block without using any tools.
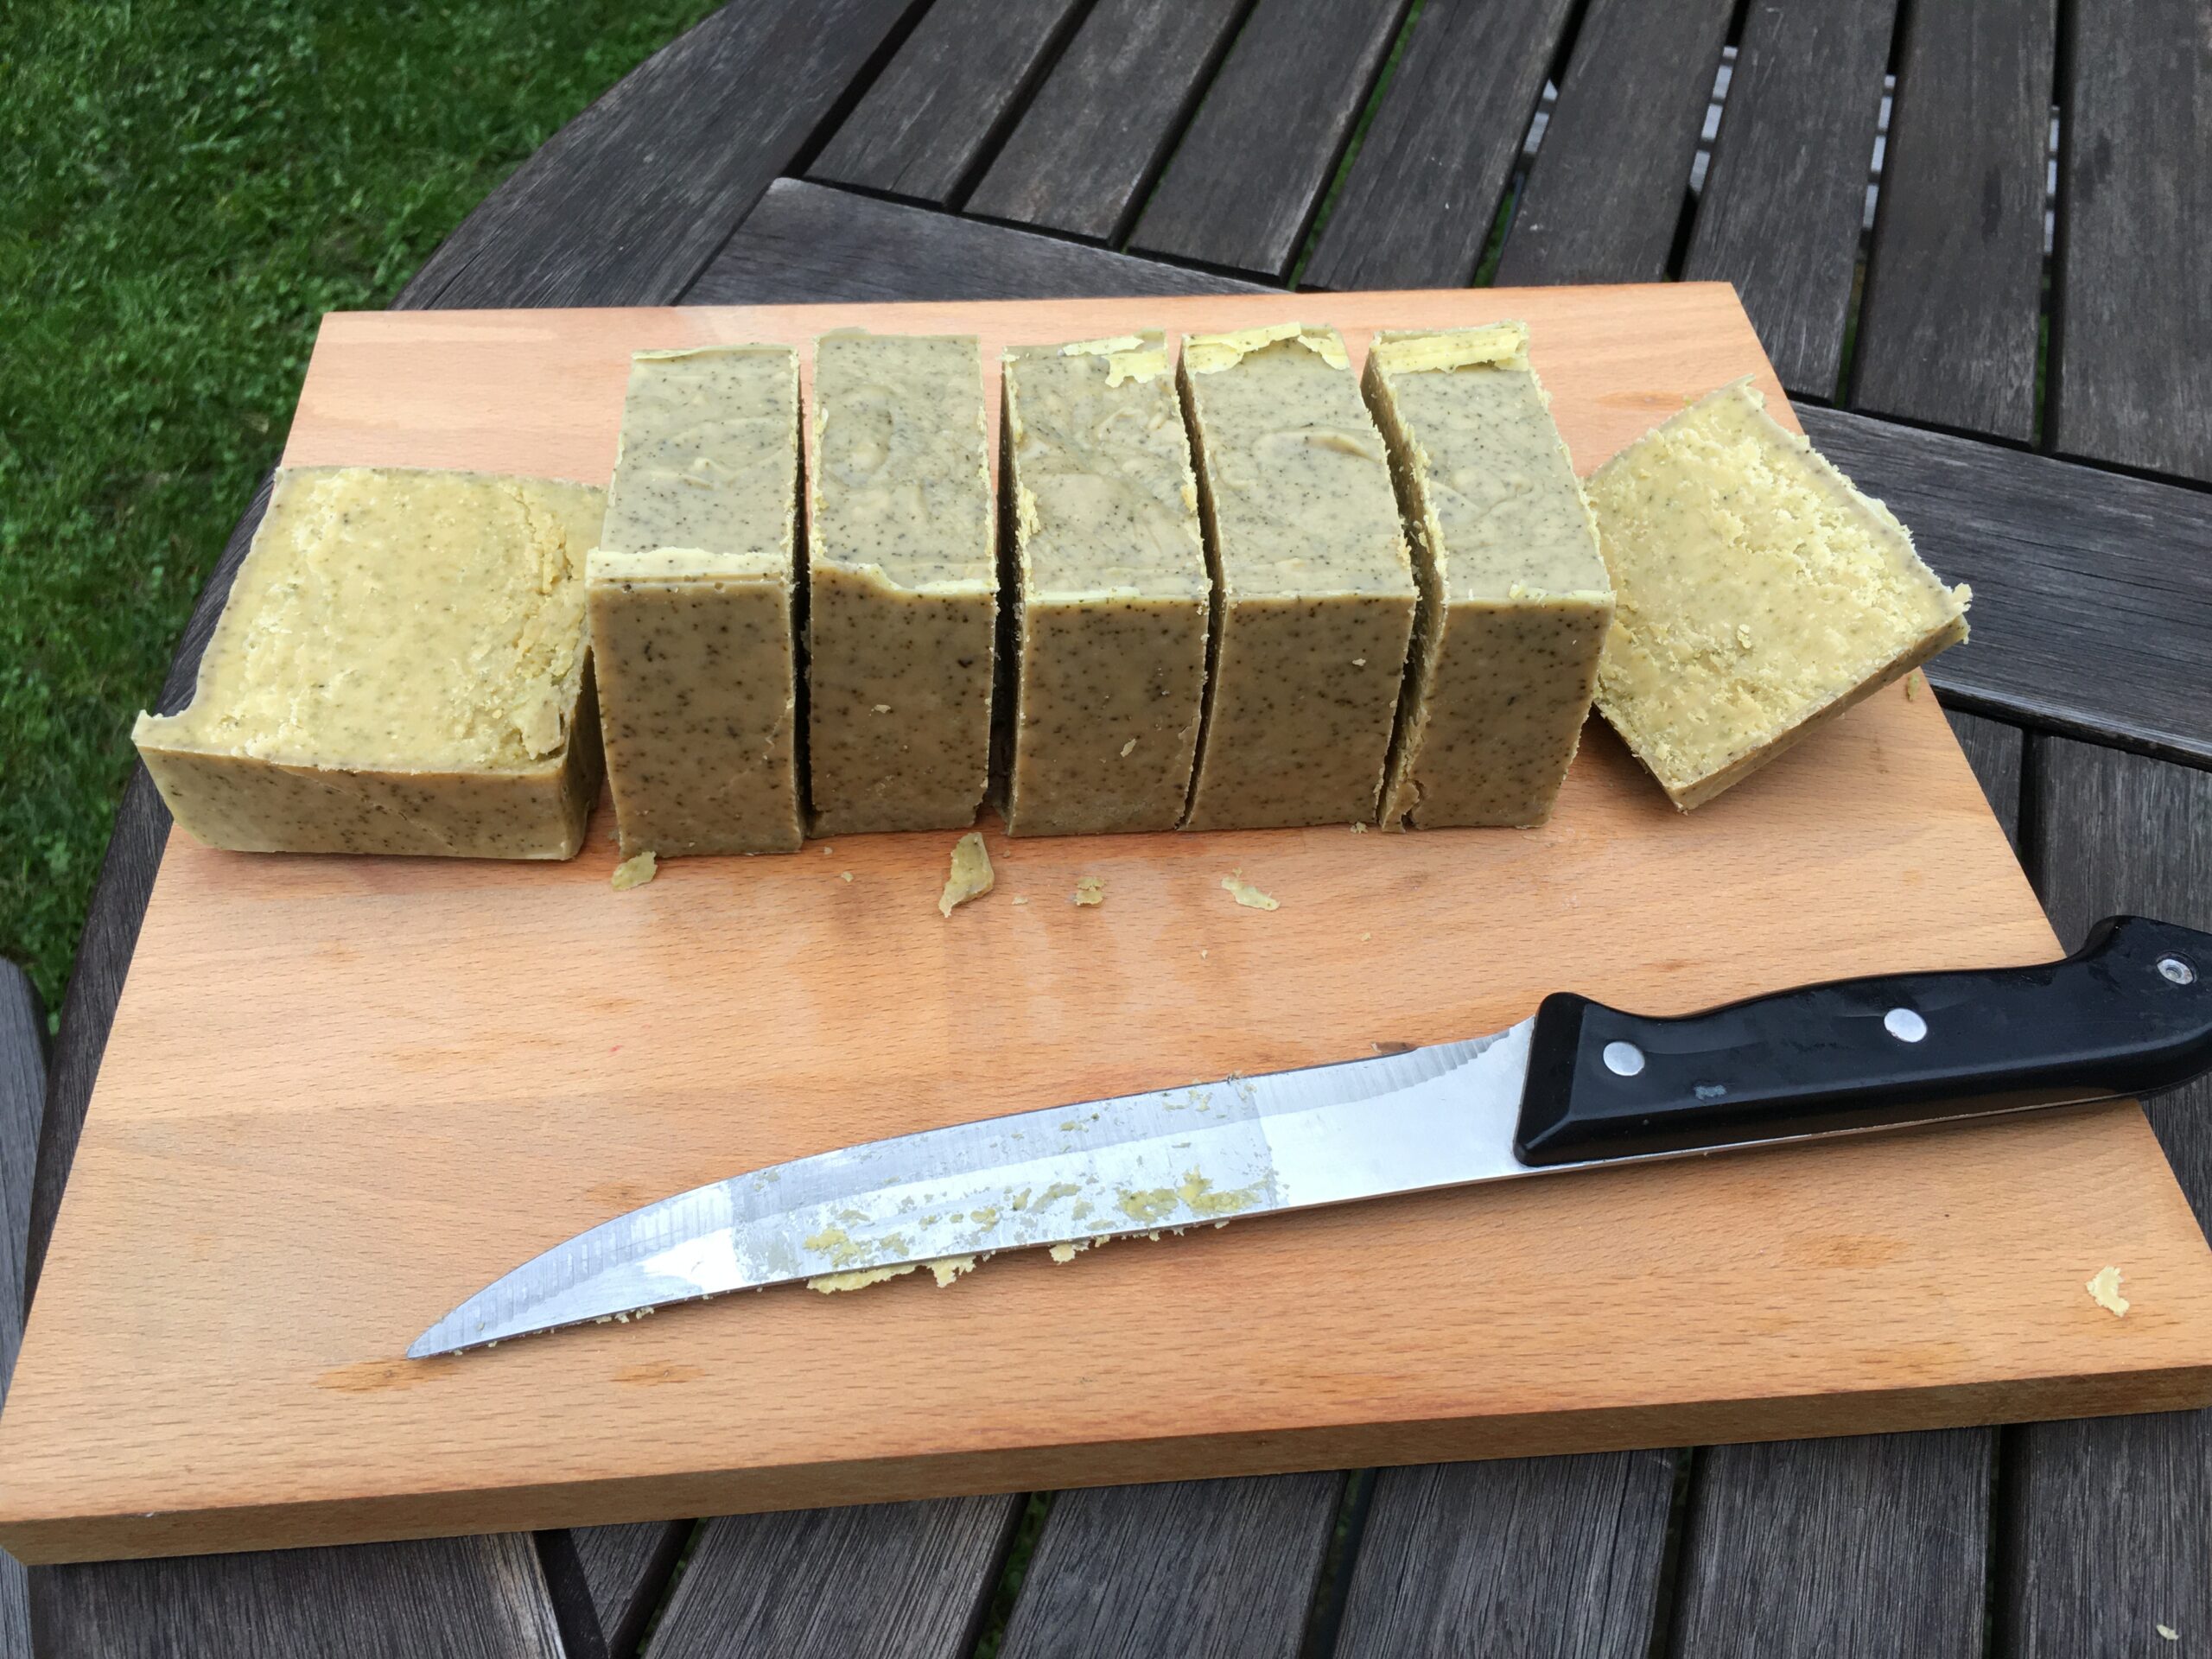
Cut and mature soap
Then cut the soap block into pieces with an old kitchen knife. Let the individual pieces mature with some distance in a dry, dark place for at least 6 weeks. Initially, the soap is still too sharp, so it should be used only after this maturation period.