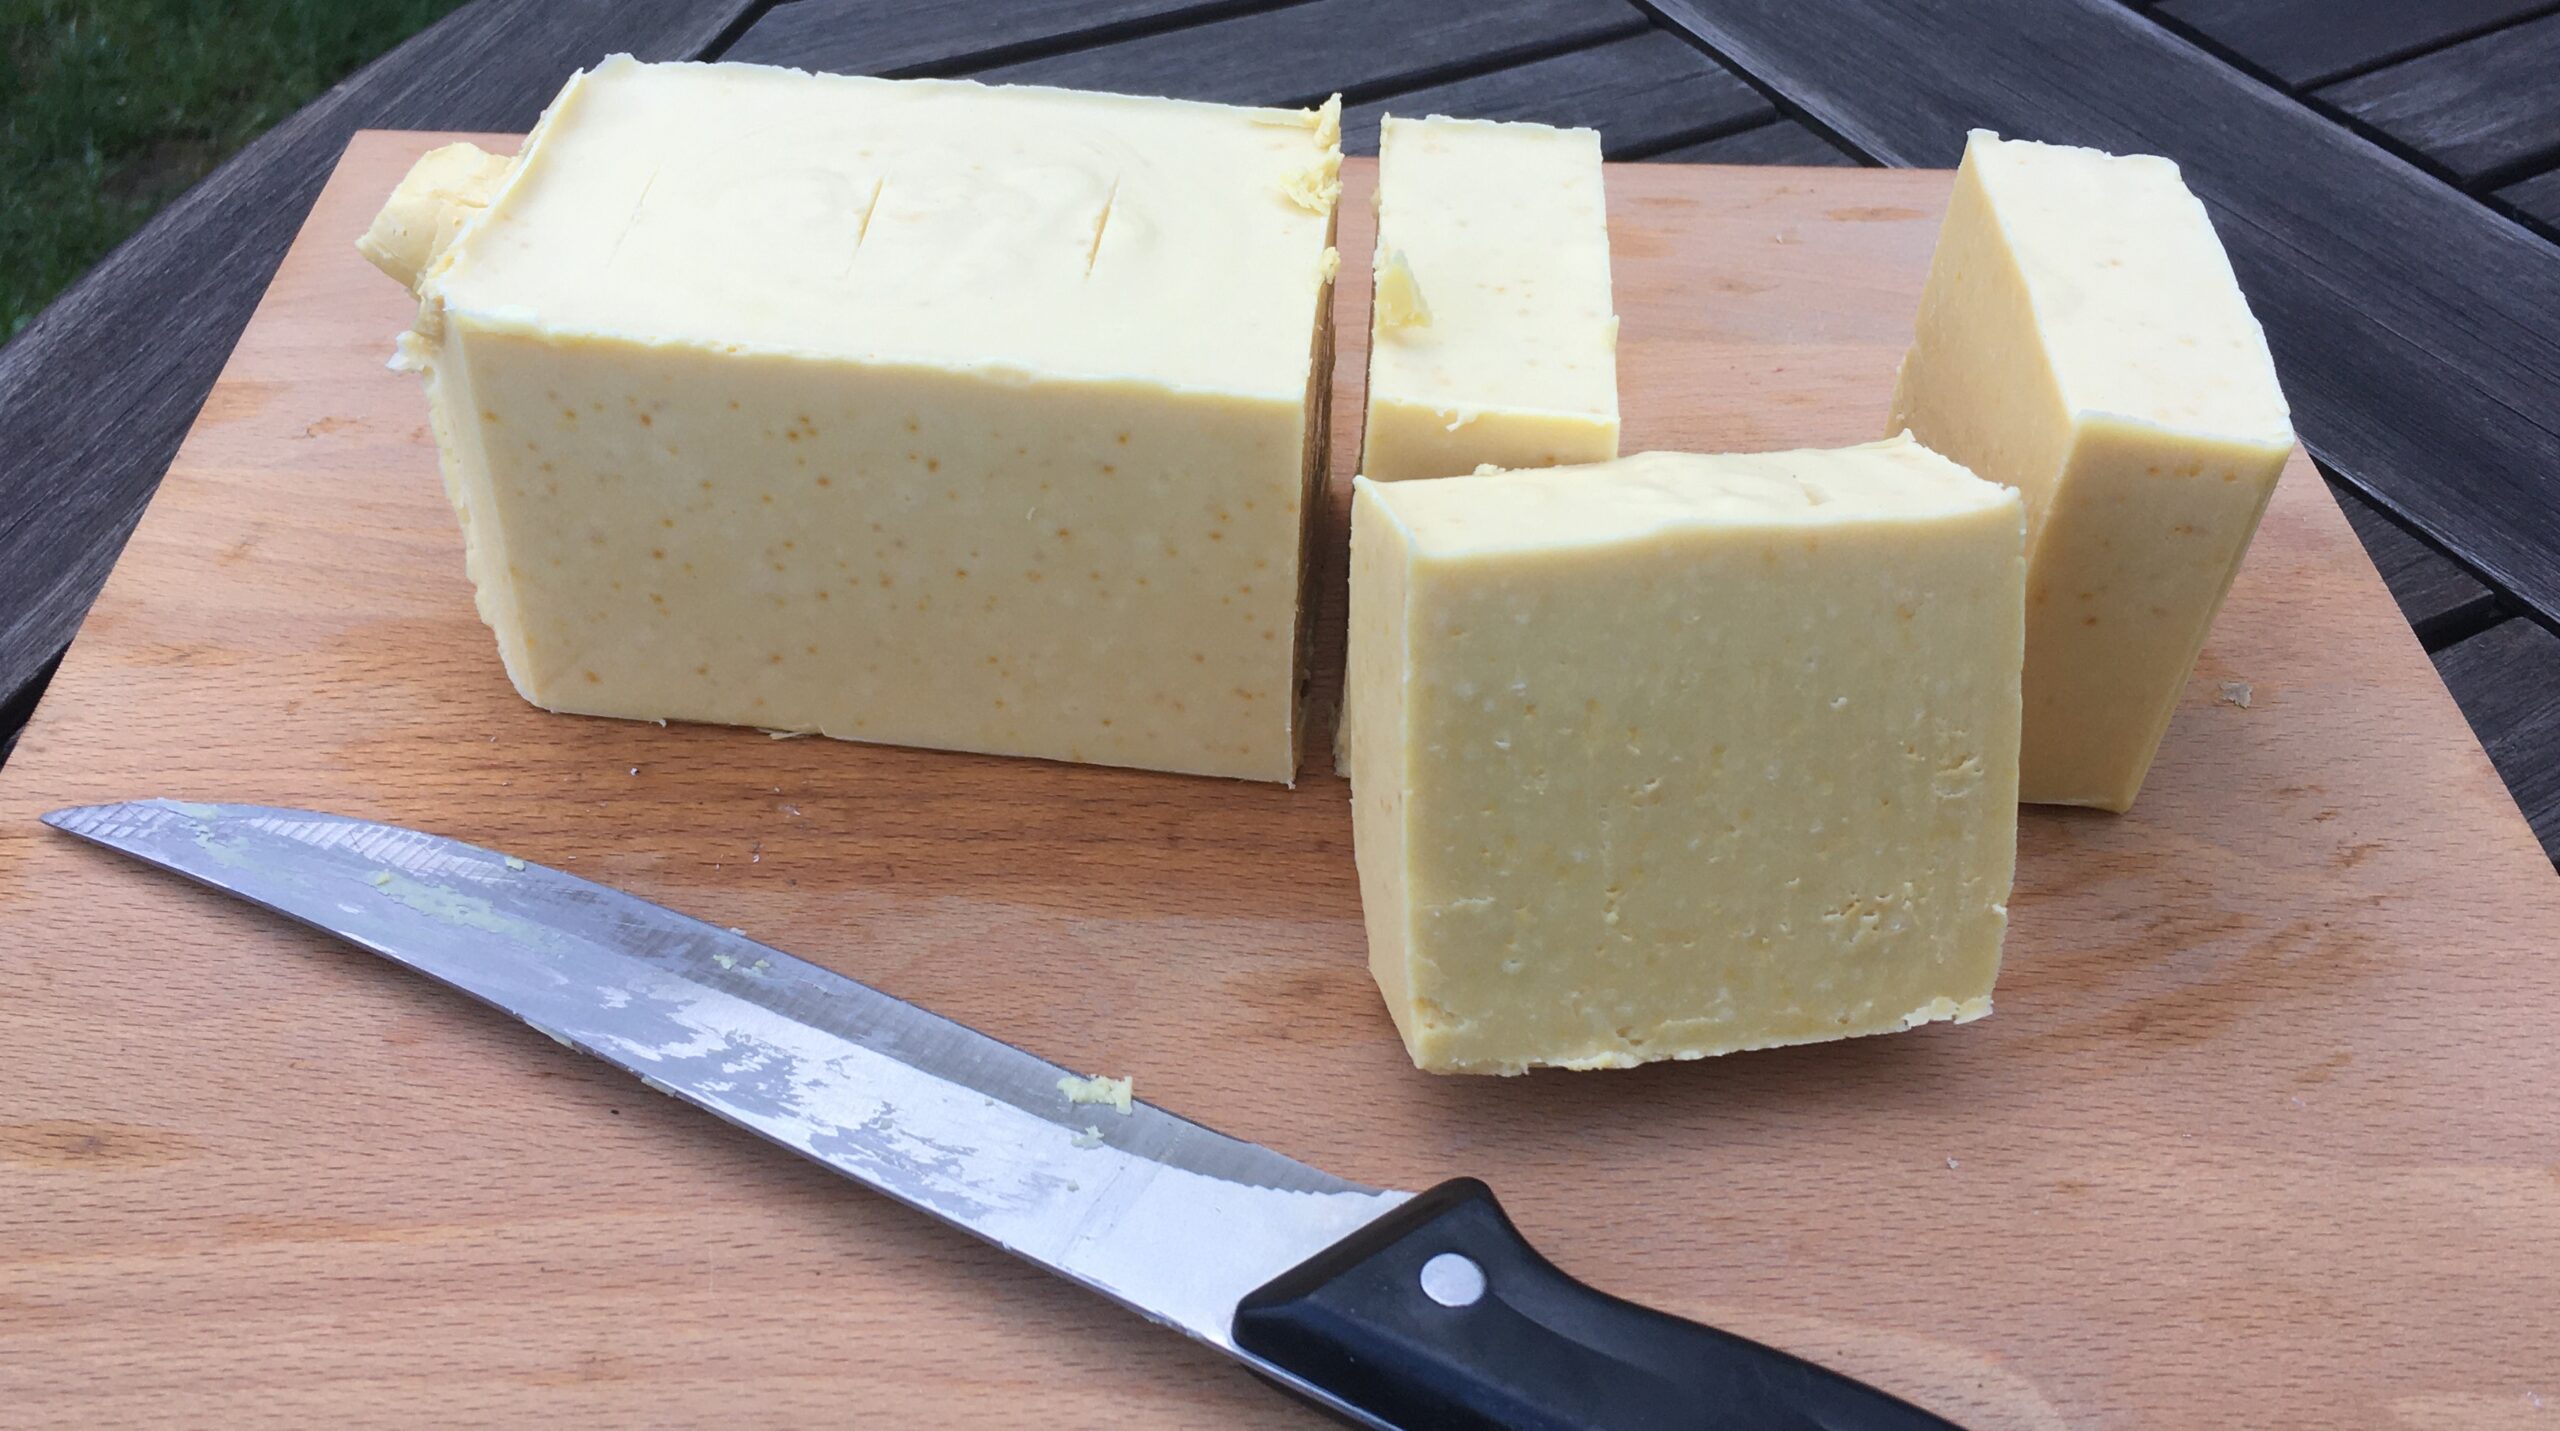
The recipe for orange bergamot soap is a minimal modification of the basic recipe with visible effect. The result is a light, creamy and bergamot-scented soap. Besides orange peel and bergamot oil as additives, the temperature during saponification is mainly responsible for the light color. Soaps that saponify warm and isolated enter the gel phase. Here, the reaction of the lye with the oils and fats generates even more heat. As a result, the soap solidifies more quickly, can be cut more quickly and can be used earlier. However, the gel phase is also accompanied by an optical change in the soap. The soap becomes noticeably darker. For the orange-bergamot soap I find a light soap nicer, even if you should allow at least 2 weeks more maturing time for it.
Ingredients
- 200 g canola oil
- 220 g olive oil
- 250 g coconut oil
- 200 g distilled water
- 91.85 g sodium hydroxide
- 1 tsp salt
- 1 tsp honey
- zest of a large orange, grated and dried
- 20 drops of bergamot oil
Procedure
The preparation is basically the same as the basic recipe with the exception of the tempering. As described in detail there, the oil-fat mixture is prepared and the lye is made up. Then the grated and dried orange peel is added to the oil-grease mixture. Before the lye is added, the lye and the oil-grease mixture should be cooled to room temperature. In addition, the pot containing the oil-grease mixture is placed in a cold water bath. Then, the lye is added to the mixture and processed with a hand blender. When the pudding phase begins after about 2 to 3 minutes, the bergamot oil is added and mixed well. Once the soap paste can be drawn on the surface and the consistency is still slightly more liquid than barbecue sauce, the soap paste is poured into the mold. The filled soap mold is then placed in a cold water bath to just below the rim. The temperature of tap water is sufficiently low for this purpose. It is recommended to place the soap mold in the water bath on suitable spacers so that heat dissipation can also occur at the bottom of the mold. I used a huge plastic container with leftover round steel as a spacer for the cold water bath.
During the first 4 hours after molding the soap, it is recommended to occasionally check the temperature of the water bath. If the temperature of the water bath becomes significantly higher than 68 °F, the water should be replaced. The soap can be removed from the mold and cut after 24 to 30 hours. Subsequently, the soap should be left to mature for 8 weeks before use.